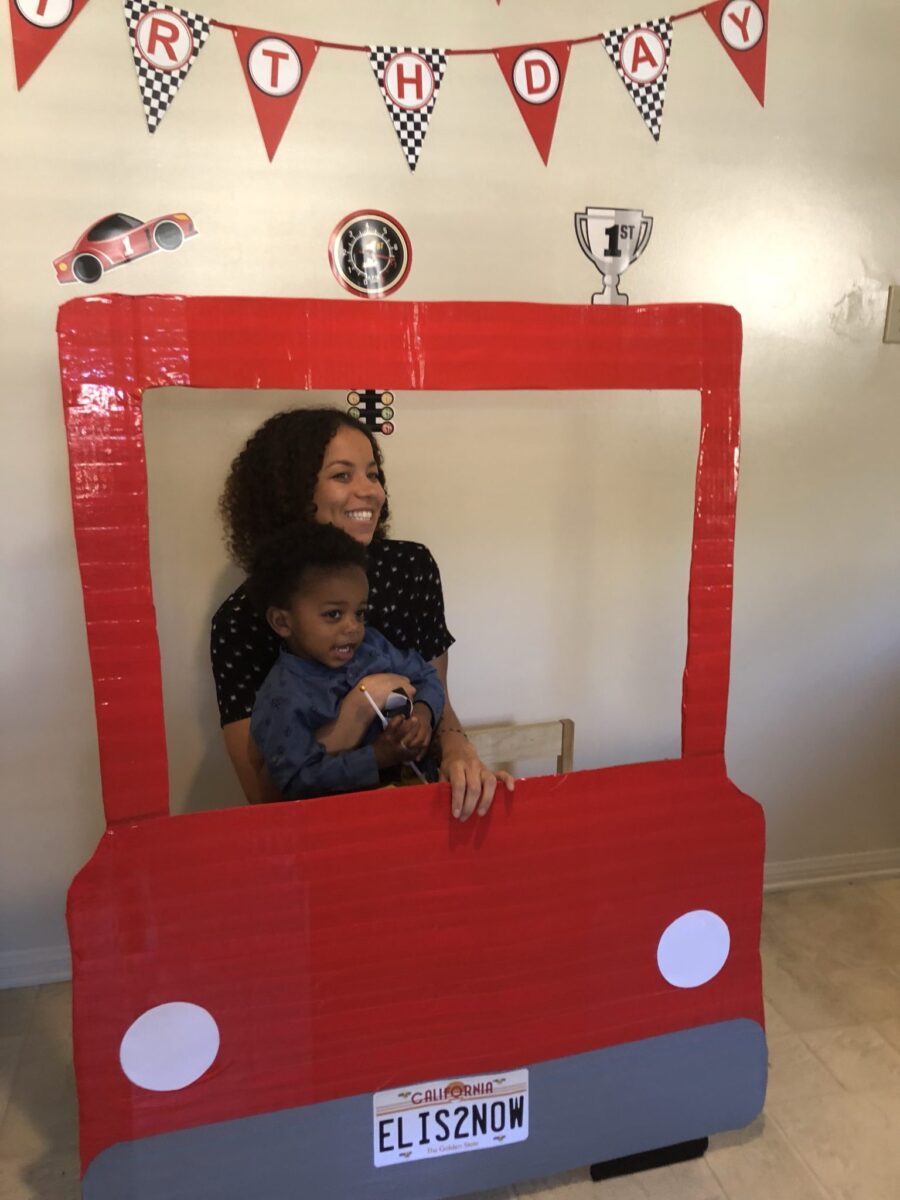
My latest DIY project is a bit of a departure from my typical craft, none the less an awesome creation that is somewhere between an engineering feat and larger than life toy. This weekend, I used my skills to add a custom element to my nephew’s second birthday. He loves cars, so I thought what could be better than a car photo booth to go along with his cars themed birthday bash!
Materials
- Cardboard boxes
- Red and silver duct tape
- Black electrical tape
- White paper & computer / printer
My sister and brother-in-law had a bunch of moving boxes, perfect! No need to go out and buy cardboard. I picked up the rest of the supplies at a local SF hardware store.
Steps
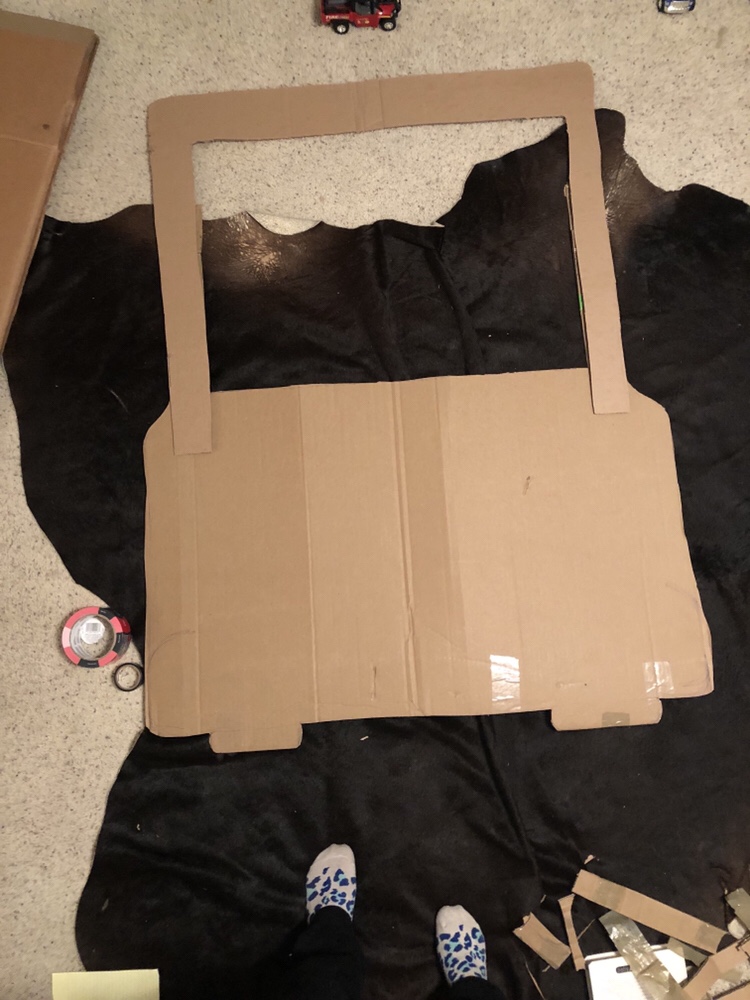
- I traced the shape of a car onto the cardboard. I eyeballed this, looking at a couple versions I’d seen online and a small version I sketched on a piece of paper
- Using an exacto knife, I cut out the frame of the car. I ended up using two pieces of cardboard to achieve the size I wanted
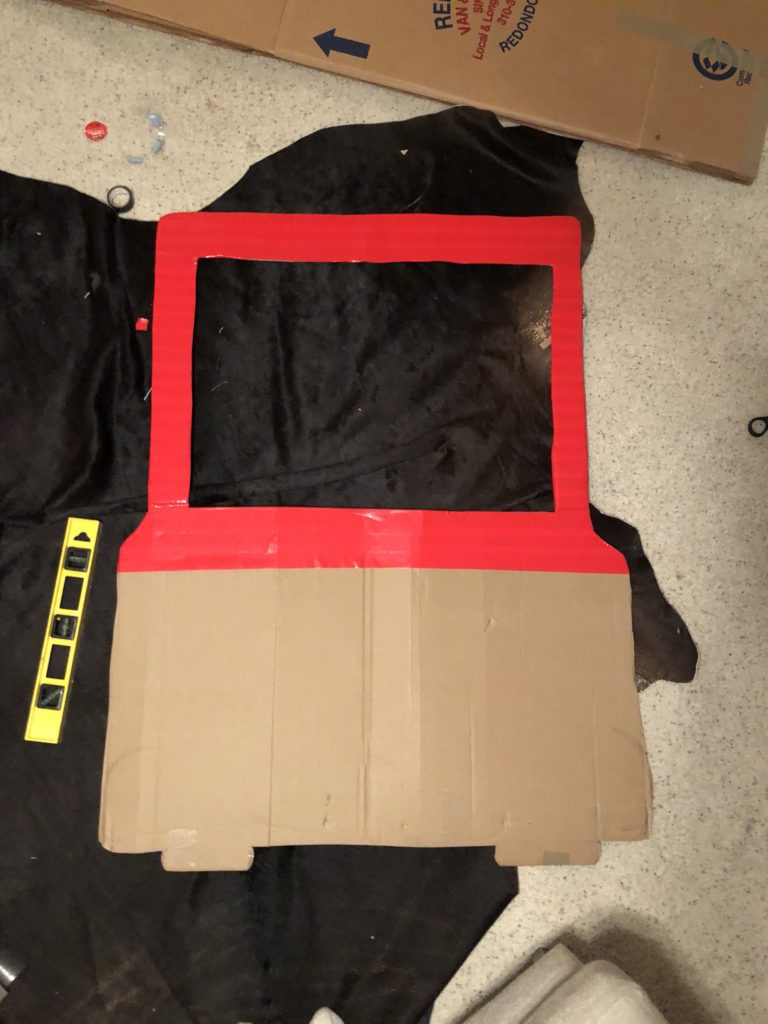
- I then wrapped the car in the red duct tape, starting with the sides around the window
- Working my way down, I continued to cover the front in red tape
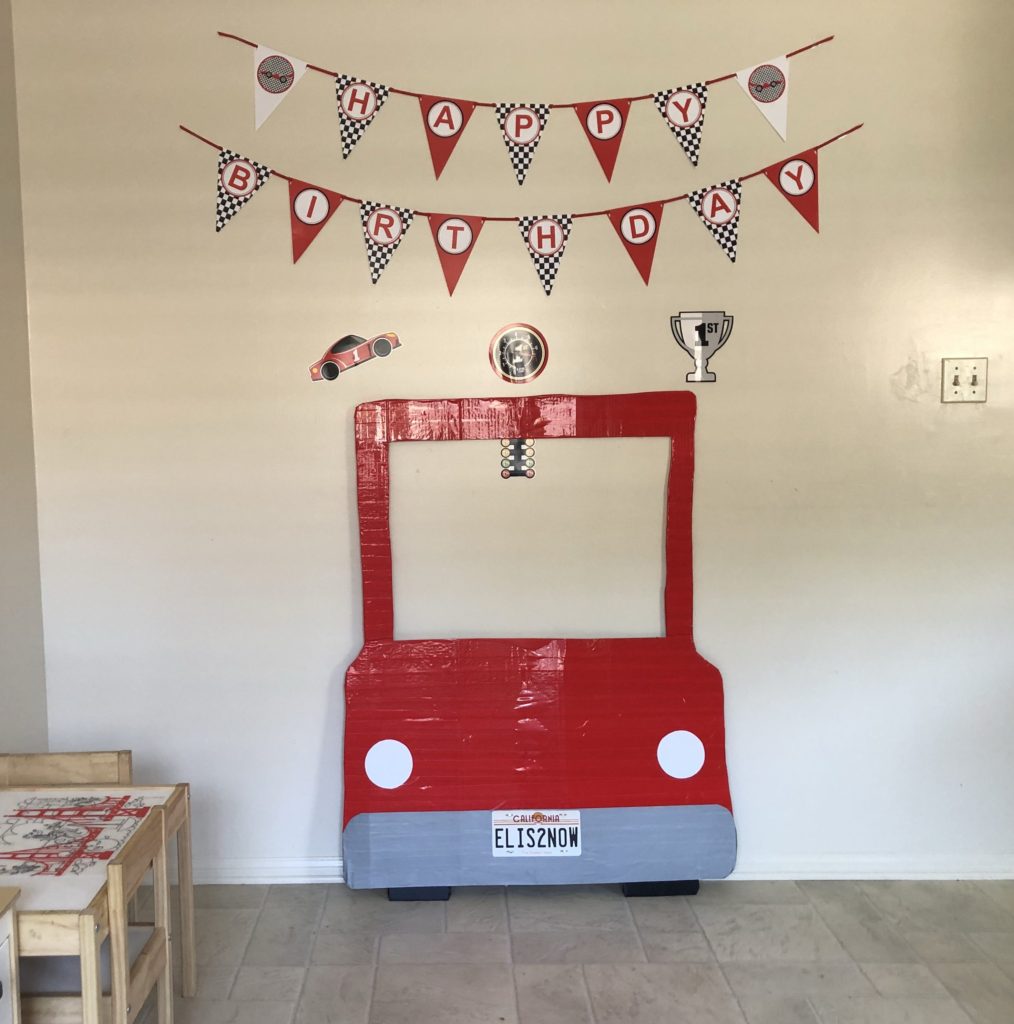
- I then drew out a shape of a bumper, and covered that section with silver tape Then used the exacto knife to cut the tape off so that it was rounded. Then did the same with the wheels and black electrical tape
- Using an image of a retro California license plate, I used photo editing software to customize the plate for the birthday!
- I glued that on to the bumper and glued two circles for the headlights
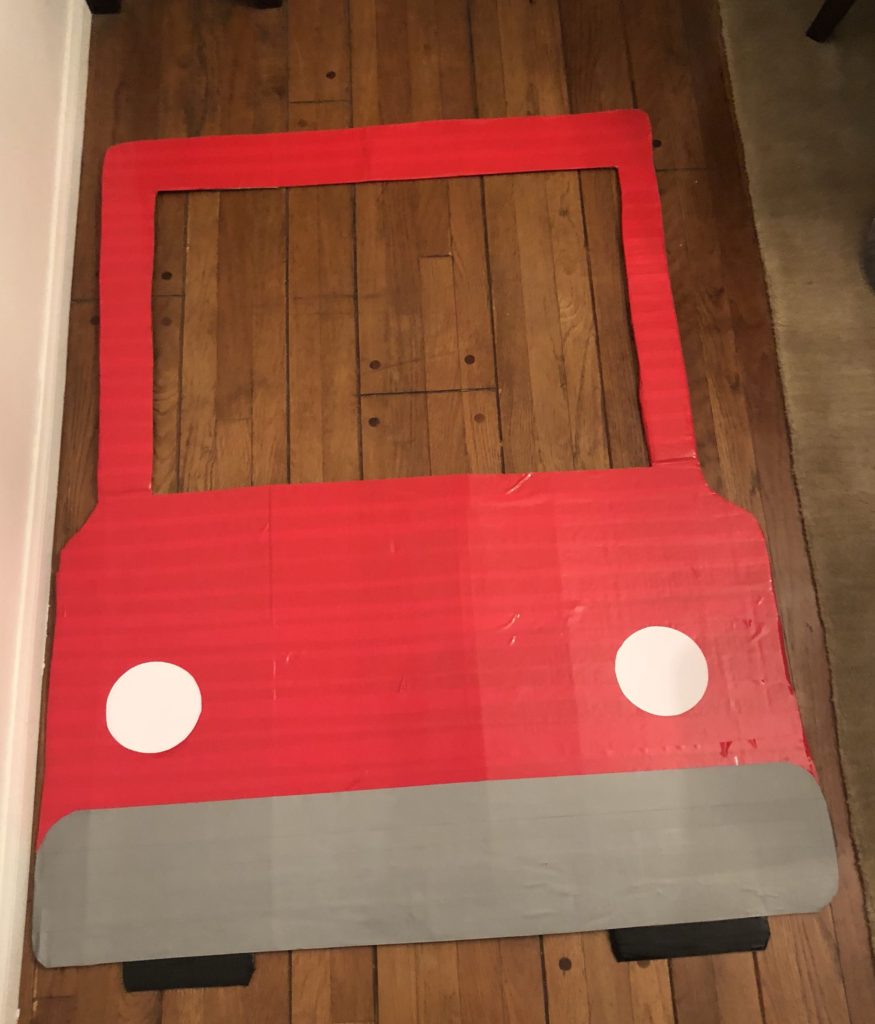
And here’s the final product! A super fun car photo booth that was a hit at my nephew’s second birthday. This project took a fair amount of planning – picking the right materials to use and the license plate design, and I’m so happy how it all came together!
xoxo, jackie
[…] booth. It was created entirely by my amazingly creative and talented sister, Jacqueline. Check out this step-by-step guide to making your own car photo booth. It only required an old moving box, red, […]