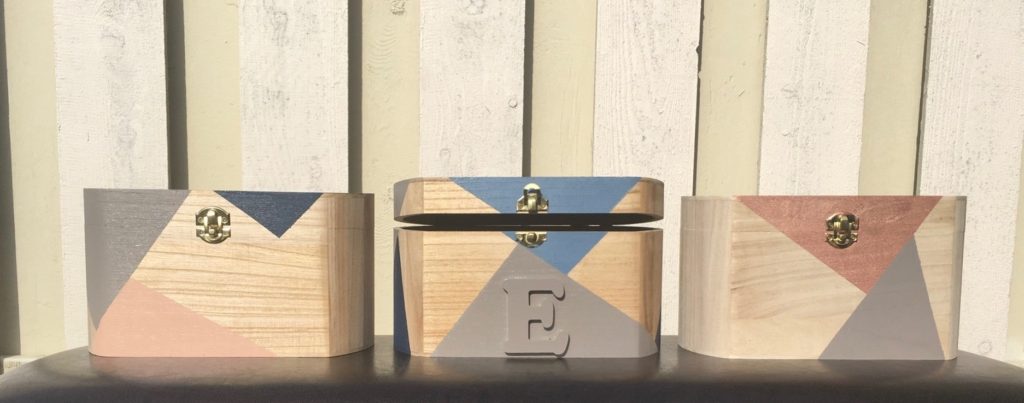
Boxes! Who doesn’t need an extra storage box or two? I found these lightweight wood boxes while wandering up and down the aisles of Michael’s and knew I wanted to paint them and use them for craft supply storage. I also thought this would make for a perfect keepsake box for my nephew, Ellington.
For me nudes and rose tones, and for Ellington, blues, and gray.
Thinking about how I was going to paint these, I settled on geometric shapes to cover the surface. This is an easy technique that doesn’t require much painting skill, just an ability to paint within the lines.
MATERIALS
Unfinished Wood Box
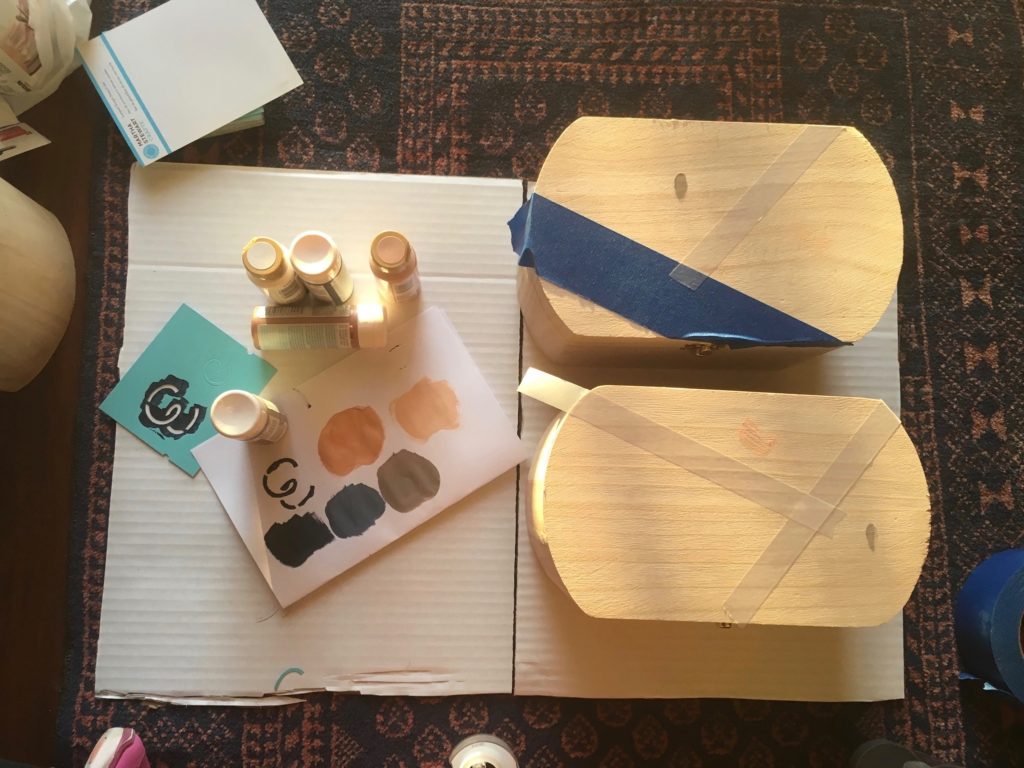
Martha Stewart Acrylic Paints in:
-Rose Gold
-Deep Sea
-Wet Cement
-Sand Castle
Tape
Spray Sealant
Taking your tape, lay down straight lines. I played with a few patterns of triangles, each of the boxes has a bit of a variation. I started with masking tape, but in the end used scotch tape for the most part, to create the even borders.

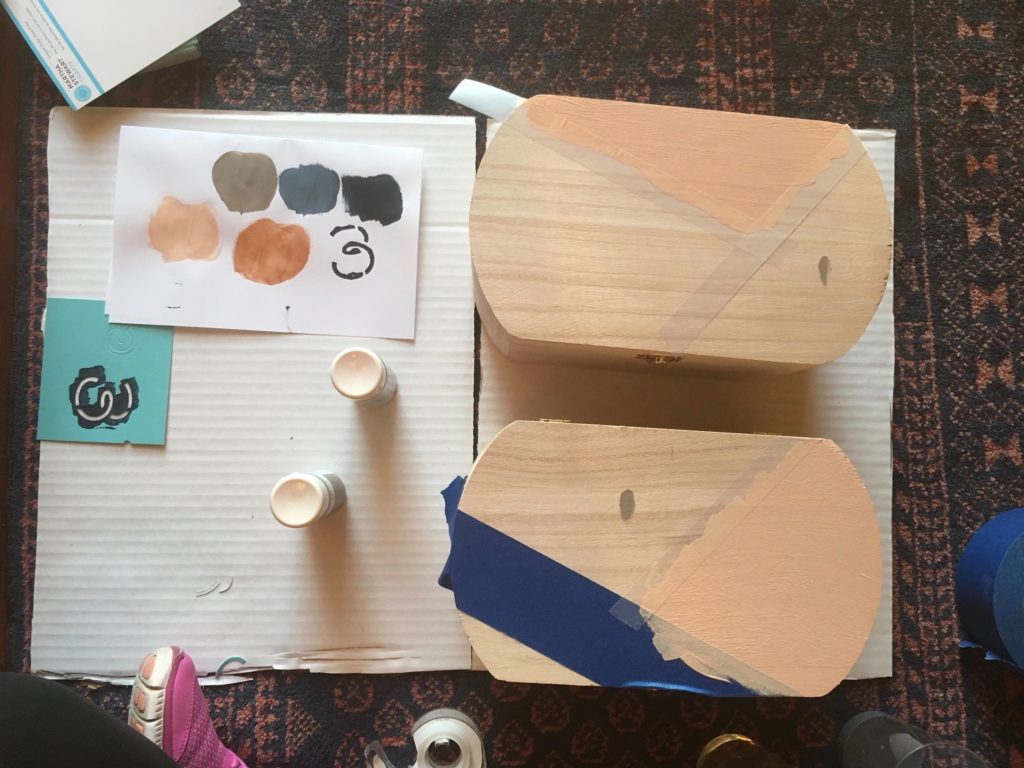
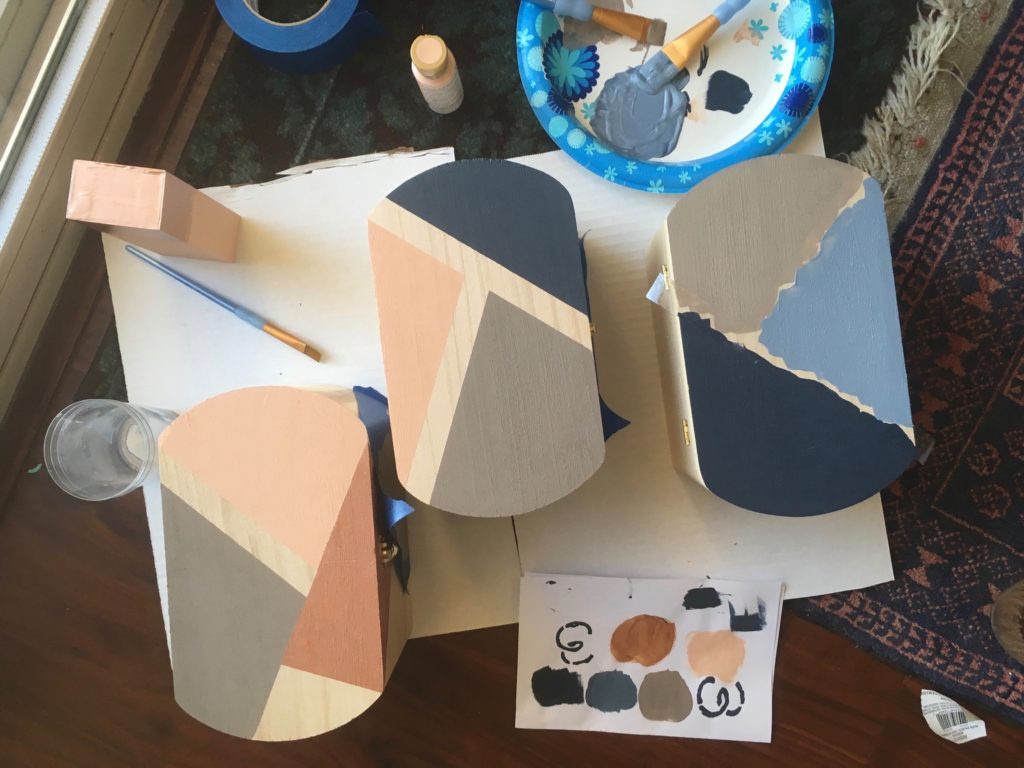
Paint inside of the tape lines, with your paint. Using varying colors, make sure to keep repetition to a minimum. Continue filling in the taped off sections with various colors.
For touching colors, you’ll have to wait to remove the tape and place new outlines.
In all, it took me two days to paint the boxes. The painting is pretty quick, it does take a bit of time waiting for sections to dry. After allowing the boxes to fully dry, I covered the boxes with a spray sealant.
The end result is cute and practical. Ellington’s box is especially fun with the wooden letter I attached. This was a perfect DIY to start 2017 and work on my organization goal I set for myself.
xoxojackie
This is super cute!! I’m defiantly giving this a go