After a long holiday break and a binge of the show Tidying Up With Marie Kondo, I’ve been inspired to pick up around the home, declutter, and find places for everything. One of the major places where junk goes to live is a large shelving unit in the living room. With my mind set on achieving joy, I decided it was time to declutter and organize the large bookshelf with a few storage boxes.
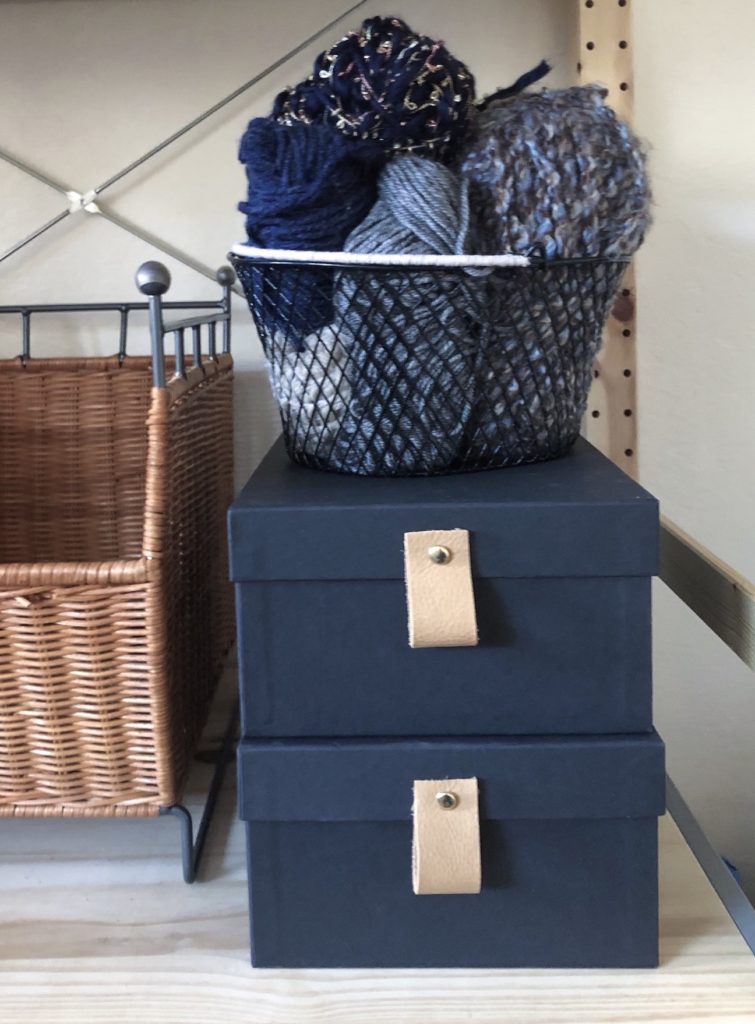
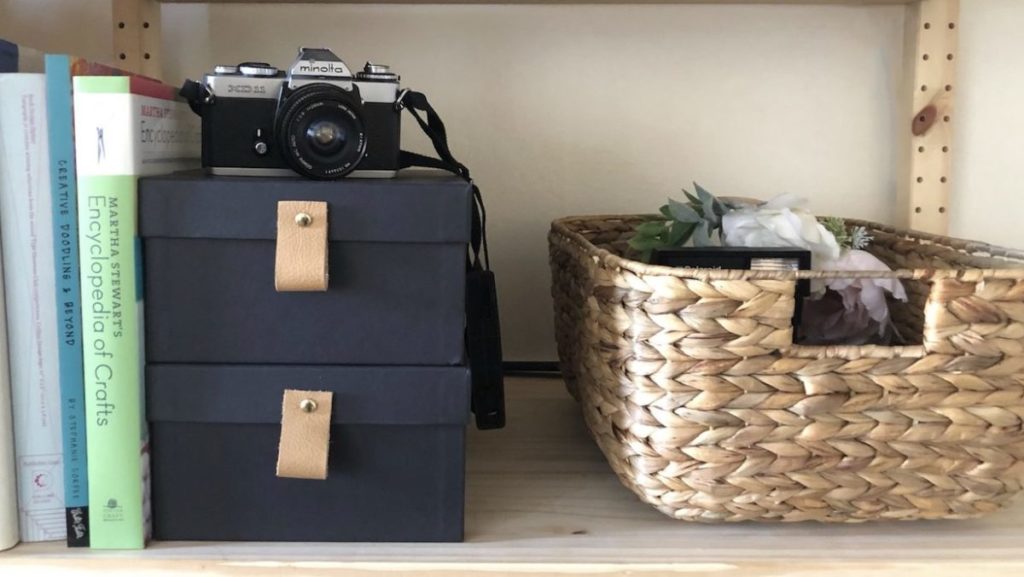
I picked up a few simple boxes from Michael’s with the intention that I would be adding a personal touch to them. And after a quick brainstorm, I decided adding leather pulls would be the perfect touch! Keeping the boxes fairly simple, leather pulls dress boxes up just enough. The leather pulls also tie the boxes into the rest of the decor on the shelf – the dark, almost black, boxes with tan leather are perfect for the neutral shelving decor!
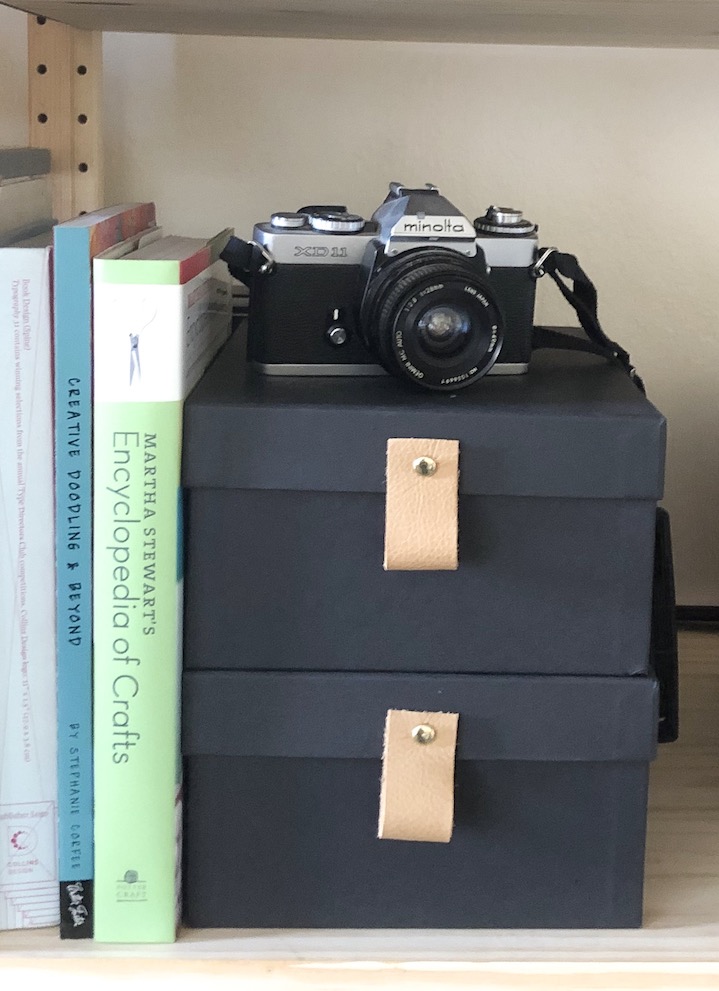
This DIY is so simple and cheap, but adds a ton of character to each box. I must say, the boxes look much more expensive than the $3 each box totaled up to! I had all of the materials and tools – aside from the boxes and strip of leather – already, so it was a quick and easy project to complete. In all, it took me under 20 minutes to update all 4 of the boxes. Check out how I put them together.
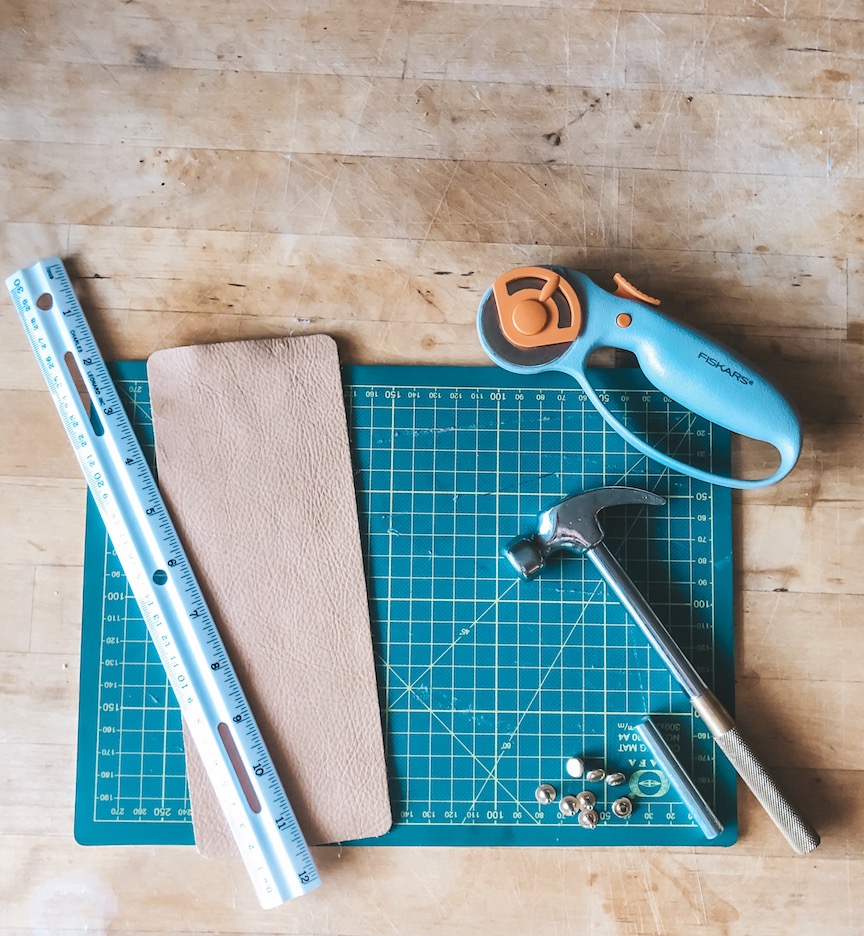
Materials & tools
- Storage boxes
- Tan leather
- Leather hole punch
- Rivet kit
- Ruler / measuring tape
*affiliate links
Steps
1. The first step is to take your leather and measure out strips for the tabs. I measured out 4 1-inch by 4-inch strips for my boxes. Once you measure out the strips, cut strips using a rolling cutter.
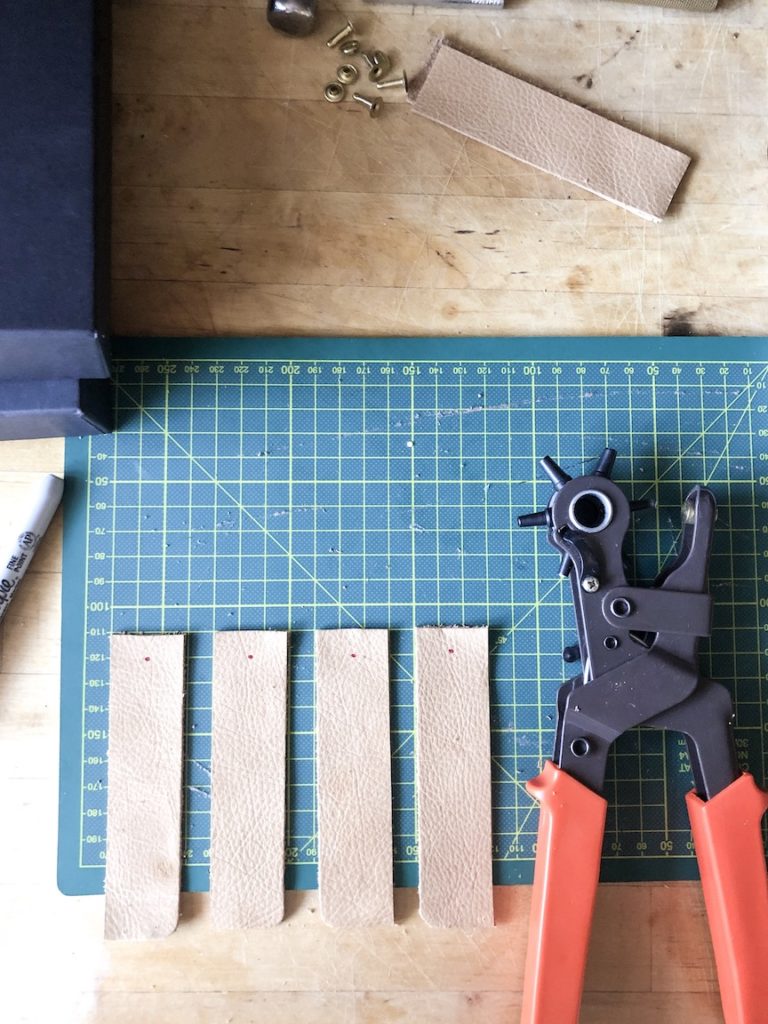
2. Fold strips and hold the edges aligned. Using a rivet hole punch, punch through both layers of leather.
Here, you can see I measured and marked where I will be punching the hole, once folded into a loop.
3. Taking your box top, measure the horizontal center of the top. Mark it, then use your hole punch to punch a hole in the box top. I used the smallest size for both the box and the leather.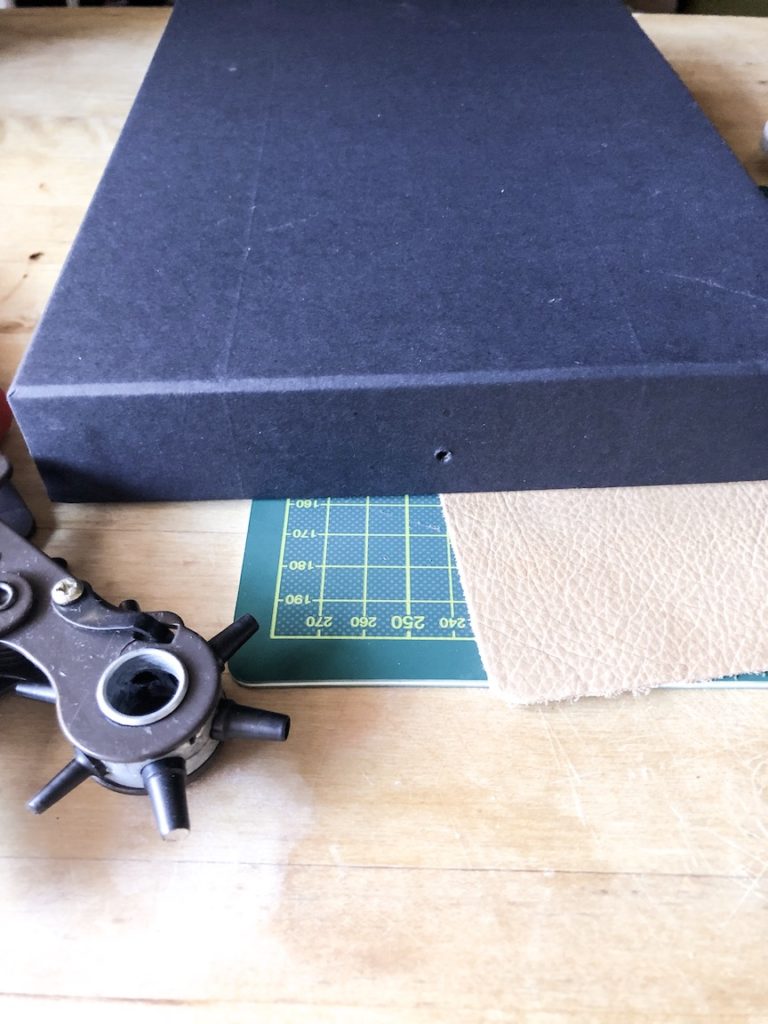
4. Push your rivet backing through the inside of the box and then through the leather loop. Clasp the front of the rivet, you should hear a first click when doing this.
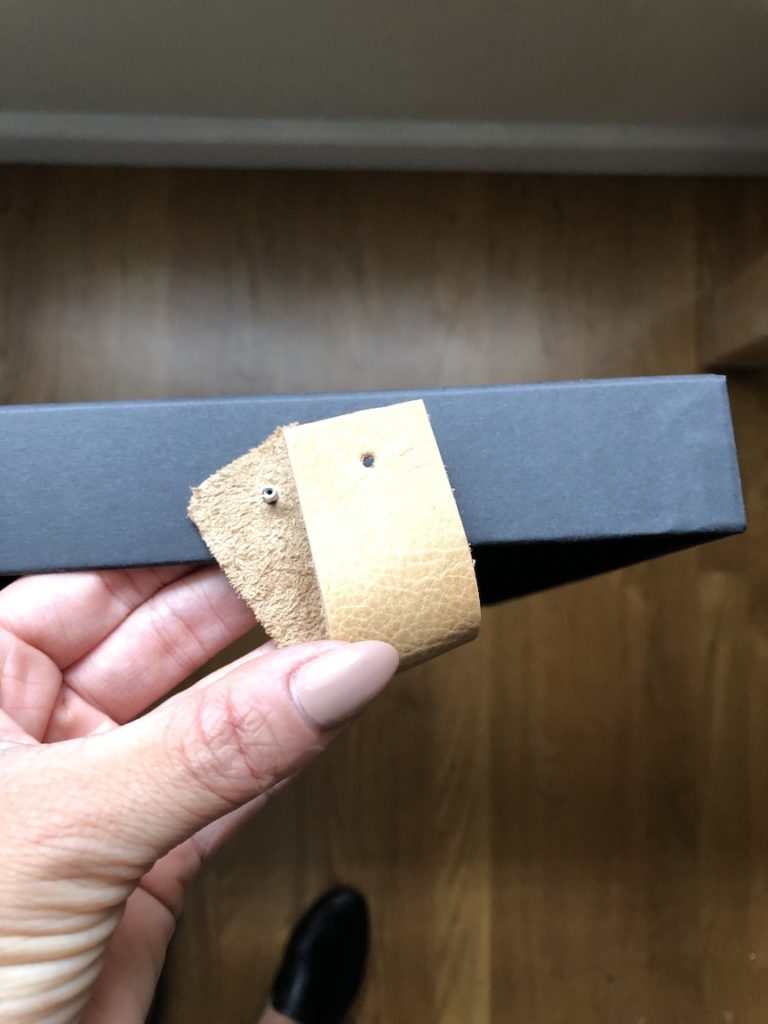
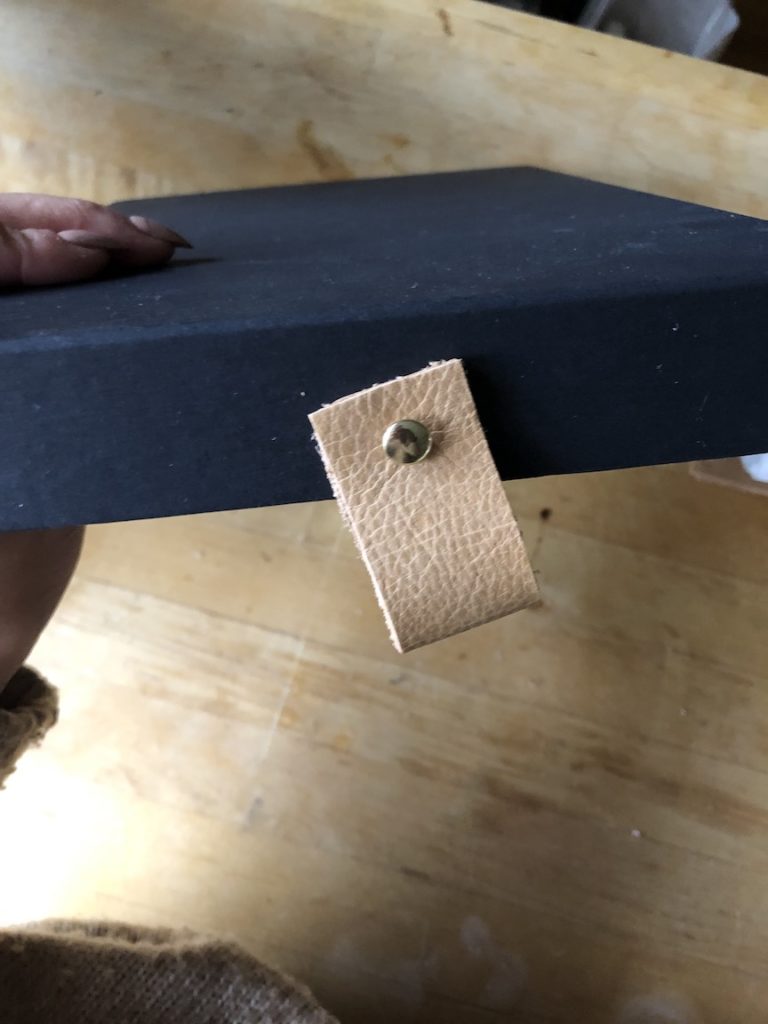
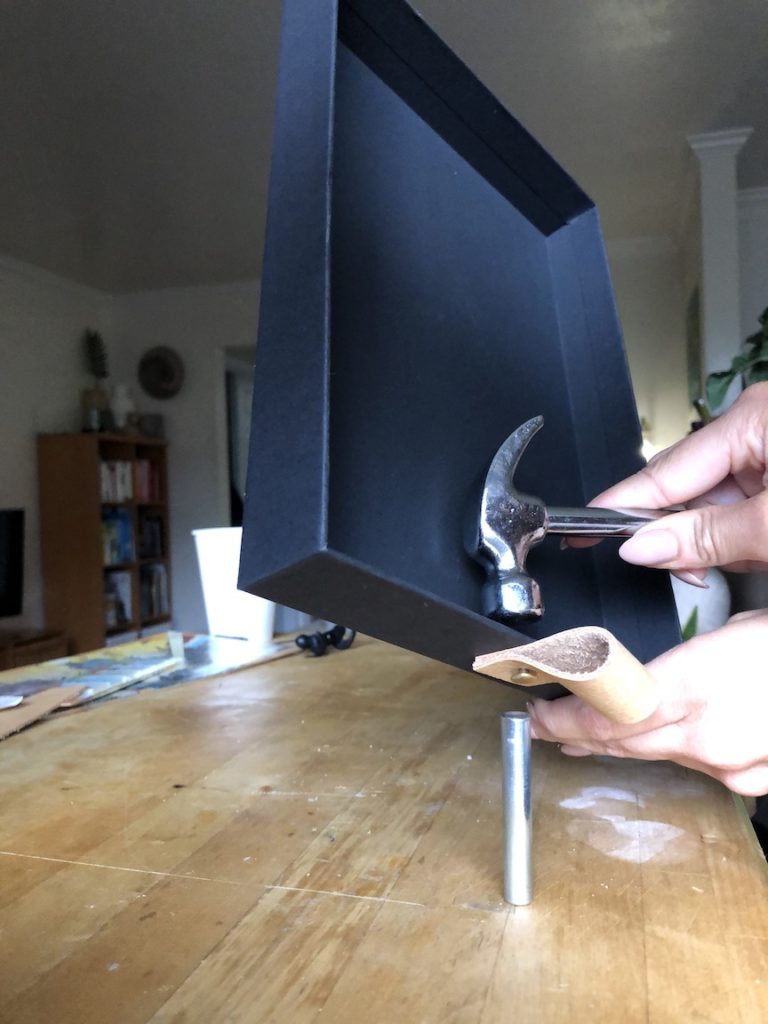
5. Place the front of your rivet down on the cylinder and hammer the back (inside the box top) to connect your rivets. Your rivets should be securely holding leather and box top.
Tip: You want to make sure to align the round top of your rivet in the center of the cylinder. (I’m showing mine on an angle so you can see the top of the rivet. Should be straight, vertically)
I love these dark boxes mixed in with all of the light decor! In addition to being great storage for papers, electronic cords & accessories, and photos – they are pretty cool pieces that give nice color variety to the shelves. While they are just simple cardboard boxes, they add so much to the shelf.
xoxo, jackie