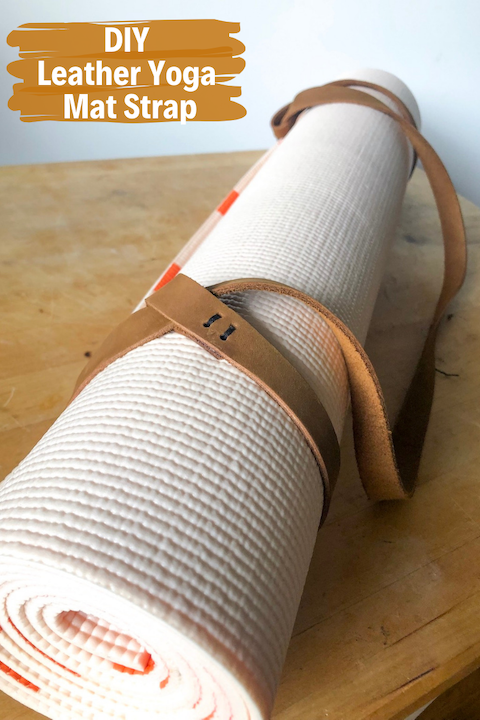
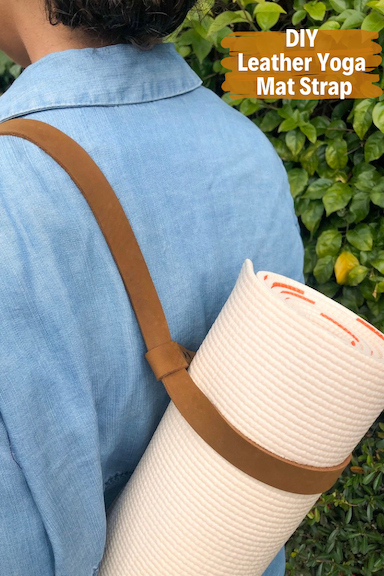
Since getting back into working out, I’ve been lugging my workout equipment around with me all around town. While I can easily throw my barre socks or lifting wrist guards into my backpack, taking my yoga mat with me can be a chore since I didn’t have a strap or holster. To fix this, I recently made a leather yoga mat strap that is just my style.
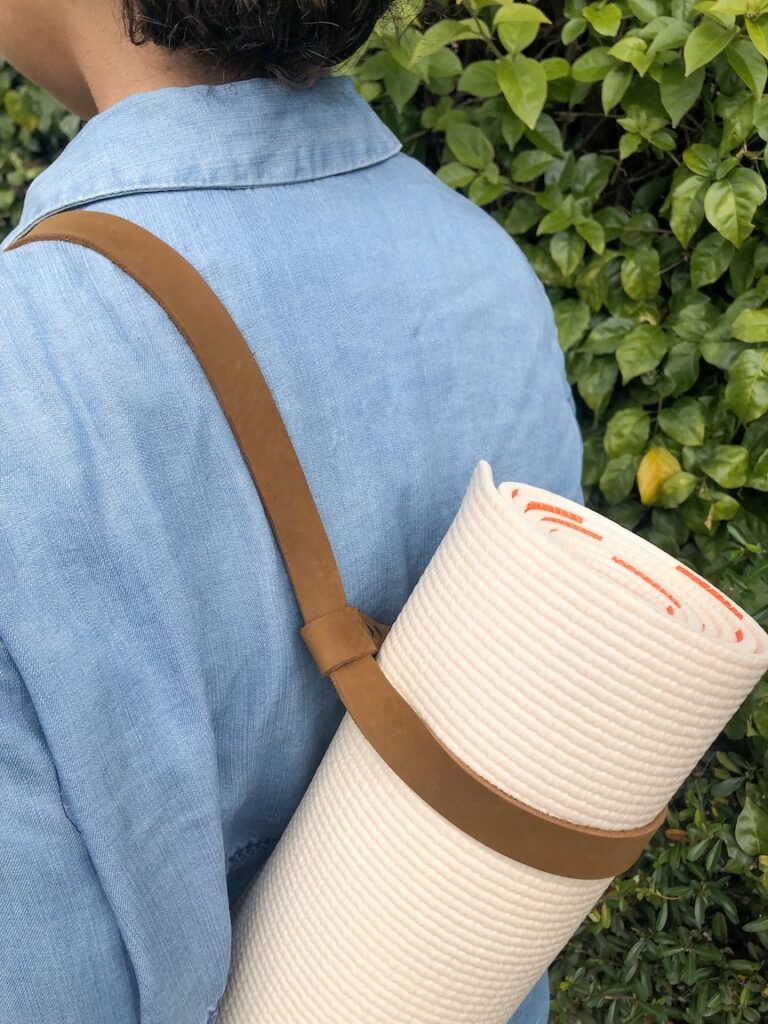
I’ve been using a great mat that is totally my style – yes it’s nude! But when I set out to find a strap that would compliment it, there wasn’t much out there. There are a few boutique shops out there that sell beautiful straps at a premium price, but even those weren’t exactly what I was looking for. After I hunted for a while, I realized this is the perfect opportunity to make my own without breaking the bank.
During my search, I did find an awesome Etsy shop that sold strips of leather by the inch in beautiful colors. I was inspired to create my straps with this leather. I knew I’d be able to create a simple leather strap that fits in with my style.
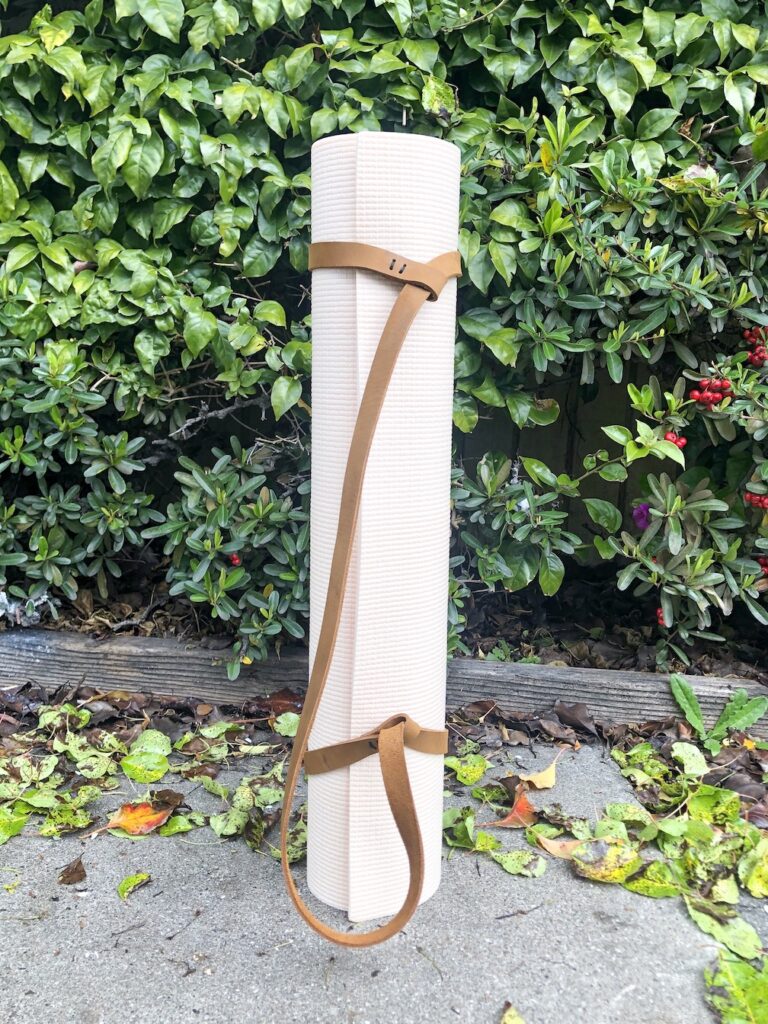 In the end, I’m so happy with how it turned out. Quality leather plus a few simple stitches helped me to create the yoga mat strap I had been searching for and that I now proudly carry around. Keep reading for the simple step-by-step tutorial.
 Materials
This post contains affiliate links. I make a small commission if you make a purchase using my link. I only link to products I think will be useful to you, thanks for your support!
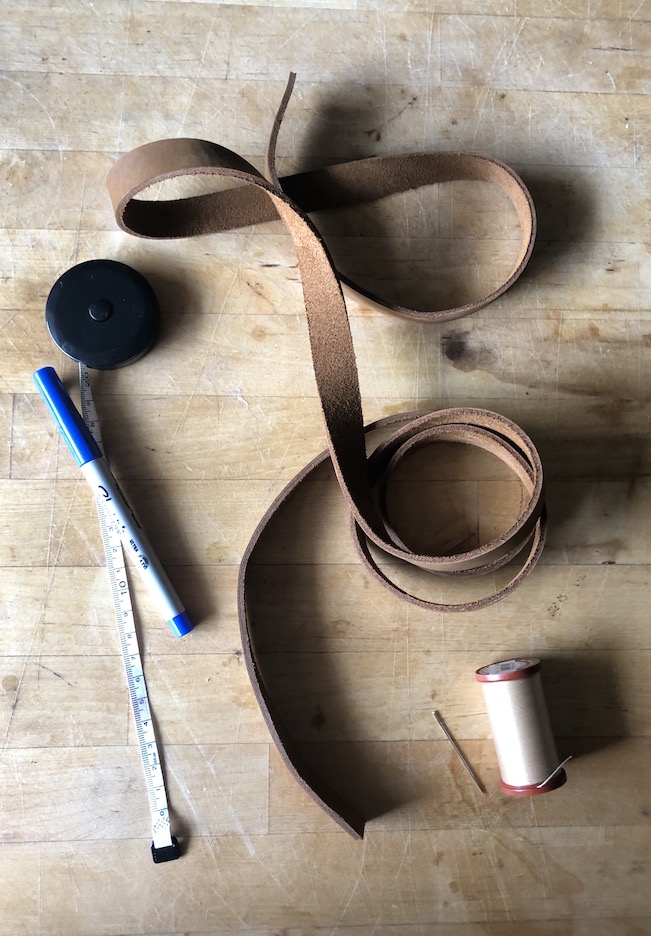
- ¾ inch wide strip of leather, 50+ inches long. I purchased an amazing strip of leather from MyFunkyCamelot. She sells beautiful strips of leather in a variety of colors and lengths. 50 inches was a good length for me, but you’d might need a few more inches, depending on how you want the mat to sit over your shoulder.
- Leather puncher
- Heavy duty thread – this may sound weird, but I use hair weave thread for a lot of crafts because it’s super durable. A durable bonded thread, like this, would work also.
- You’ll also need some paperclips, a pen, and ruler to help you prep your straps.
I’m no expert in working with leather, so I did quite a bit of research to figure out the right thread for this project. All signs pointed to a thick bonded thread as it is pretty much the most durable out there.
Steps
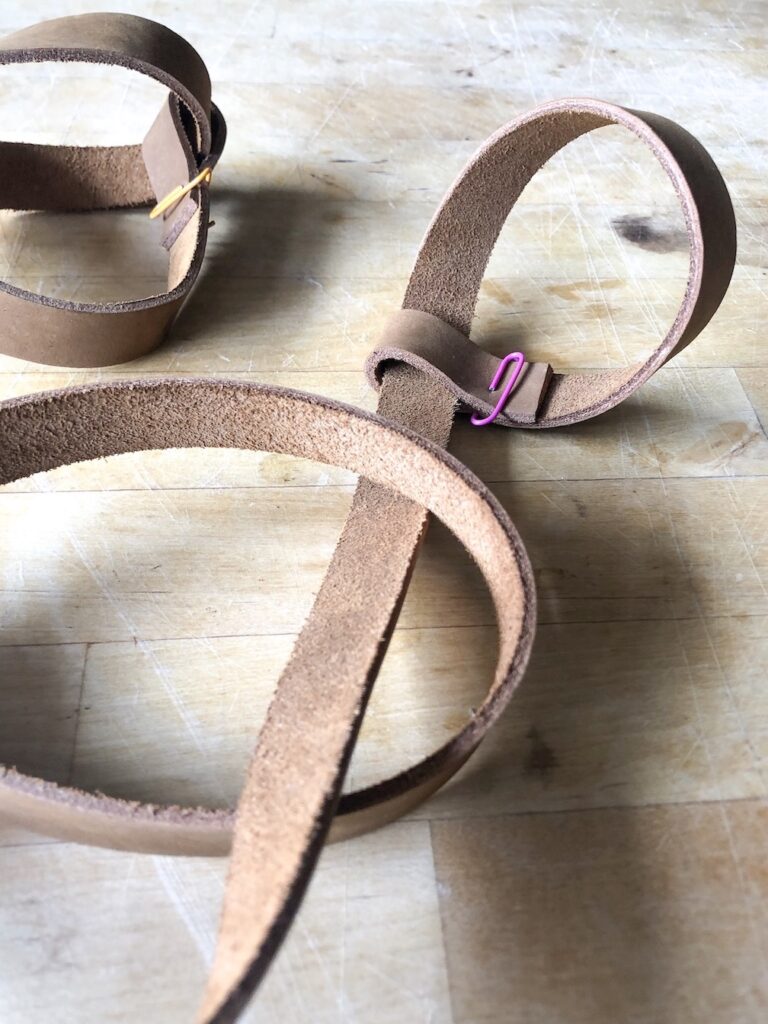
- I started out by mocking up what it would look like by trying out a few ways I could create the strap. Using the two loose ends, I fashioned loops. By placing the loops around the body of the strip, I created a sort of pulley system that I could open and tighten.
- Taking my trusty leather puncher, I punched 4 holes on each end of the leather. *Before jumping right in, I measured and used a pencil to create guides for the holes.
- I secured both loops by sewing two lines on each. I sewed each line a total of 4 times to ensure it would be secure.
- I tied off my stitches with a sturdy knot on the back.
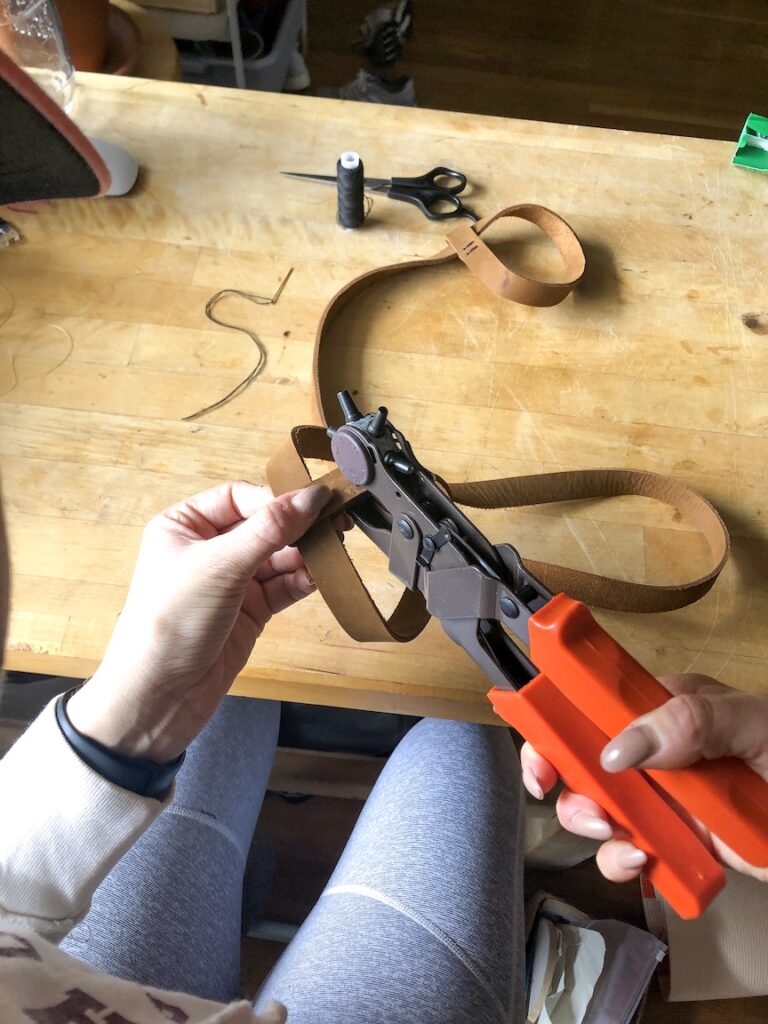
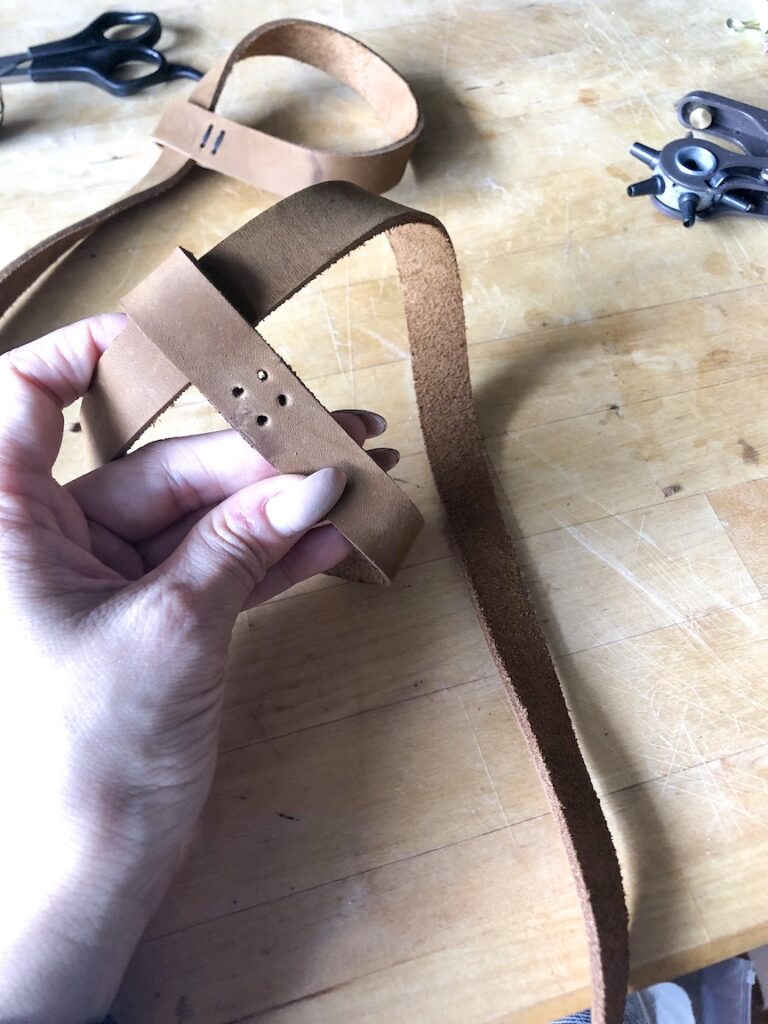
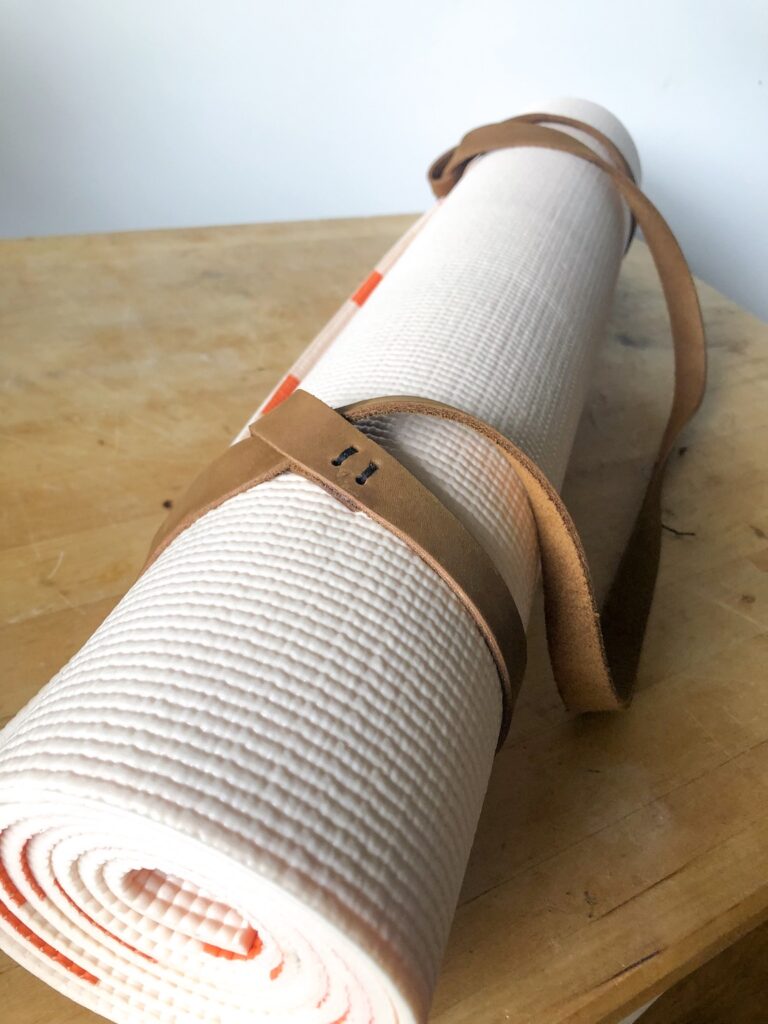
That’s it! Once secured, the yoga mat strap is complete.
Get ready for the compliments. Since making my new, chic mat strap, I’ve gotten a ton of compliments from others in my classes and even a couple while walking down the street to class!
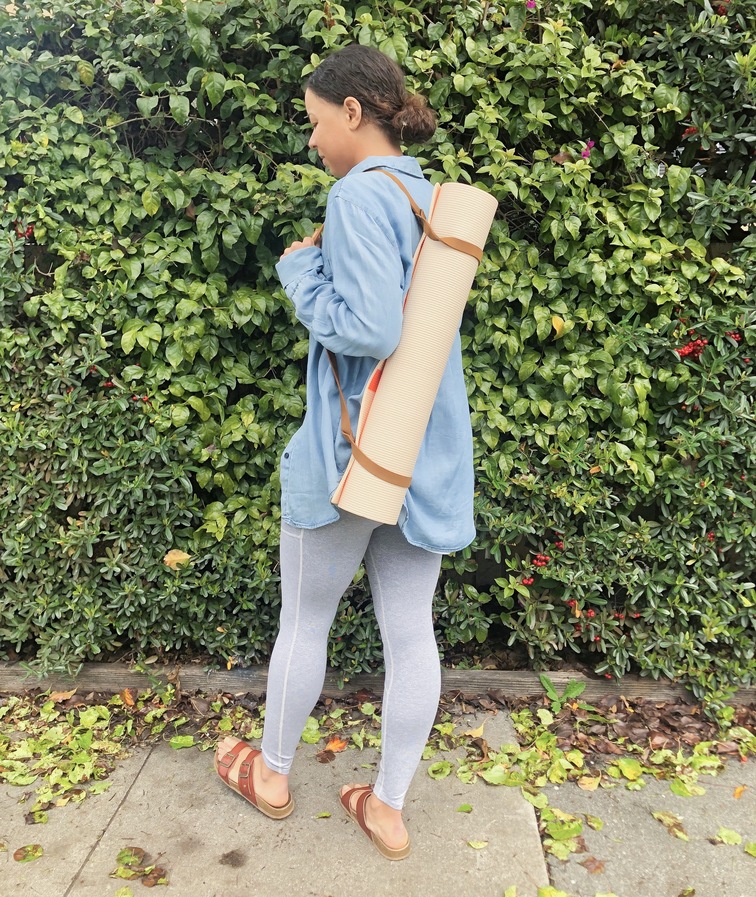
The adjustable loops are super simple to make, look really polished, and make it easy to get the mat in and out of the strap. Once the mat is in the strap, a simple tug tightens the loops perfectly so that the mat is secure while slung over my shoulder.
This strap is the perfect added motivation to get myself to yoga class.
xoxo, jackie
save this project for later
[…] Read More […]