I’m always looking for interesting ways to display my plants around my apartment. I’ve got plants on stool, shelves, stands – you name it, I’ll try it! One of my favorite ways to display my plants is with a plant hanger, attached to my ceiling!
This post contains affiliate links. I make a small commission if you make a purchase using my link. I only link to products I think will be useful to you, thanks for your support!
There’s just something so cool about using that overhead space to bring life into a room. I love it! I’ve also really been digging viney and trailing plants like pothos and philodendron lately, and hanging planters are perfect for these plants.
I’ve purchased a hanger in the past and already made a couple of plant hangers myself. When I started thinking about adding a second hanger to my bedroom, I decided to create one.
I knew I wanted to incorporate something unique into this project and chose to mix materials and use rope and leather!
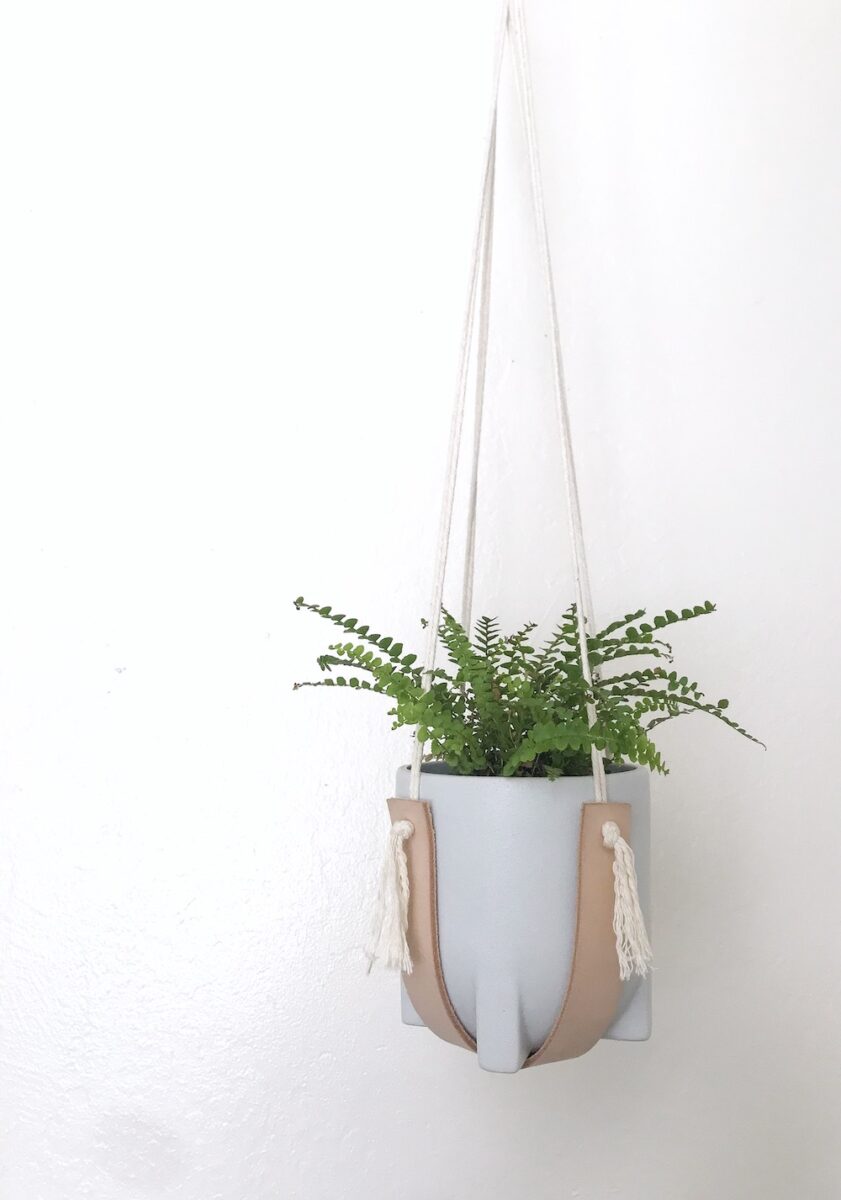
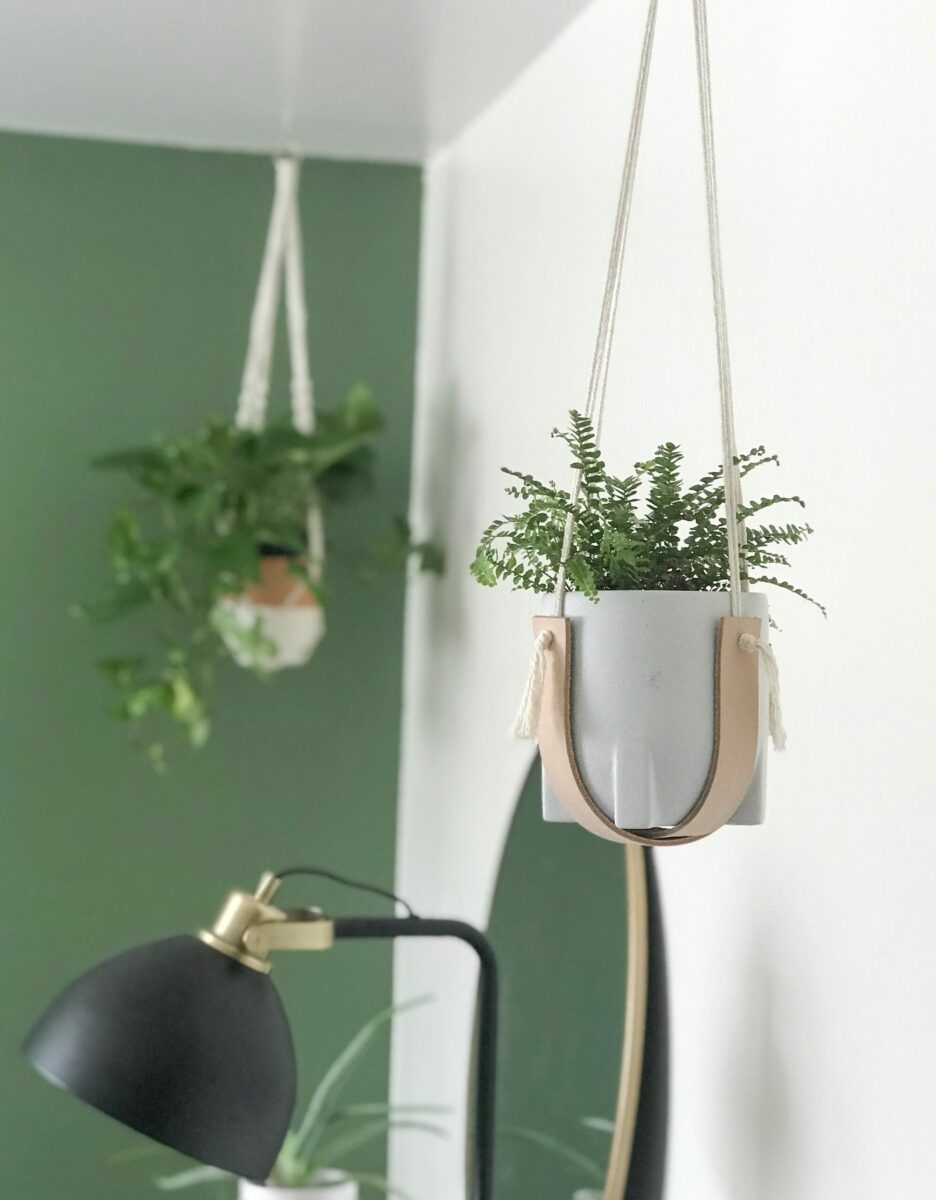
I love how this project is a twist on a standard macrame hanger – the leather definitely ads personality and takes my planter to a new level! Even so much that I ended up placing a small fern inside it, rather than a trailing plant, so the leather base can be seen!
Check out the tutorial for a detailed look at how I created my hanger.
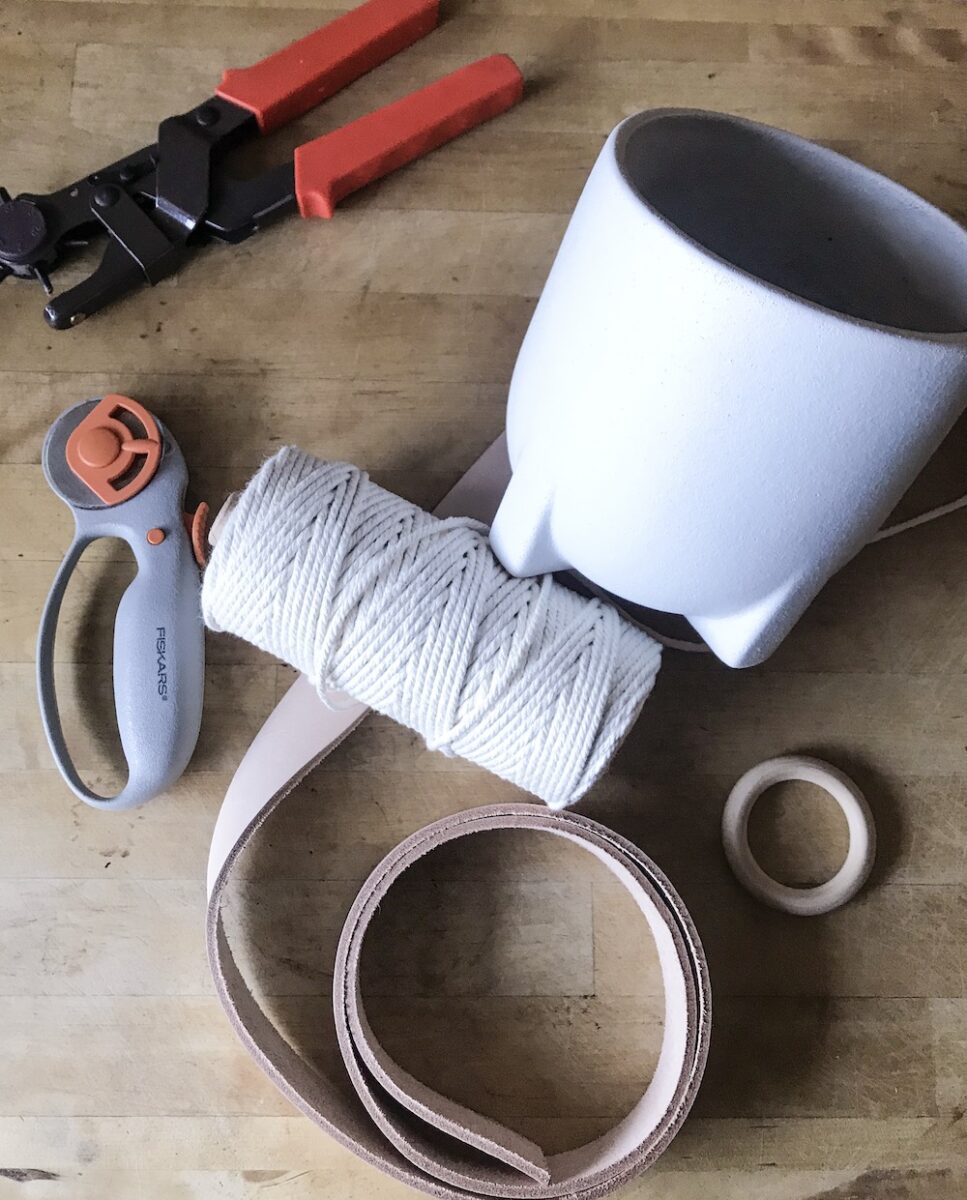
Materials
I purchased this kit, which includes rope, wood rings, and some other macrame accessories.
Planter Tutorial
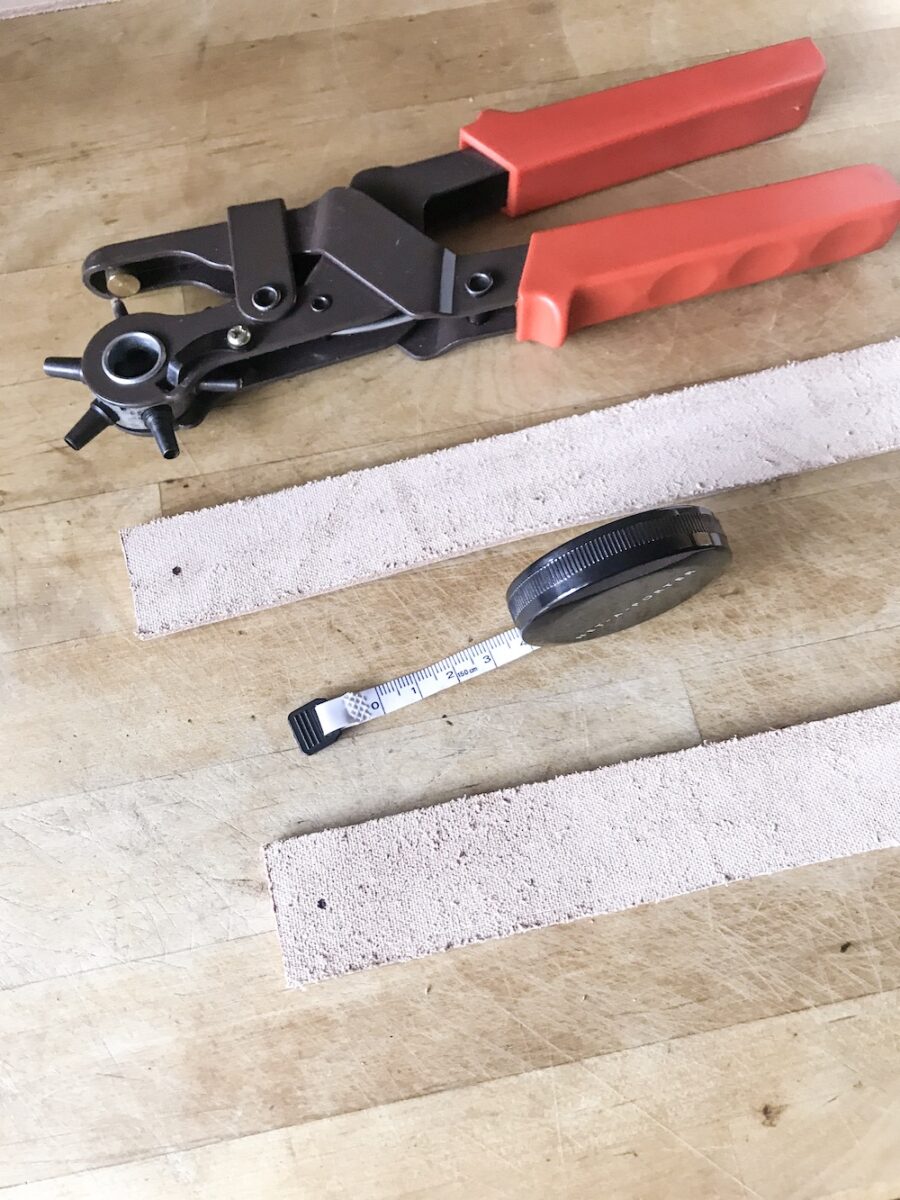
Measure and prep your materials
- Measure 4 long pieces of macrame cord at about 5 feet, give or take how long you want your planter to be.
- Cut 2 strips of leather at around 10 inches. I played around with measurements – going a bit longer at first, then trimmed it down to fit my planter.
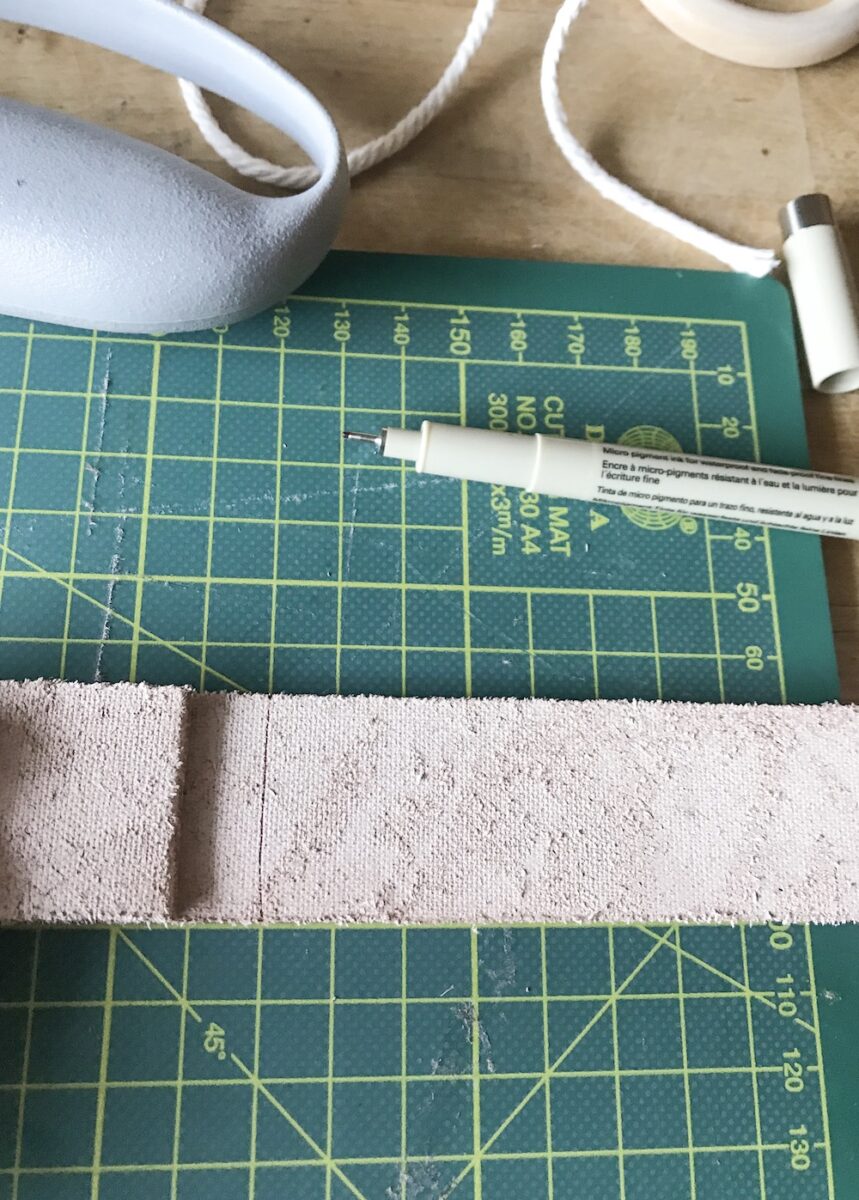
- Using your hole punch’s largest setting, punch a hole at both ends of each strip of leather.
Now, you’re ready to assemble!
How to assemble your plant hanger
- Take your rope cords and pull them through your wood ring until it is centered.
- Knot all of the cord into a single knot.
- Separate the cord into four groups of two.
- Take one of your strips of leather and feed your first group of two cords through the hole you punched. You may need to use a pen or scissors to poke the ends through.
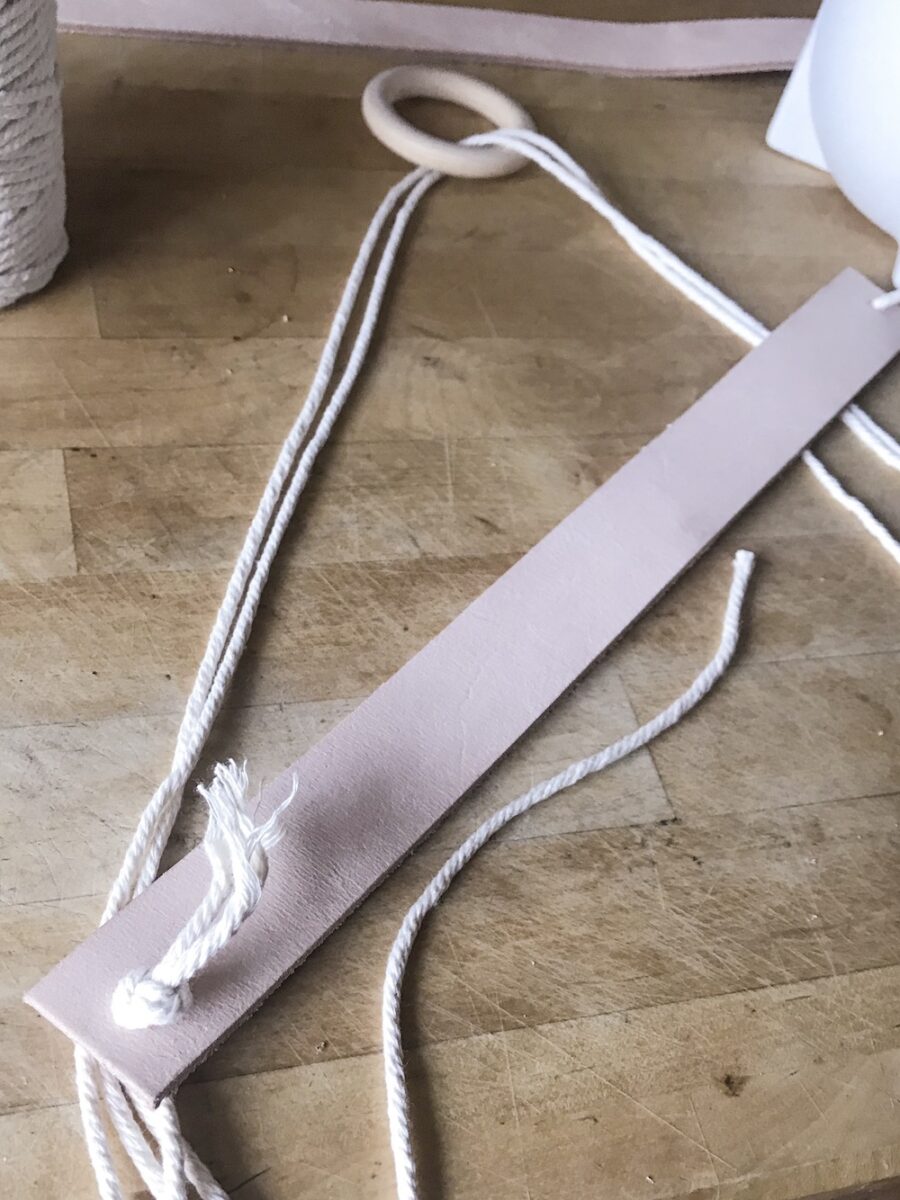
- Repeat this on the other end of the first leather strip, then pull the cord through a few inches, making sure it’s even.
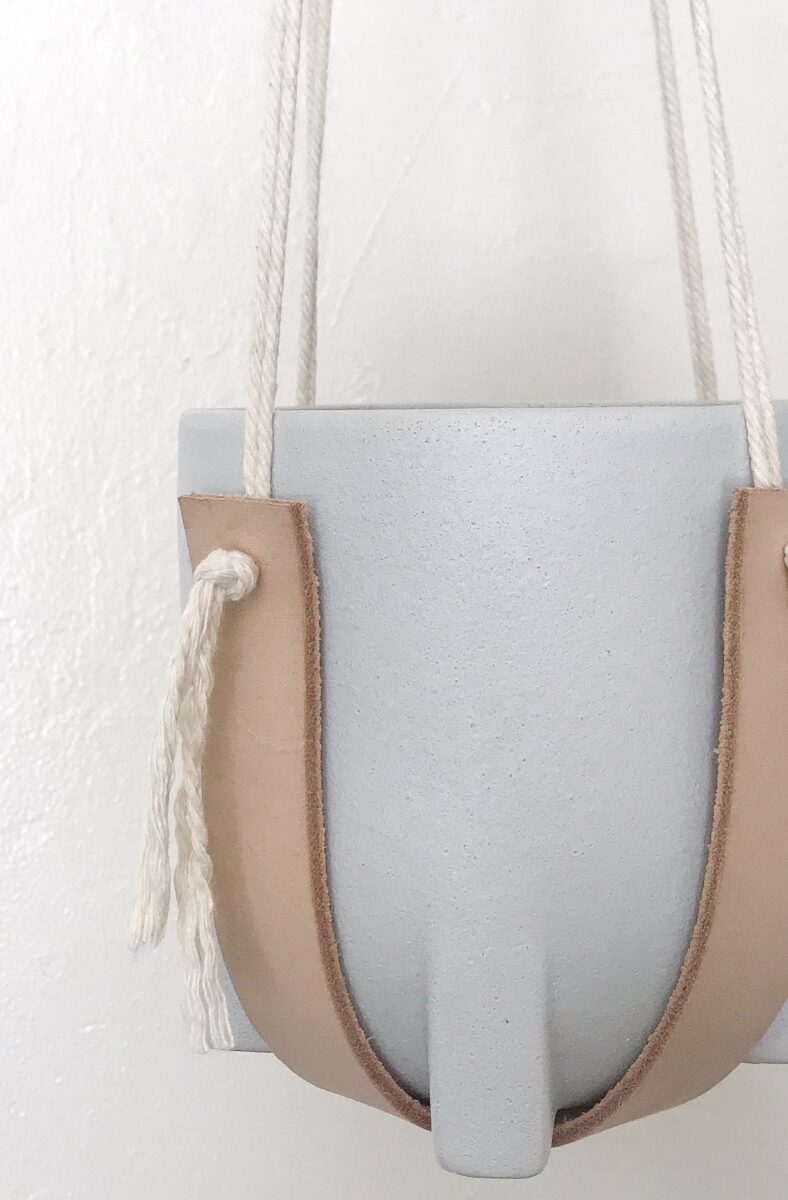
- Repeat the process with the remaining cord and strip of leather. These should sit slightly below the first, creating an X with the strips of leather.
- Tie knots, securing each of the cord and leather, place your planter in the x to ensure you have the right lengths.
The Target planter I used is perfect for this project! The leather strips fit perfectly around the base of the planter giving the whole project a polished look!
xoxo, jackie
Save this project for later
