$80 a month, $960 a year – on manicures! I’m not proud of those numbers, but I’m glad I finally sat down and evaluated what I am spending my my nails. After realizing that I am spending entirely too much money to keep up my nails, I decided to give at home manicures a real go.
I’ve done my nails in the past using regular nail polish, but I’m pretty rough on my hands so it wouldn’t last all that often. So I went back to gel. I recently talked with a friend and fellow creative, and she gave me some serious game. Sterling told me she’s been doing her own gel manicures for years. YEARS! Over that time she’s saved thousands of dollars.
So, after talking with my friend and going a little research, I figured I’d give it a go and start doing my own gel nail manicures.
The Manicure Kit
Gel Nail Polish Starter Kit
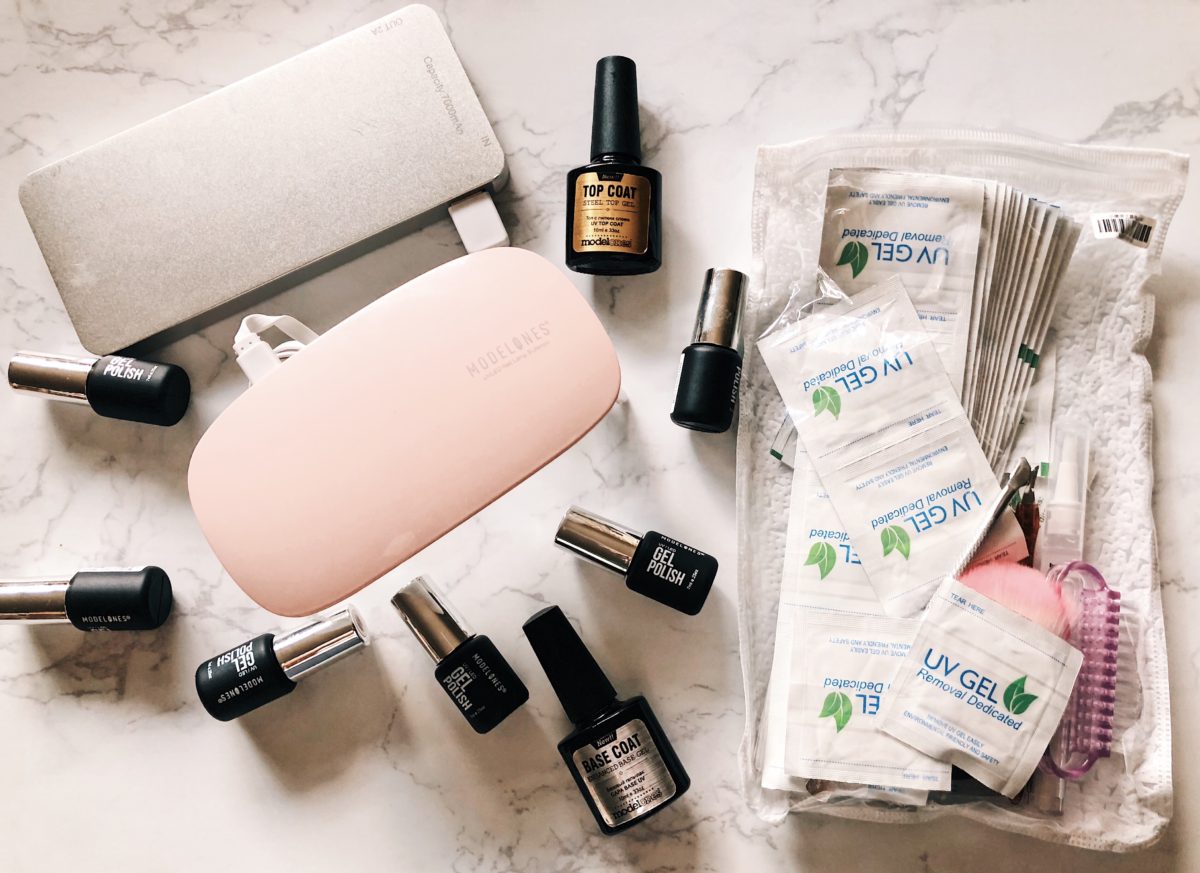
I got this super cute, highly rated beginner kit from Amazon to kick off the home manicures. The kit comes with everything you need to last you months –
– a UVLED light
– 6 pastel colors
– the top and bottom coat
+ a ton of other helpful manicure tools.
All for under $35! Yes, that is less than I pay for a single manicure.
I also got a set of nude polishes – while I love the pastel colors I picked in the kit, knowing myself, I figured I should also go ahead and get the colors that I’ll use more often.
How to Gel Yourself
The kit also includes the steps, but for gals like me who frequent the nail salon, I already have the process memorized.
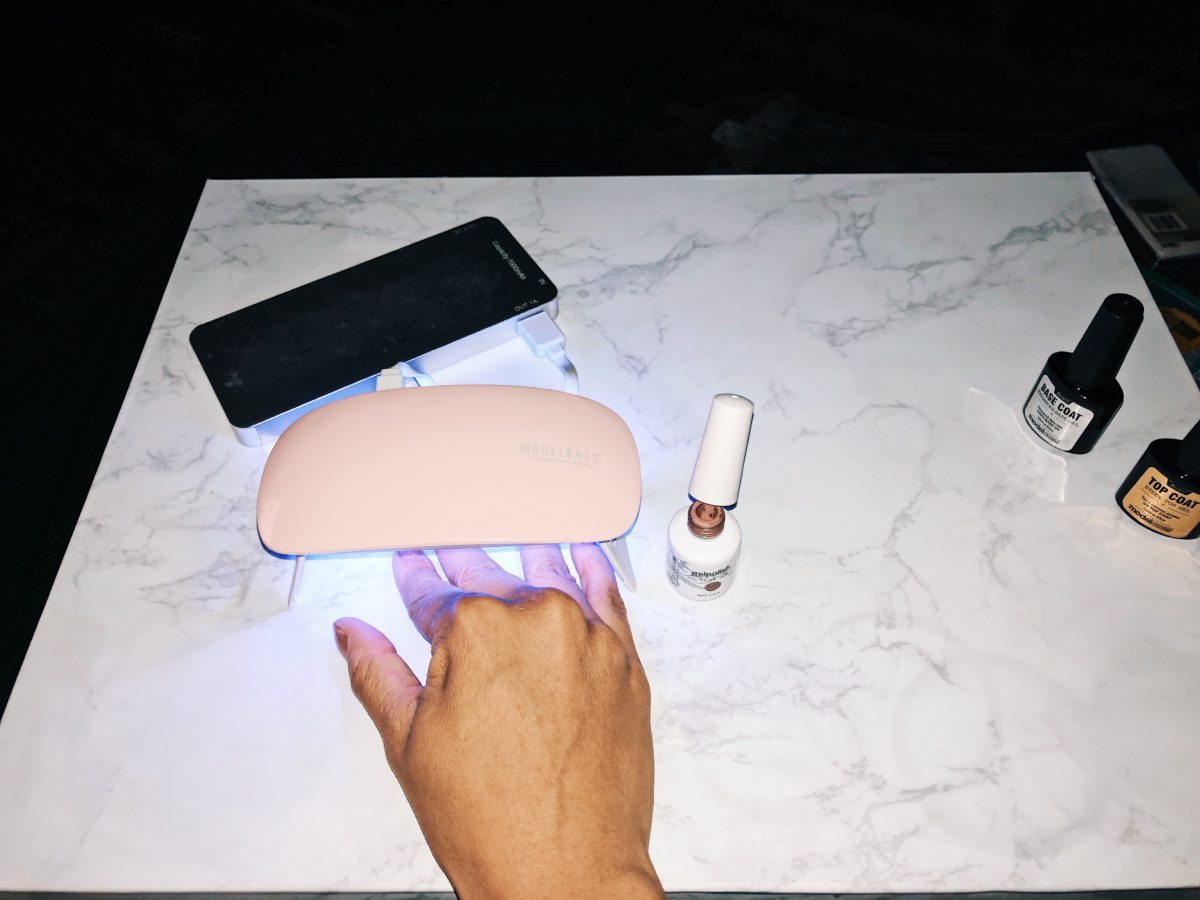
- Setup UV light. It comes with a USB cord, so I connect it to a portable phone charger
- Shape and file nails.
- Buff tops of nails. The salon gives a pretty rigorous buff, but I’ve found that it really only take a quick once or twice over. – Which also saves my nails a bit
- Apply base coat then place nails under the UV light for 60 seconds, then repeat on other hand
- Apply coat of color, then place under the UV light. I do 3 coats to get a nice color.
- Apply top coat, then place under the UV light
- Wipe nails with included alcohol pad
You have beautiful gel nails that last 2 weeks + without any chips.
My experience
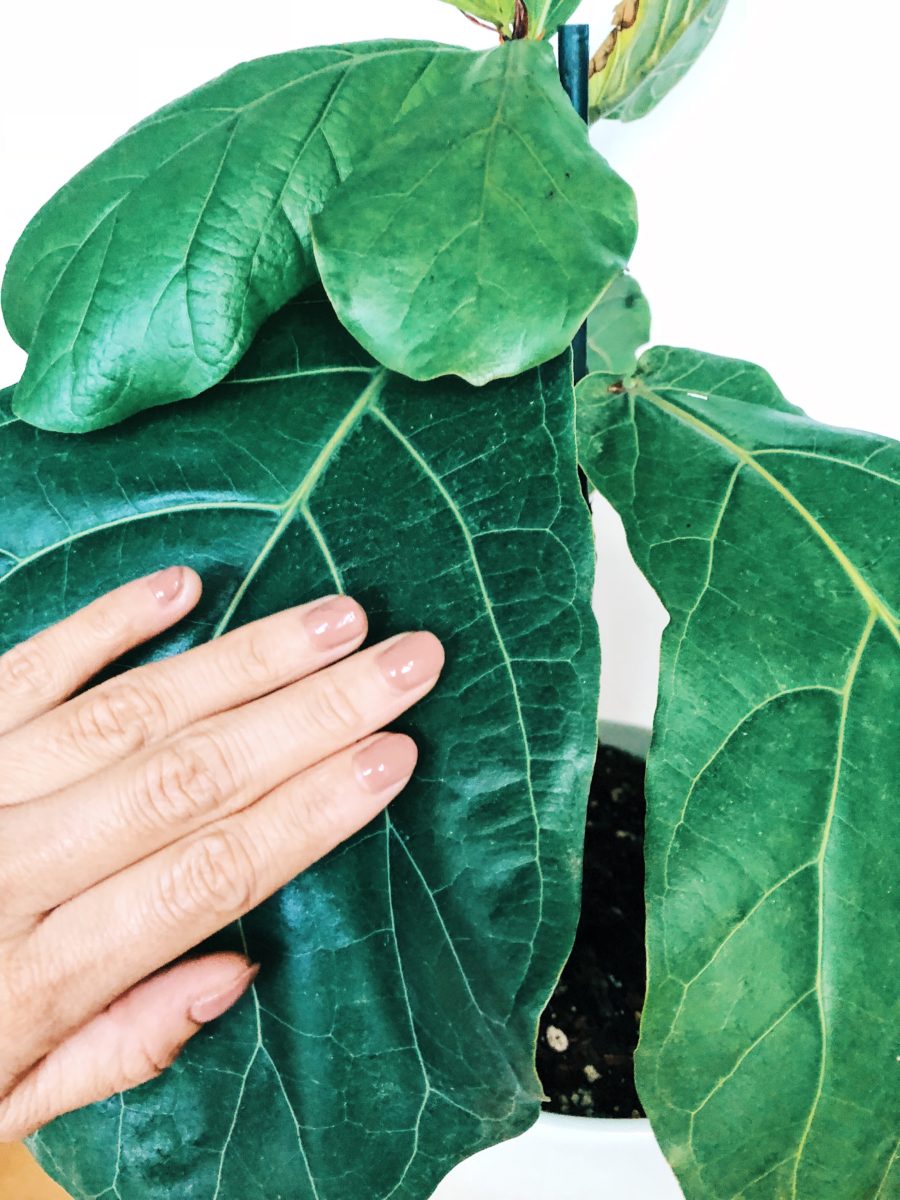
I purchased this kit a couple months ago and waited to share until I did a couple manicures on myself. I must say, after the third manicure, I’m really happy I got this kit and decided to start doing at home gel nails. The first manicure wasn’t great, but I’ve gotten better, and each time the manicure has looked better and lasted longer.

Tips
- Take your time, accuracy is more important with gel nail polish then with regular nail polish. If you dry your nails with paint dripping over onto your skin, the paint will peel up and won’t last as long as it should
- Remember to always soak your gel paint off. Peeling the gel off is damaging to your nails and will make them thin & brittle
- I try to wait a day or two in between gel manicures to let my nails breathe a bit
There you have it – months of manicures at a price that won’t break the bank!
xoxojackie

