This post contains affiliate links, your clicks keep me crafting!
As my plant addiction continues, I’ve started to run out of real estate to house all of my plant babies. To solve this “problem,” I decided it was time to better utilize vertical space in my apartment so I could continue adding plants to my home. And of course, the perfect solution is a DIY plant hanger.
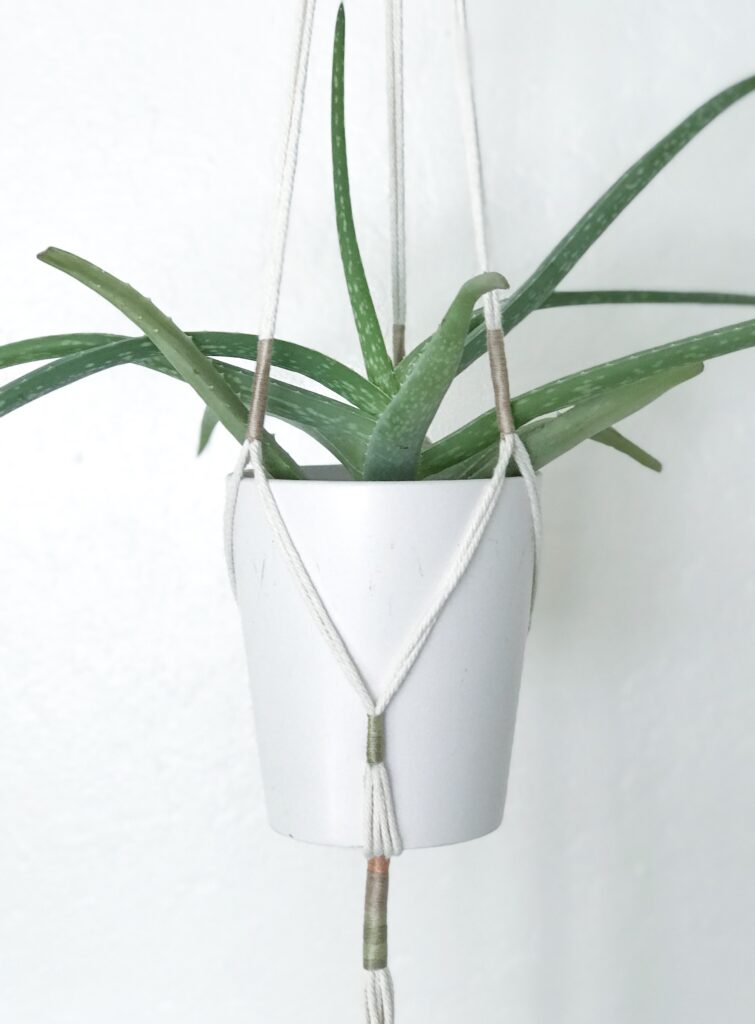
I have one macrame plant hanger in my bedroom, but for my first DIY, I wanted to make something more streamlined with a pop of color – read another shade of brown. To achieve the look I wanted, I decided against the traditional knotted macrame and went for a wrapped cord look. Using fairly thing macrame cord and embroidery thread, I created exactly what I had in mind!
This plant hanger is perfect if macrame seems a little intimidating to you. No special knots here – all you need to do is wrap your macrame cord with embroidery floss.
Materials
- Macrame cord – here – I used 3mm size
- Wood ring – here
- Embroidery floss – here
- Twist ties or extra thread
I purchased this kit, which contains macrame cord, wood rings, and a few other accessories on amazon.
Process
- Measure out 6 pieces of 5’ long macrame cord then put one end of the cord through your wood ring
- Tie cord together at the top of the ring, this is helpful in keeping your project secure while you’re working
- Take your embroidery floss and begin to bind the cord. Do this by starting as close to the wood ring as possible, then wind around and around, as closely together as possible.
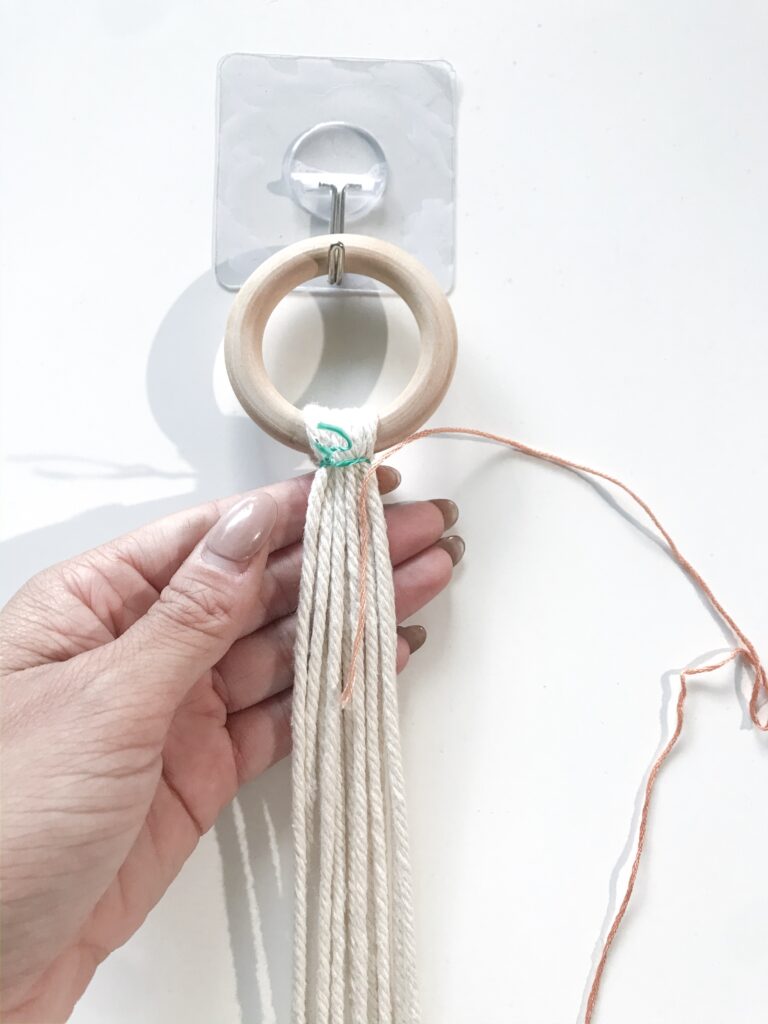
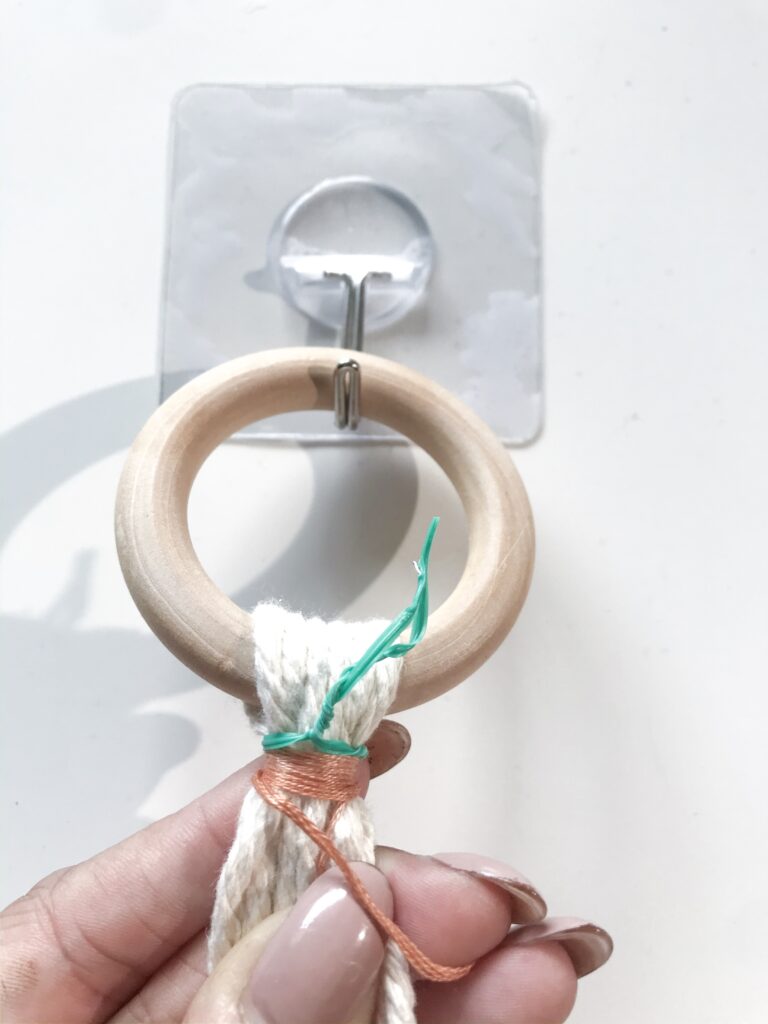
- Repeat with your second color, and then your third.
*Note* When binding your cord, you want to keep the extra thread from the top so you can tie the two ends together, illustrated in the photo above.
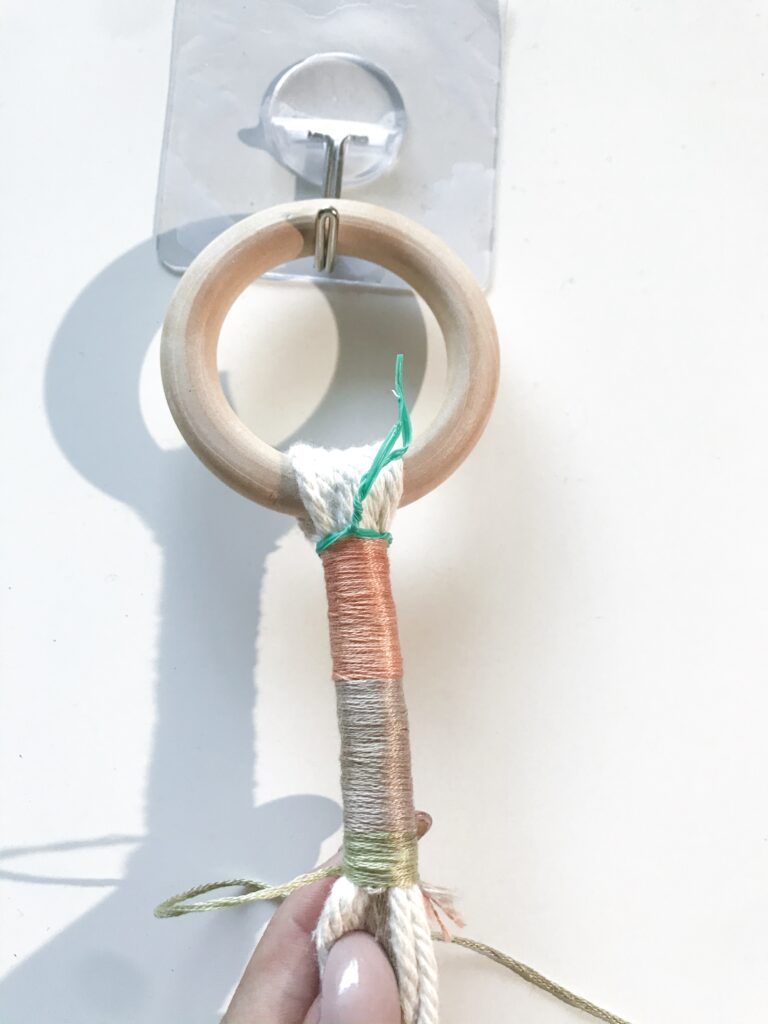
- Once the top is bound, you can remove the twist tie.
- Next, separate your cord into 3 bunches of 4. I like to continue using my twist ties so I can visualize and ensure the measurements align.
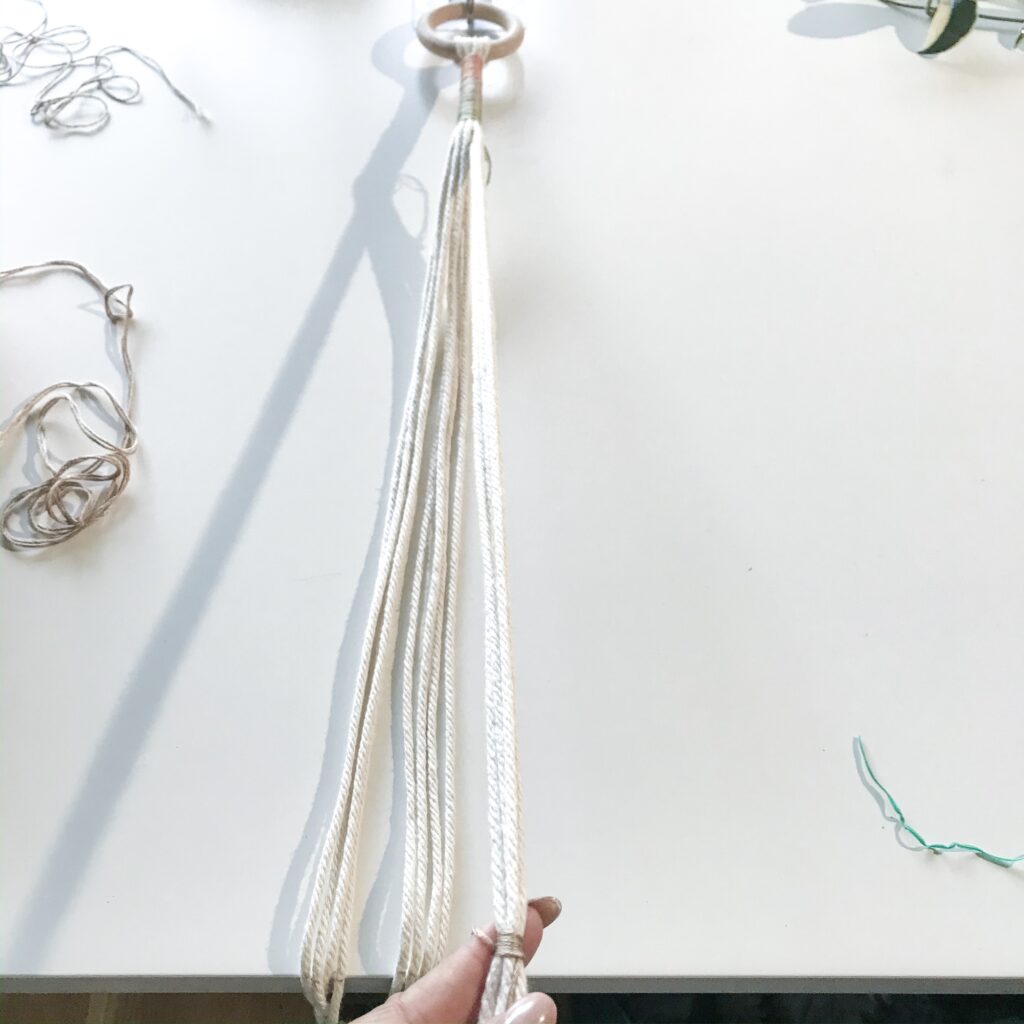
- Repeat the binding process on each of the 3 bunches. I chose to use a single color.
- A couple of inches lower, you’re going to separate the bunches into 3 new bunches – pairing 2 cords with the neighboring cords.
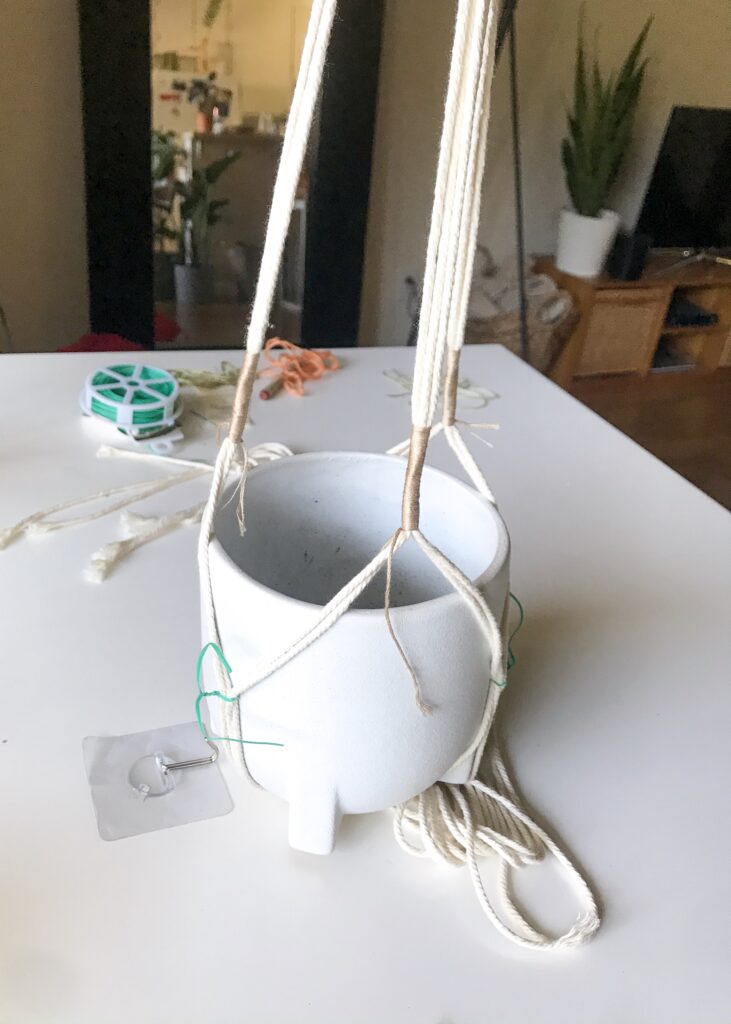
- Repeat the binding process. You now have the sides of the “basket” your planter will rest in.
- A few inches lower, gather all of your cord together and repeat the binding process from the top.
- Last, trim up your loose ends, and you’ve got a custom, chic plant hanger.
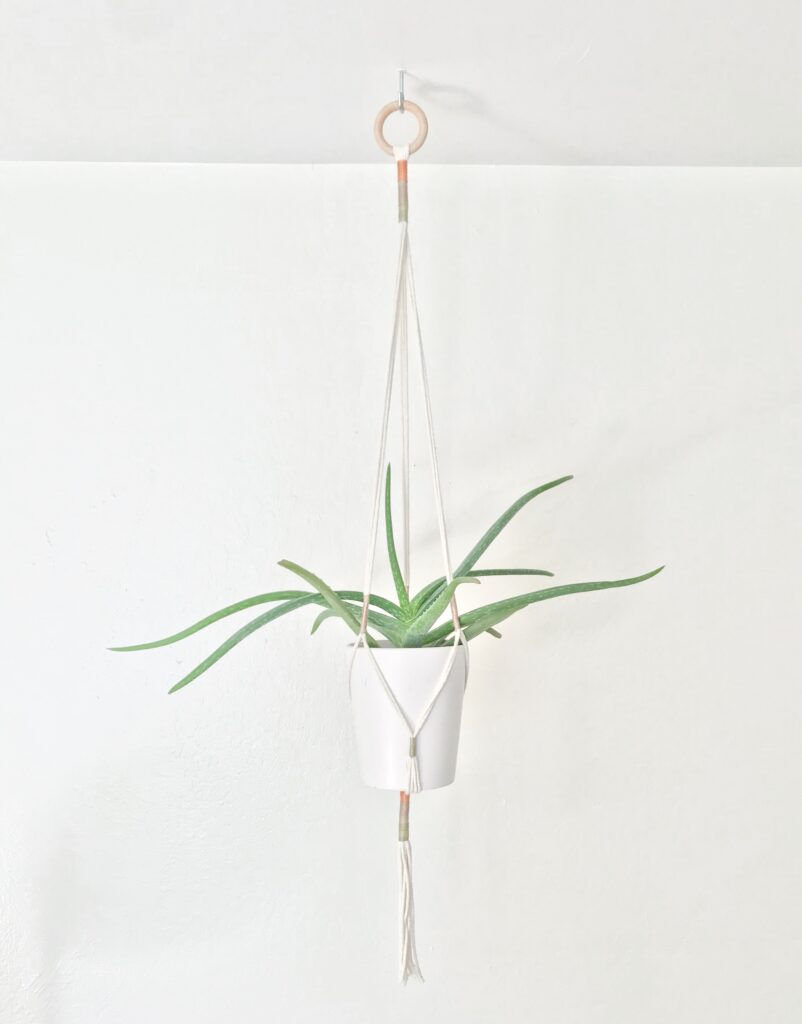
I’m pretty obsessed! I think the aloe fits perfectly.
How else would you make a modern plant hanger?
xoxo, jackie