Welcome back to the chronicles of my kitchen reno! Project by project, I’m creating the tiny kitchen of my dreams. One big eyesore has been in the way, though, so I’m excited to share this fun DIY cabinet solution.
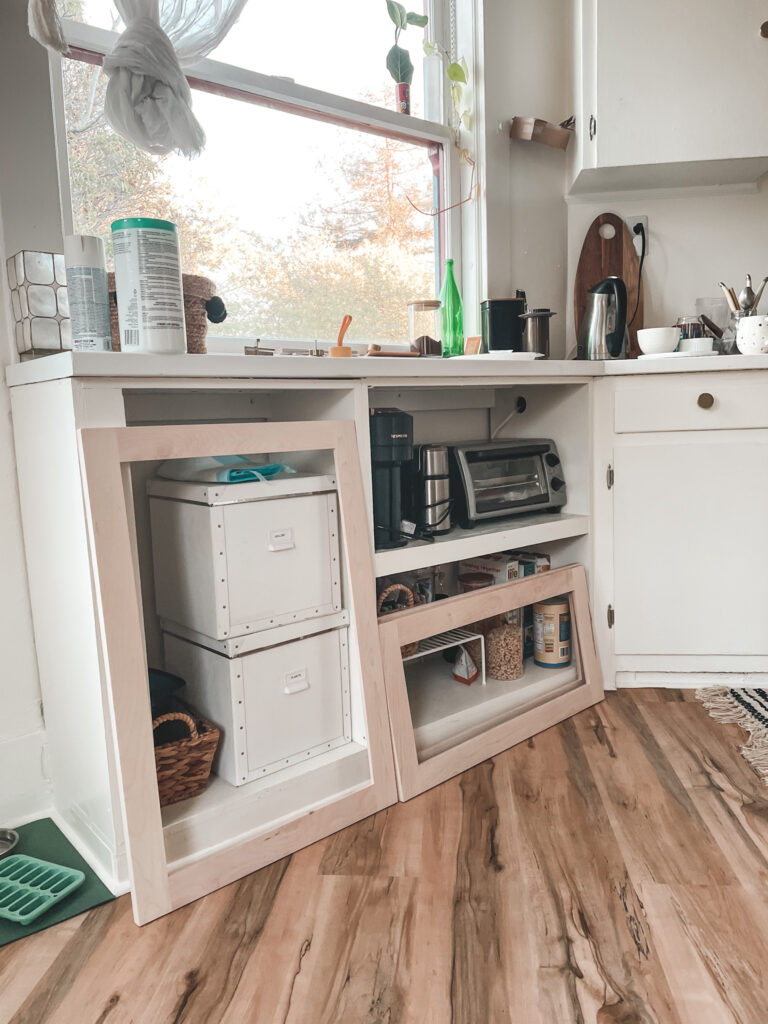
Open cabinets run along one side of my kitchen, and they hold everything from my toaster oven to cereal and tea. Storage is short in this tiny space so these cabinets are valuable. While useful, these open cabinets are needed a transformation.

I’ve been loving all of the natural materials I’m seeing in home design. Inspired by nature and the vintage feel of my apartment, I wanted to bring natural fabrics into my cabinetry. This project is part 1 of a much-needed solution to hide my wonky open shelving.
I’ve started seeing linen and other natural fabrics used on dressers and console units, similar to cane. I love the look and took inspiration to make linen cabinet doors. Using fabric definitely creates a more covered look – so I can really hide my toaster over, blender, etc.
Materials and products
- Cabinet doors: Style: shaker cut for glass
- Paint: Coconut Twist
- Linen fabric: here, here, here
Here’s what I did
- I ordered unfinished cabinet frames online. You could also build your own frame!
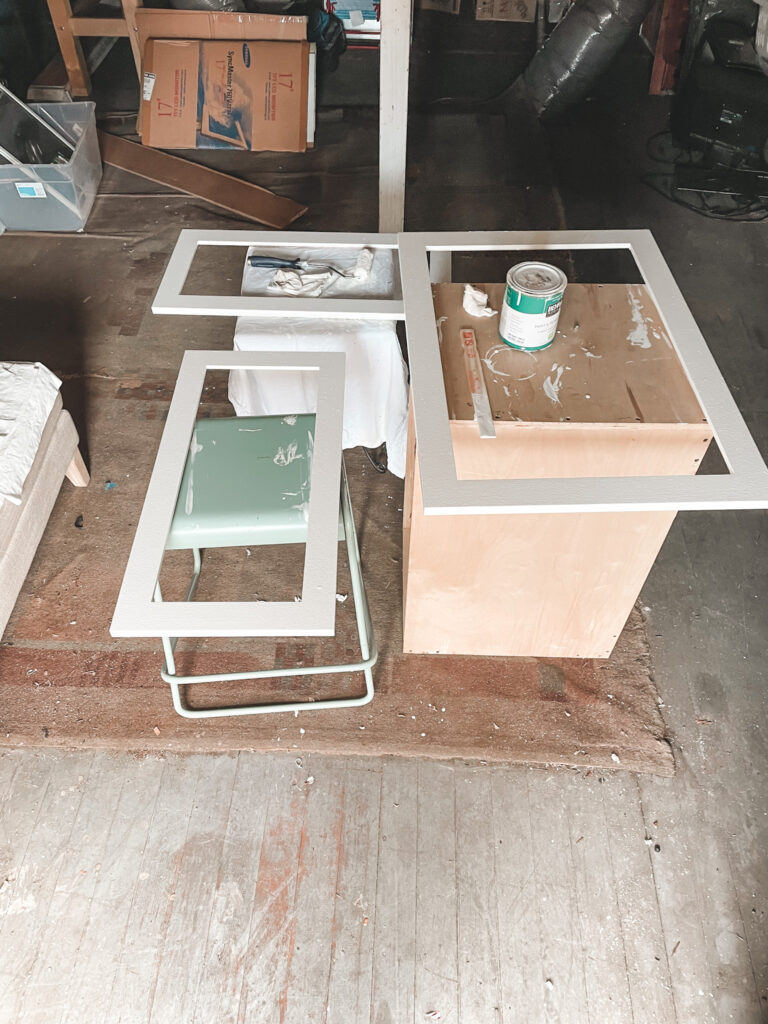
- I then painted the frames. I applied 3 thick coats of paint to give the frames some texture. My existing cabinets are rather old, so I wanted them to look as cohesive as possible.

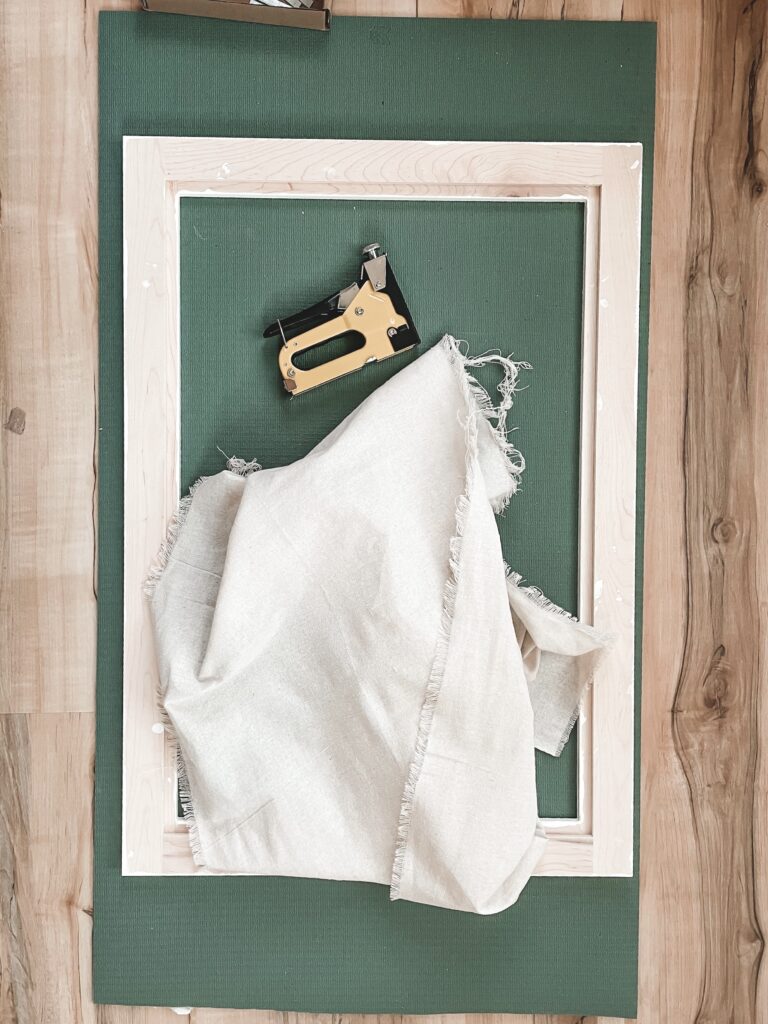
- Next, I cut my linen to size, leaving a 2ish inch allowance around.
- Staple gun / nail your linen around the opening so that it is taught. Make sure to keep stretching as you staple, so there aren’t gaps or loose spots.
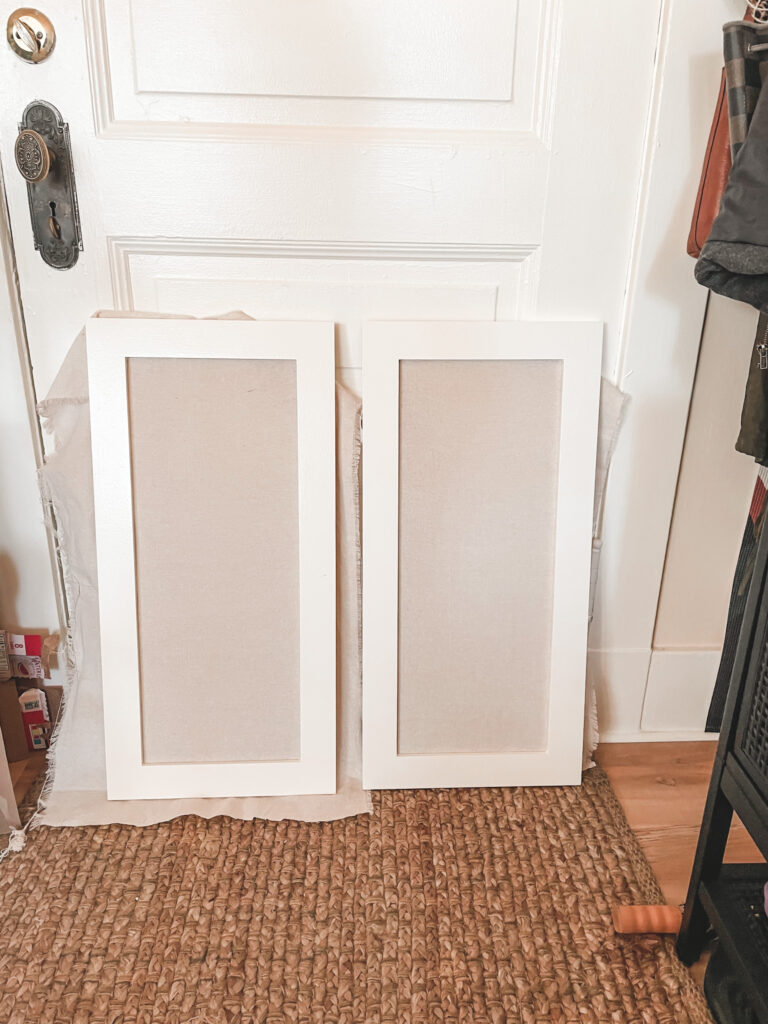
- Cut excess fabric and you’re ready to install!


I love the warm white and linen together, the cabinet doors definitely have the light and airy look I was going for. I’m so excited to get these installed.
Next up: Installing my cabinets! Check out this post for the finishing touches and installation.
xoxojackie