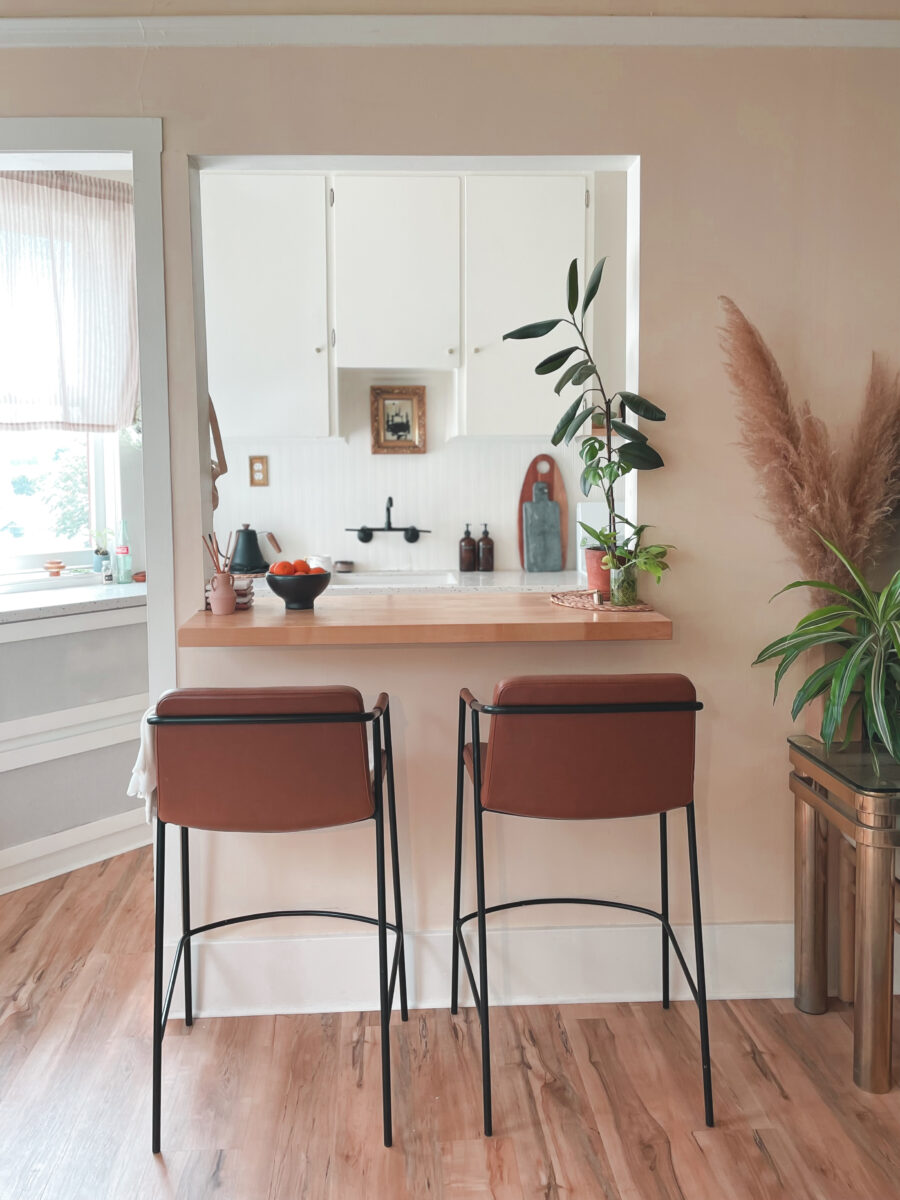
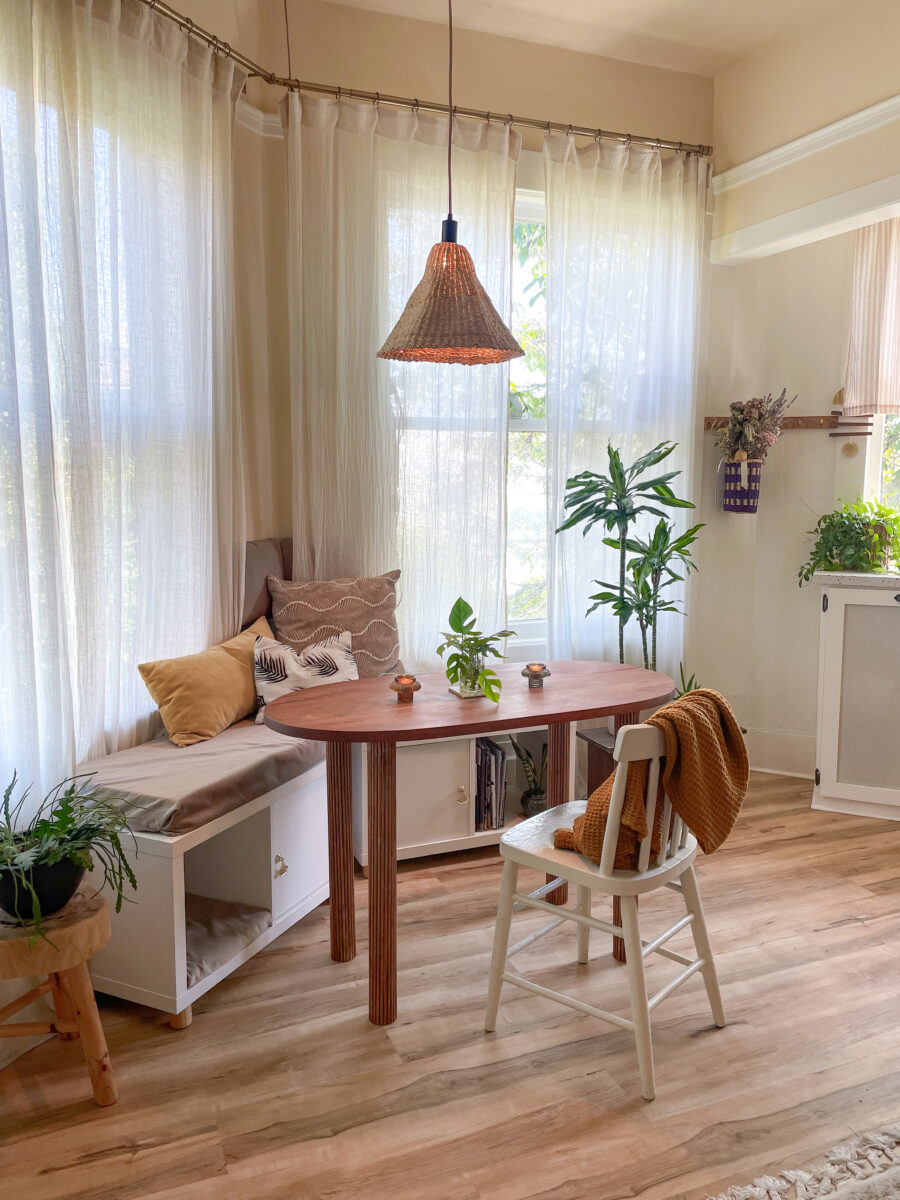
I’m back with another custom design hack to fit my tiny space! My dining/living space has gone through a few iterations. For the first time, I have a proper dining space, even if it is small.
With a small space and wonky space, I needed a fairly small dining table, and of course the look that I love is not available at an affordable price in my size.
To fit my space, I wanted a small solid wood, oval dining table – approximately 40-50 inches. The problem: this doesn’t really exist.
Here’s the hack
I found a solid wood coffee table with an oval top, and decided to diy the legs to match.
I love DIY however, I’m not a woodworker, so I needed this hack to be simple enough for me to complete and share with you. So for this project, I created a table without using any heavy carpentry or woodwork!
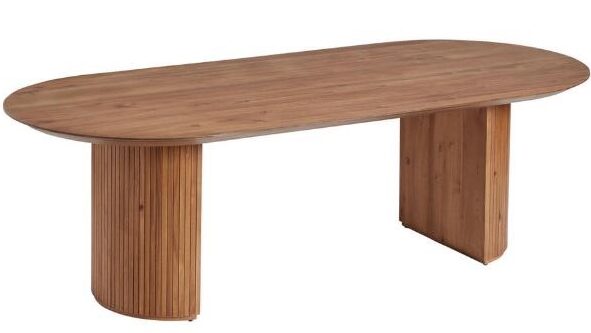
Inspo
I’ve loved the fluted or tambour table look that has gotten popular recently. I’ve seen, and loved tambour/fluted legs on furniture, and I wanted this look in my apartment.
Materials and Supplies
This project is fully customizable to fit your unique space.
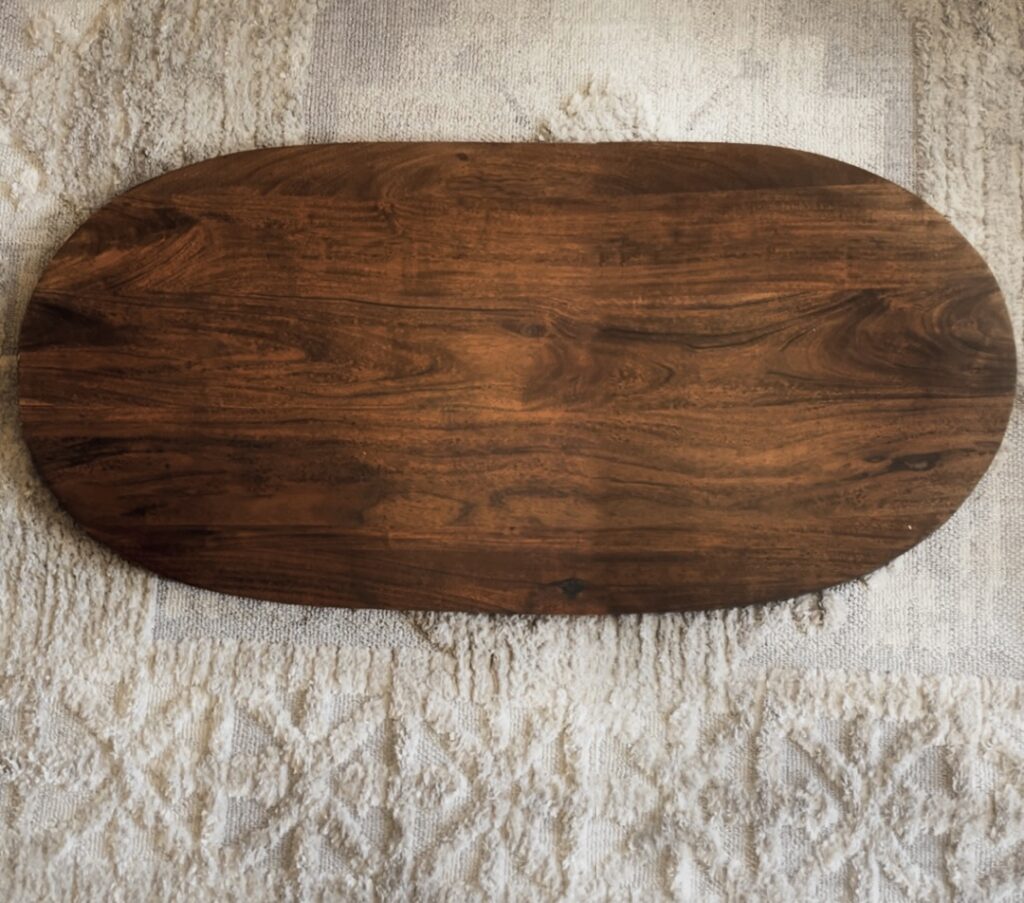
Oval Table Top
I found my table top while thrifting. It was actually a coffee table, but the size and shape were perfect for my small space.
You can hunt for a tabletop that fits your space in thrift stores, big box stores, or through bartering/trade sites like offer up or craigslist.
I purchased the rest of my materials online.
Tools used: sander, sheers, screwdriver.
DIY Steps
1. Source materials. I found a wood table that was the right shape for the project. I also picked up basic metal table legs and wood dowels.
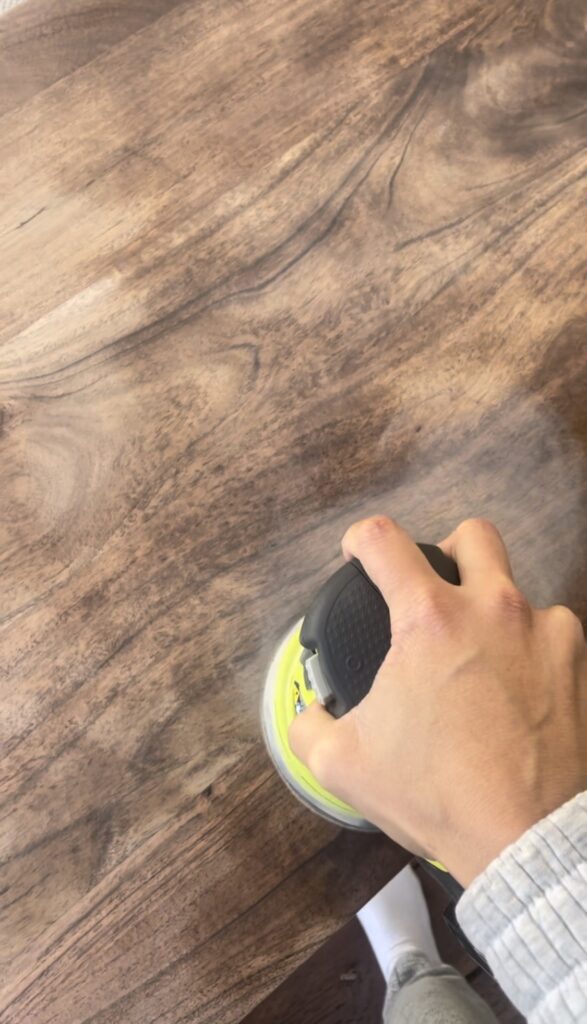
2. Prep materials. I sanded down my table top that was covered in a dark varnish. Next, I measured my wood dowels to the same length as my table legs.
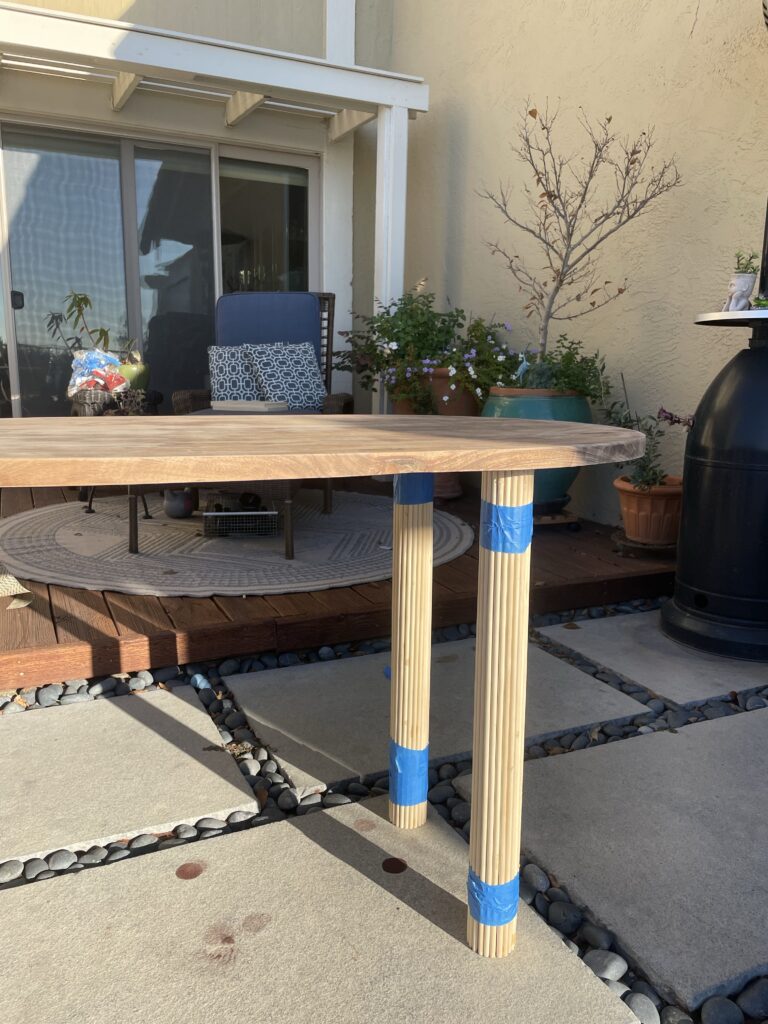
3. Create fluted legs. I used a strong adhesive glue to attach the wood dowels around each of the legs. Each leg required 24 dowels around. After applying glue + dowels, I used tape to secure everything in place. I let the adhesive glue fully cure according to directions.
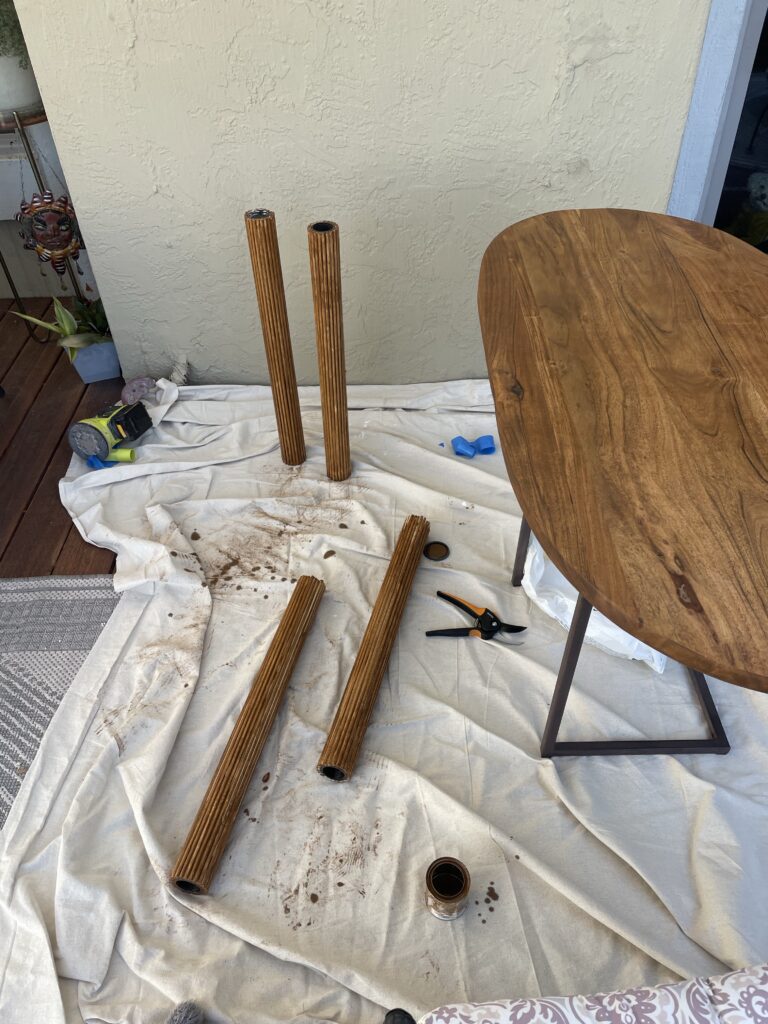
4. Stain wood. I stained both the table top and legs with a mid tone stain, Ipswich Pine. The dowels required two coats to match the top.
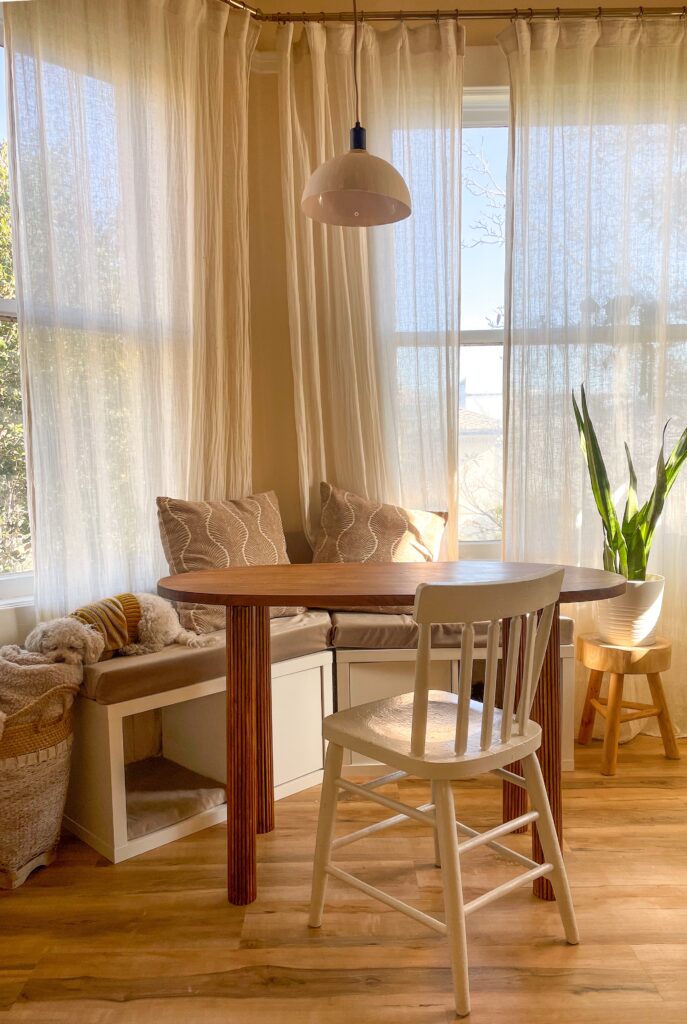
5. Attach and enjoy! Once all the pieces are fully dry, I attached the legs to the top.
I’m a big fan of the subtle fluted look the legs add to my small space!