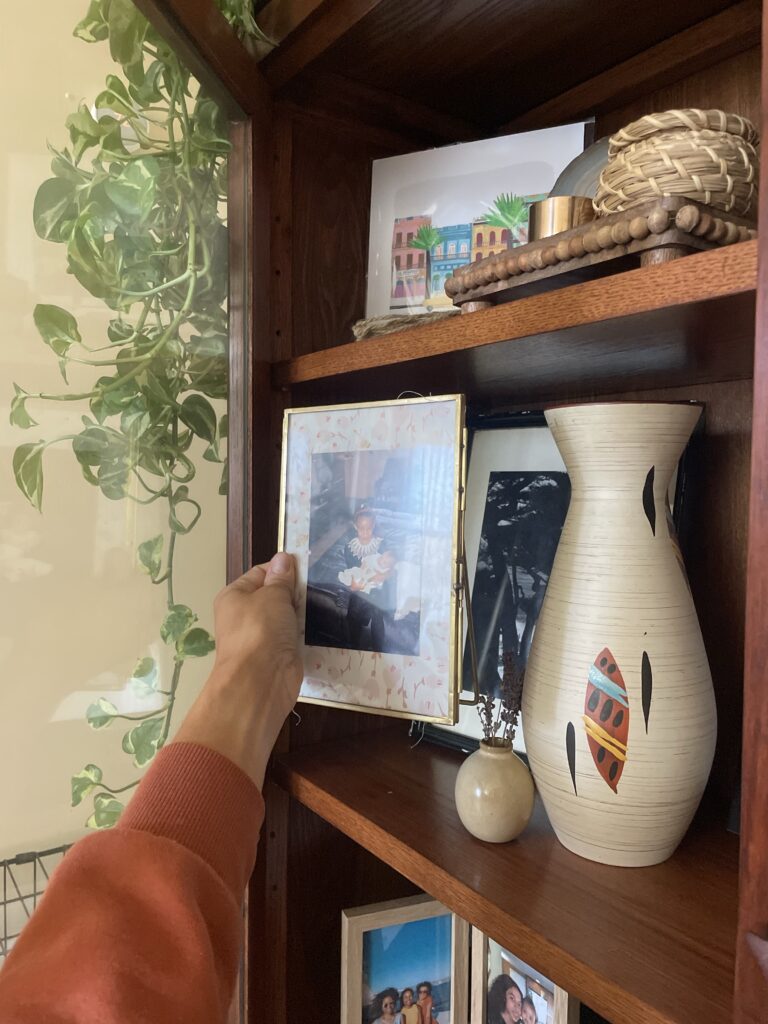
While shuffling papers on my entryway console, I picked up an old family photo and decided it needed a frame. In this project, I take unused decor and leftover fabric to create a one of a kind frame.
If you follow along with my DIY projects, you know I’m all about working with materials I have, reusing items, and up-cycling. Check out my other diy projects here!
Often, I let my existing materials guide my DIY projects. Inspiration and creativity come as I look through my bins of materials and tools. That’s exactly what happened with this project.
Check out how I created a custom photo frame and backing for my photo. It’s such an easy project, you could even change your fabric seasonally!

Sourced materials
Well, in my collection of odds and ends, I had a couple of larger frames to pick from. I decided on a brass, backless frame to work with. Any frame would work for this project, you’ll just want to make sure it’s large enough to give your photo the right amount of fabric backing surrounding the photo.
Similar brass frames
For the fabric, I went with a scrap of fun floral print. I’d recently ordered fabric from a shop on Etsy for another project, and got inspired to use one of the floral prints in this project.
Here’s how I DIYed the frame
This project is so simple, anybody can make a custom frame.
- First, measure your frame. (You’ll want a frame that is larger than your photo to make a border)
- Next trim your fabric to match frame measurements.
- Assemble. Attach fabric to your frame with tape, then make a tape loop to secure your photo in the center of your frame.
