This post contains affiliate links.
Filling a raised garden bed is one of those things that sounds simple until you price it out. A standard 4×8 bed filled entirely with bagged soil can run $80–$150 before you’ve planted a single thing. There’s a smarter way — layering organic material at the bottom of the bed, topping it with quality soil, and letting the layers build on each other over time. My beds got three bags of soil each. That’s it.
The method has a few names. Some call it lasagna gardening. Others call it hugelkultur. The idea is the same: use what you already have, spend only where it counts, and build a bed that gets better every season.
What Goes in the Bottom Layer
The bottom of the bed is where organic debris goes — the material most people throw away or bag up for yard waste pickup. Twigs, sticks, dried leaves, spent plant stems, small branches. Before setting up my beds, I spent a few weeks saving trimmings from around the backyard. By the time the beds were assembled, the bottom layer was ready to go.
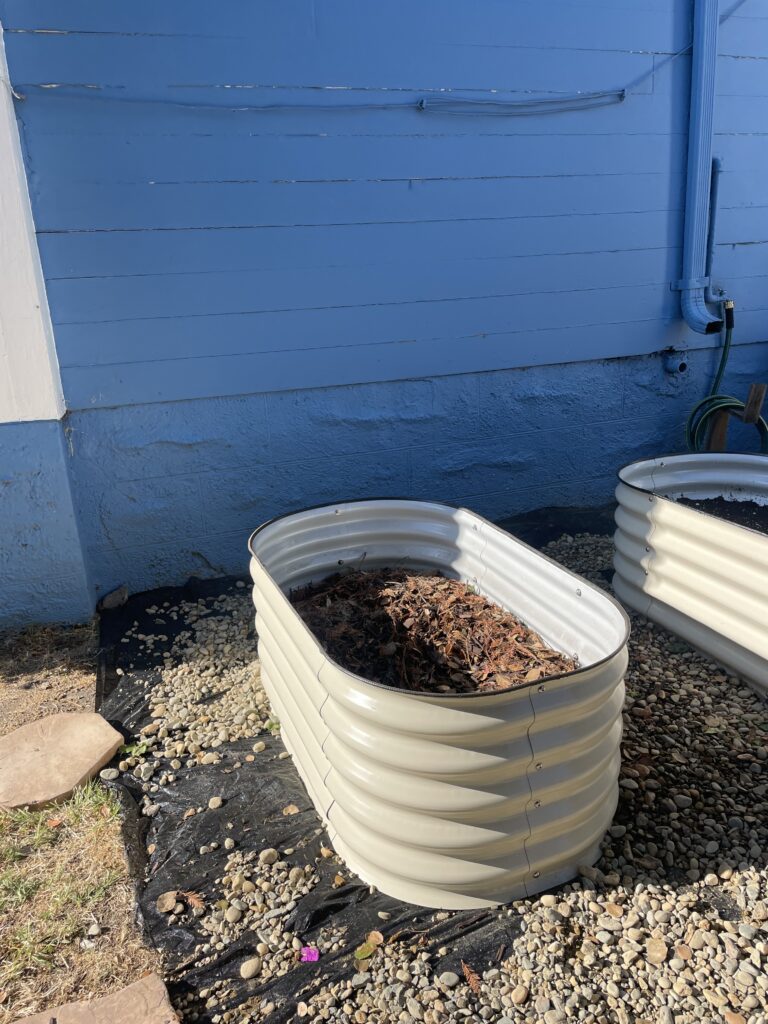
This layer does real work. As it breaks down, it feeds the soil from below and adds nutrients over time. It also creates air pockets that improve drainage and gives earthworms something to work through. A raised bed filled this way gets richer with each passing season.
What works well in the bottom layer:
- Dried leaves and leaf litter
- Twigs and small sticks
- Spent plant stems and stalks
- Cardboard (breaks down quickly and smothers any weeds below)
- Grass clippings
- Straw
Pack it in generously. The material compresses and breaks down over time, so filling it higher than feels necessary at the start is the right move.
The Middle Layer
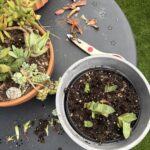
A middle layer between the organic debris and the top soil adds a nutrient bridge that benefits plants from the start. A bag of compost or worm castings spread across the bottom layer before the soil goes in gives roots something rich to reach into early in the season.
This layer is optional — the beds produce well without it. But if compost is available, this is the right place to use it.
The Top Layer: Your Soil
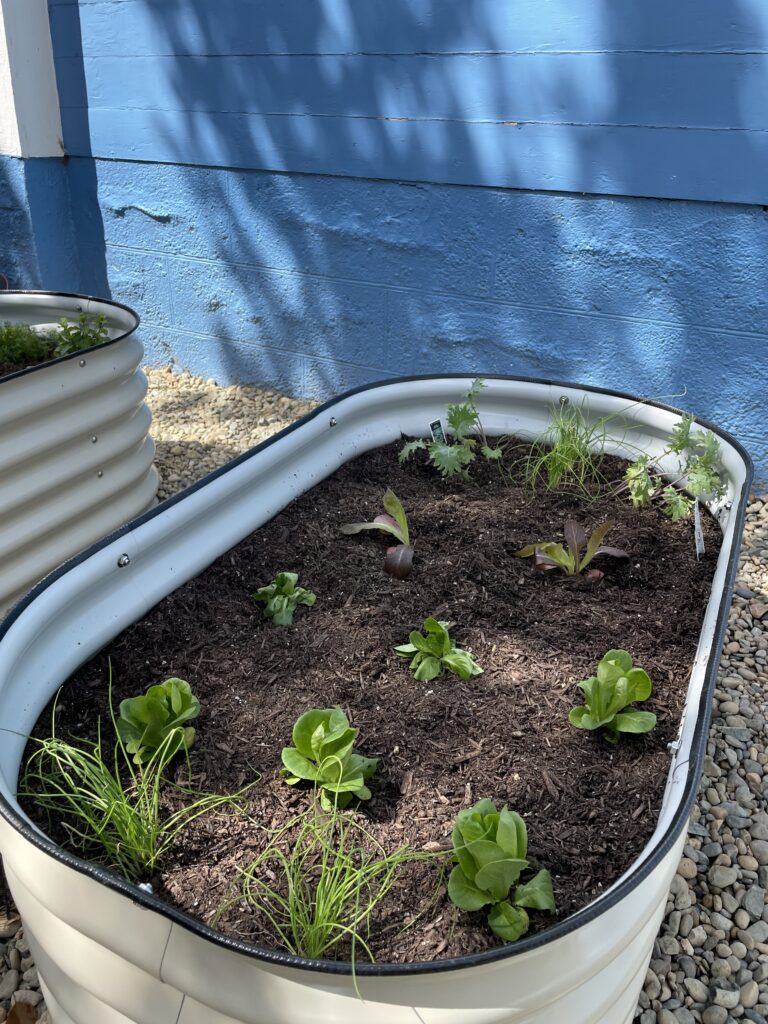
The top layer is the only part your plants actively grow in, so quality matters here. A good organic potting soil gives you a clean, nutrient-rich growing medium with good drainage and no weed seeds carried over from the ground below.
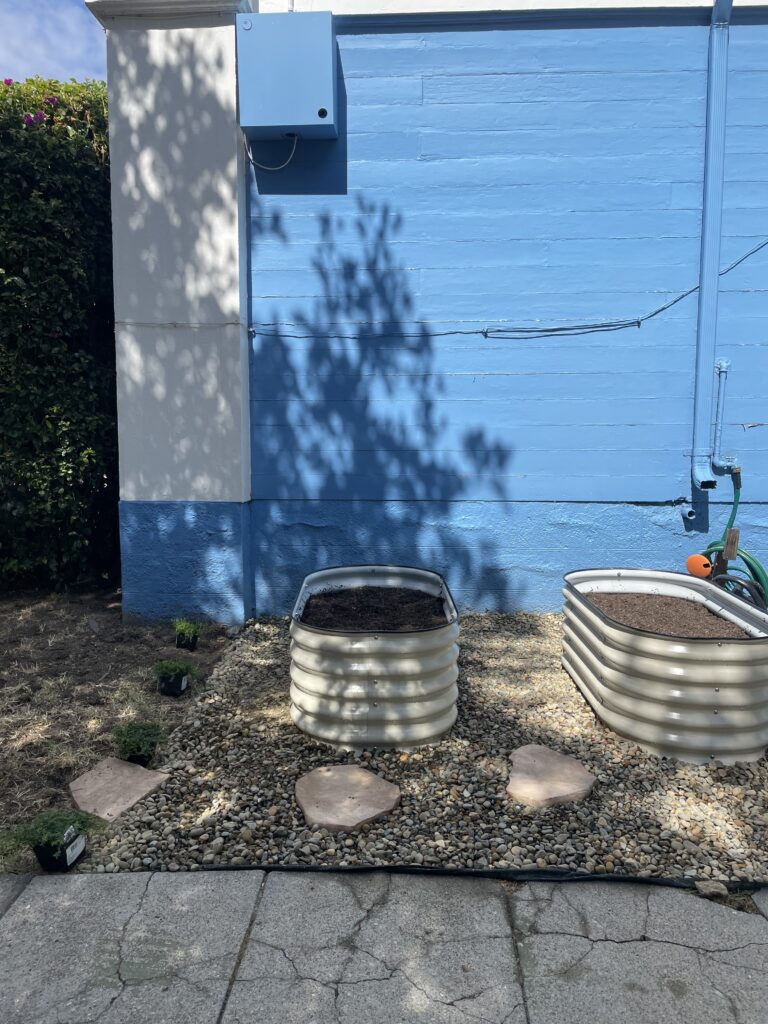
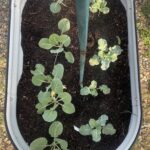
For my beds, three bags per bed filled from the top of the organic layer to the rim. The exact amount depends on your bed size and how compressed your bottom layer is — but plan for less than you think you need and adjust from there.
A few soil options worth considering:
- FoxFarm Ocean Forest — nutrient-rich, well-draining, excellent for vegetables
- Purple Cow Organics (Raised Bed Soil) — most garden centers carry a version, typically a mix of compost, topsoil, and bark
- A DIY mix of equal parts compost, vermiculite, and peat moss — the classic formula for strong drainage and root development
Why This Method Works Long-Term
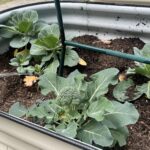
A bed filled this way is an investment that compounds. The first season, the bottom layer is mostly intact. By the second season it’s actively breaking down and the soil above gets richer. By the third season the whole bed has transformed into a deep, loamy growing environment that holds moisture well and supports strong root systems.
Filling entirely with purchased soil depletes over time and needs amendment every season. The layered approach builds a bed that improves on its own — less work, better results as the years go on.
The Quick Setup Checklist
- Assemble your bed and place it on weed barrier fabric to block ground weeds from below
- Fill the bottom half to two-thirds with organic yard debris
- Add a middle layer of compost if available
- Top with 3–4 bags of quality organic soil
- Water thoroughly before planting to help everything settle
The materials for the bottom layer cost nothing — they come from the yard. The only real investment is the top soil, and three bags covers more ground than most people expect.