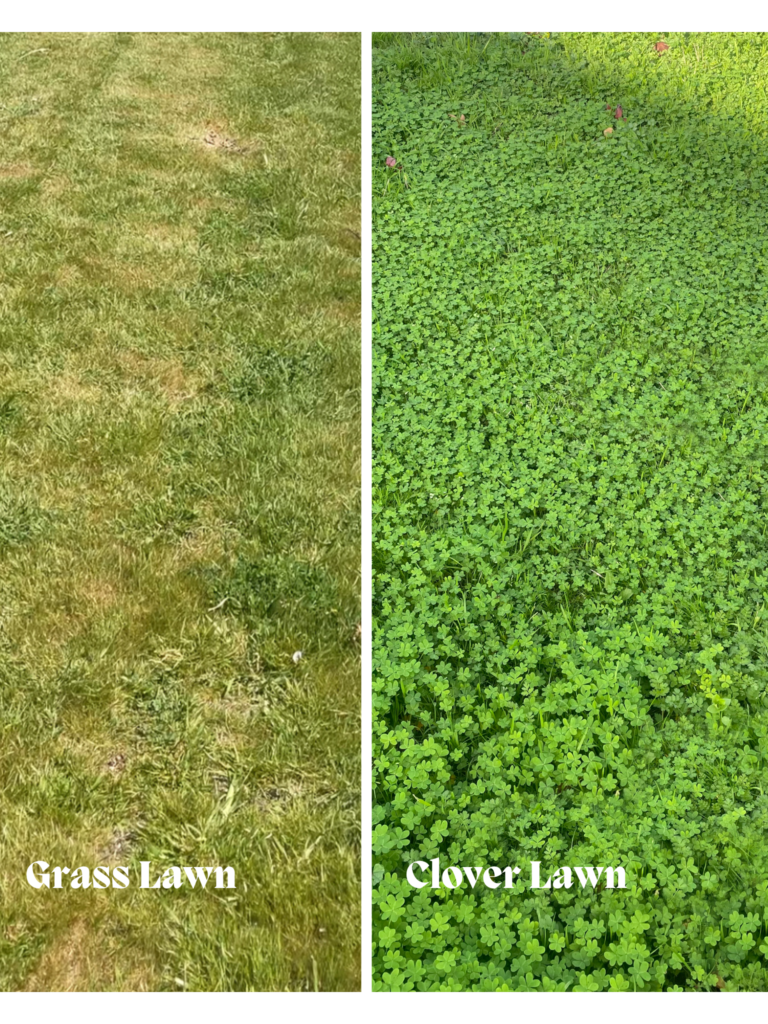
For nine months of the year, our lawn was covered in dead grass, exacerbated by the ongoing drought in California. We questioned the necessity of maintaining a large grassy area that required copious amounts of water. Instead of settling for yellowed grass as a temporary solution, we decided to embark on a journey of transforming our lawn into a lush clover paradise. Join me as I share the process of replacing our unsightly lawn with an eco-friendly alternative – clover!
Additionally, crabgrass, fox tails, and other prickly weeds had also taken over the large front yard, making it pretty unpleasant for humans and dogs to enjoy. What a waste!
My goal was to transform this dead/wasteful lawn into an attractive, sustainable space. Follow along as I replace this eyesore of a front lawn with an eco-friendly lawn alternative – clover!
Why choose clover?
Clover is an excellent substitute for traditional grass lawns, offering several advantages
- Drought Resistance: Clover thrives with significantly less water compared to grass lawns, making it ideal for water-scarce regions like California.
- Soil Adaptability: Unlike grass, clover doesn’t demand specific soil conditions or fertilizer. It can flourish in almost any soil type.
- Durability: Clover is resilient and can withstand foot traffic, making it perfect for pathways and yards.
- Low Maintenance: While mowing clover is an option to maintain a compact appearance, letting it grow taller adds an attractive dimension to your lawn. Additionally, clover handles dog urine better than grass, a boon for pet owners.
Which clover is right for me?
There are many varieties of clover available. White clover is a popular pick and comes in standard and micro-size varieties. Crimson clover is another popular pick for those who are looking to add color to their lawn. These clovers are widely available in garden stores and online.
Clovers that are native to your region are the best clover to grow. For example, Tomcat clover, a vibrant pink clover, is native to the west coast and is a great, native clover for the area.
Going from grass to clover
Prep and Seeding
To go from grass to clover, we first removed the existing grass lawn. This meant digging up the grass and the top 6 inches of soil with it to rip out the grass root system.
Next, we replaced the topsoil with bags of garden soil. In all, it took 10 or so bags to cover the exposed dirt.
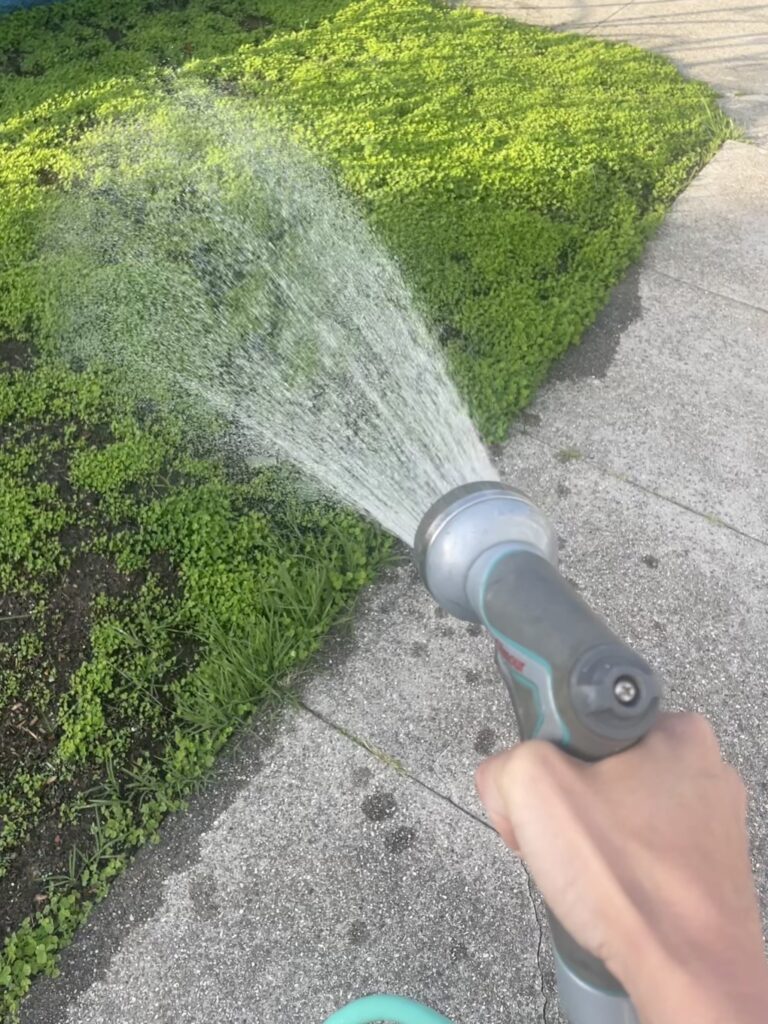
Using a mix of clover, I threw seeds to cover the soil. Next, I threw a thin layer of soil to provide a 1/4-inch layer on top of the seeds. I watered generously.
I continued watering in the evenings for two weeks.
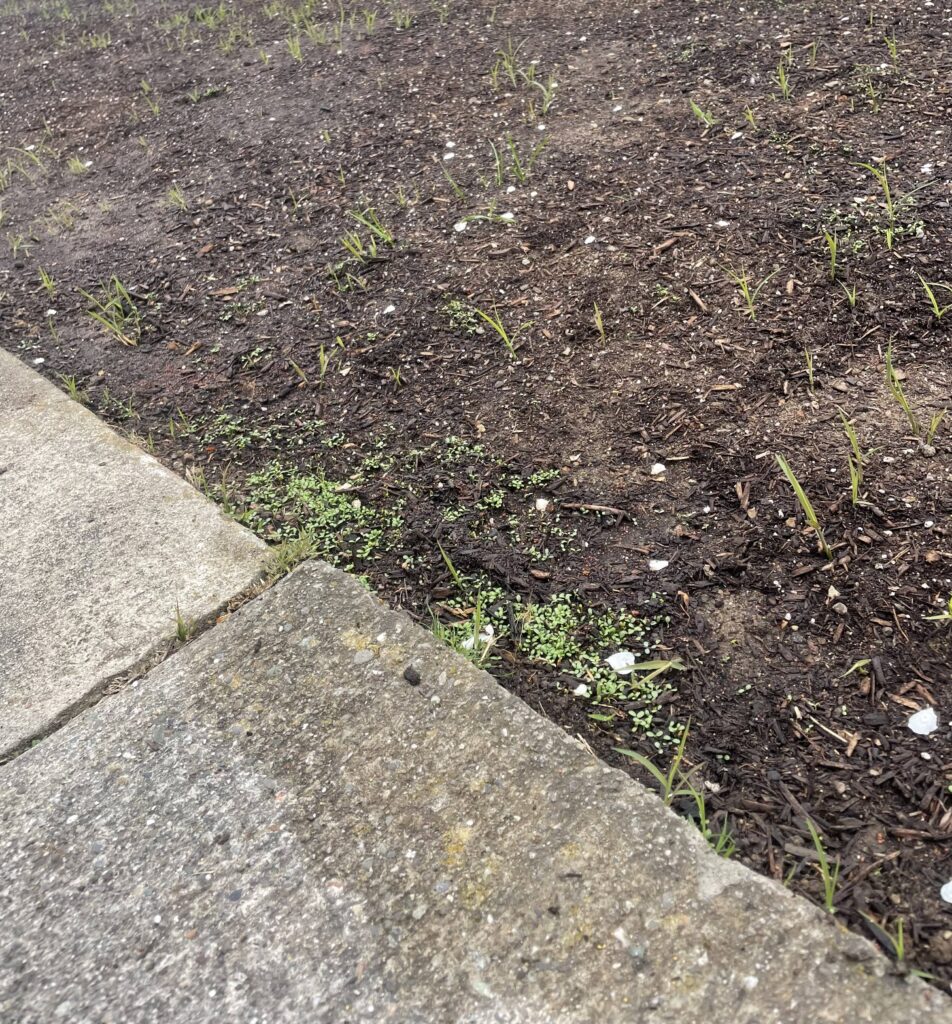
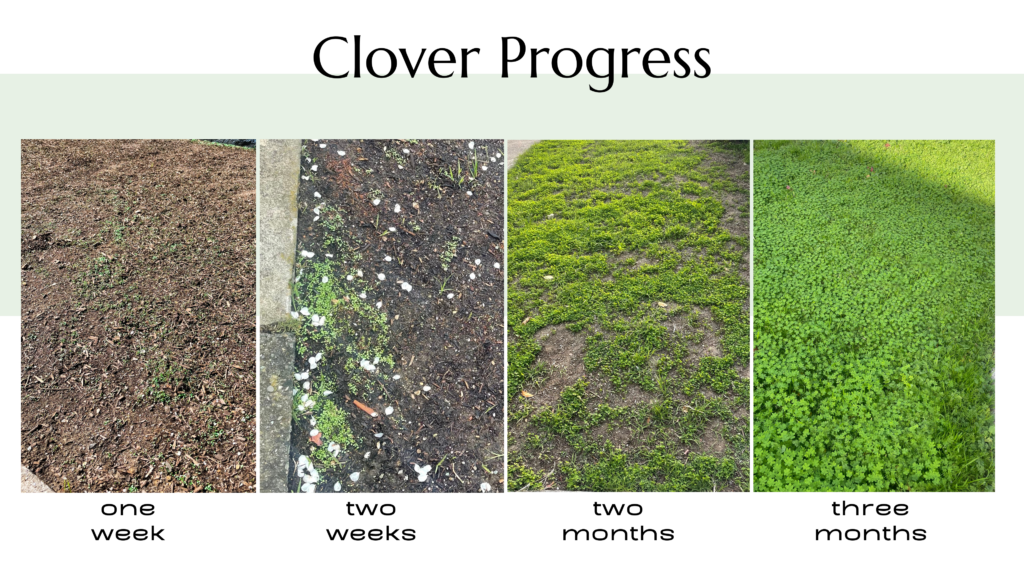
Two Weeks
After two weeks, groupings of seedlings popped up across the yard. Edges and a couple of downslope areas seemed to be doing the best. Water is key in getting your clover to take, initially.
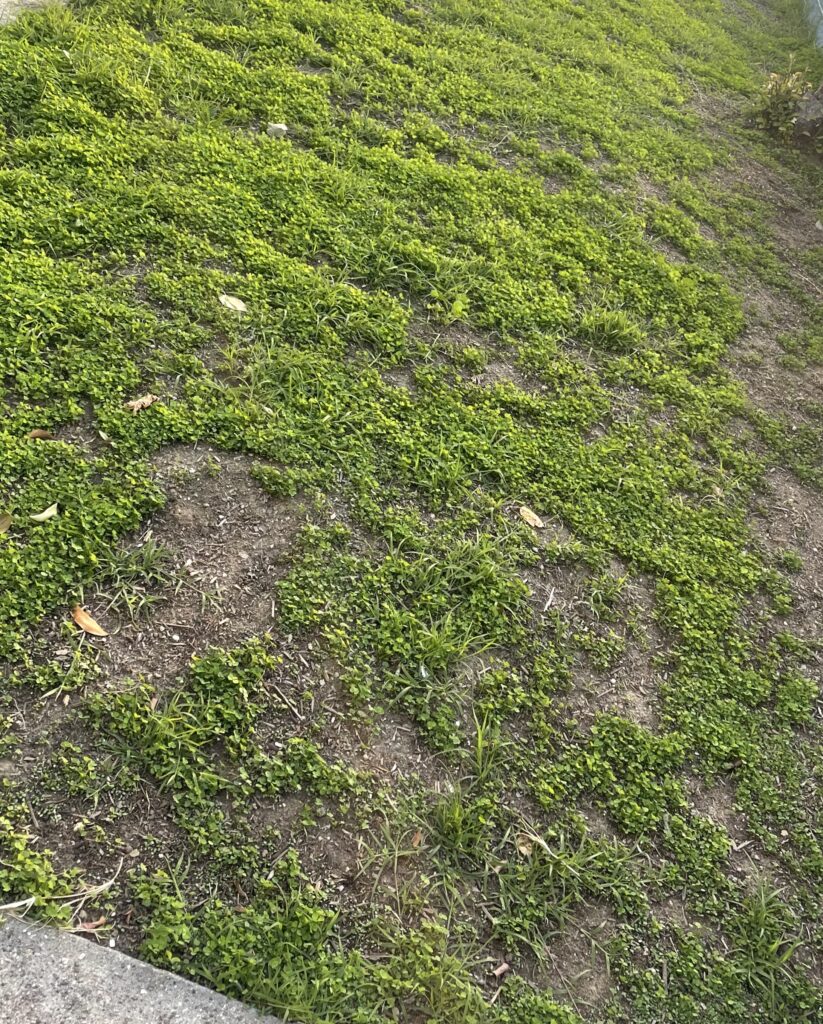
Two Months
After two months, the lawn is a bit patchy.The areas that receive more shade are doing better than the side of the grass that is in bright sunlight for most of the day.
We’re dealing with some pretty pesky crabgrass, and reseeded the clover over the grass to fight it off a bit. I used Tomcat clover to reseed, excited to reintroduce a native plant into the area.
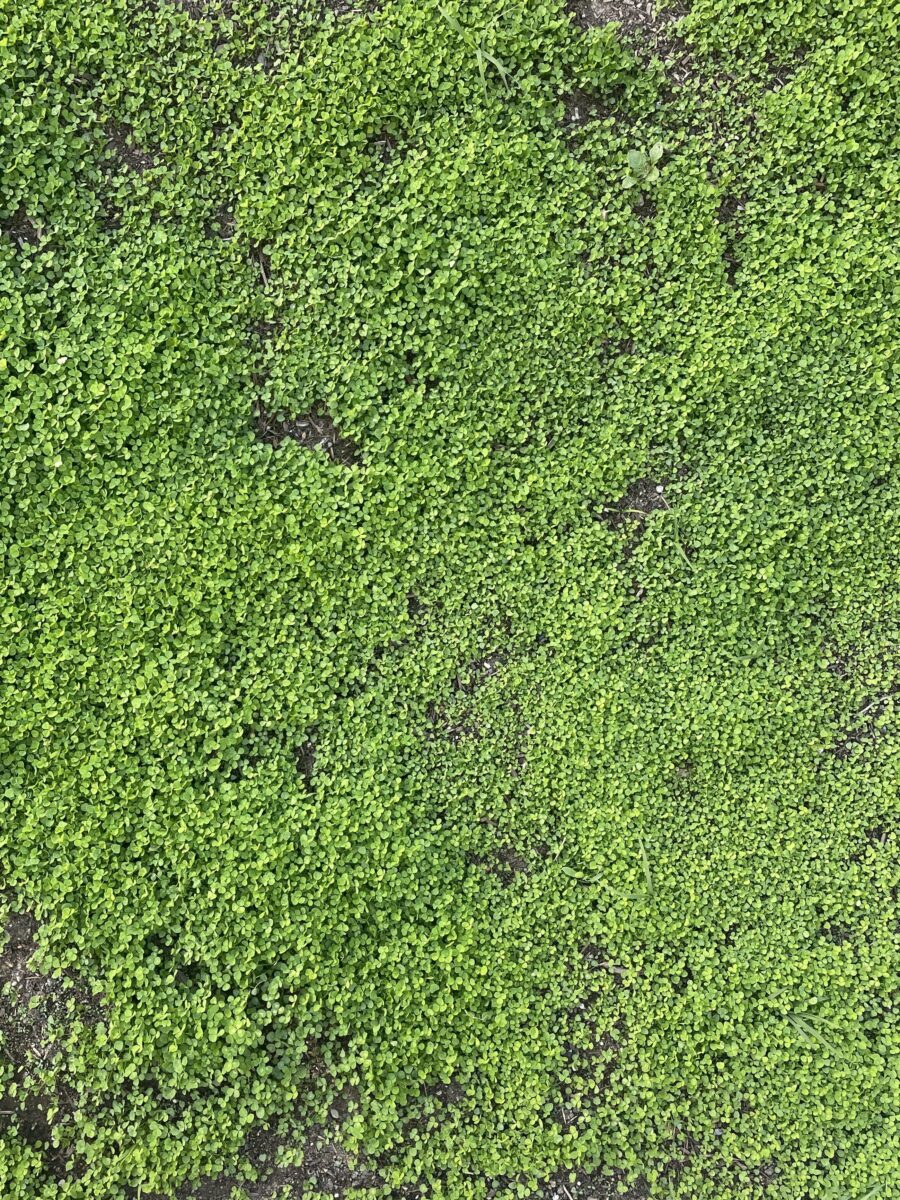
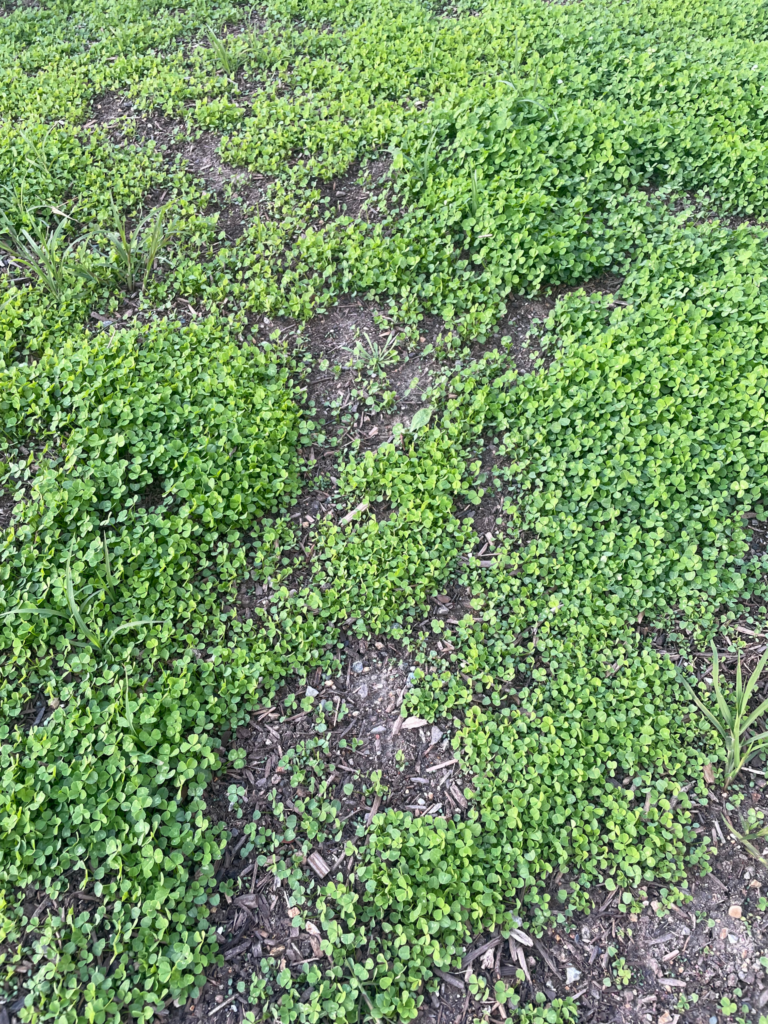
Three Months
Overall, I love the look of clover and the journey from grass to clover is one that I’m happy to make. It’s certainly a learning process, and as I learn more about natives, I look forward to using those as much as possible.
Want More on Clover? Check out the How to Grow a Clover Lawn Guide
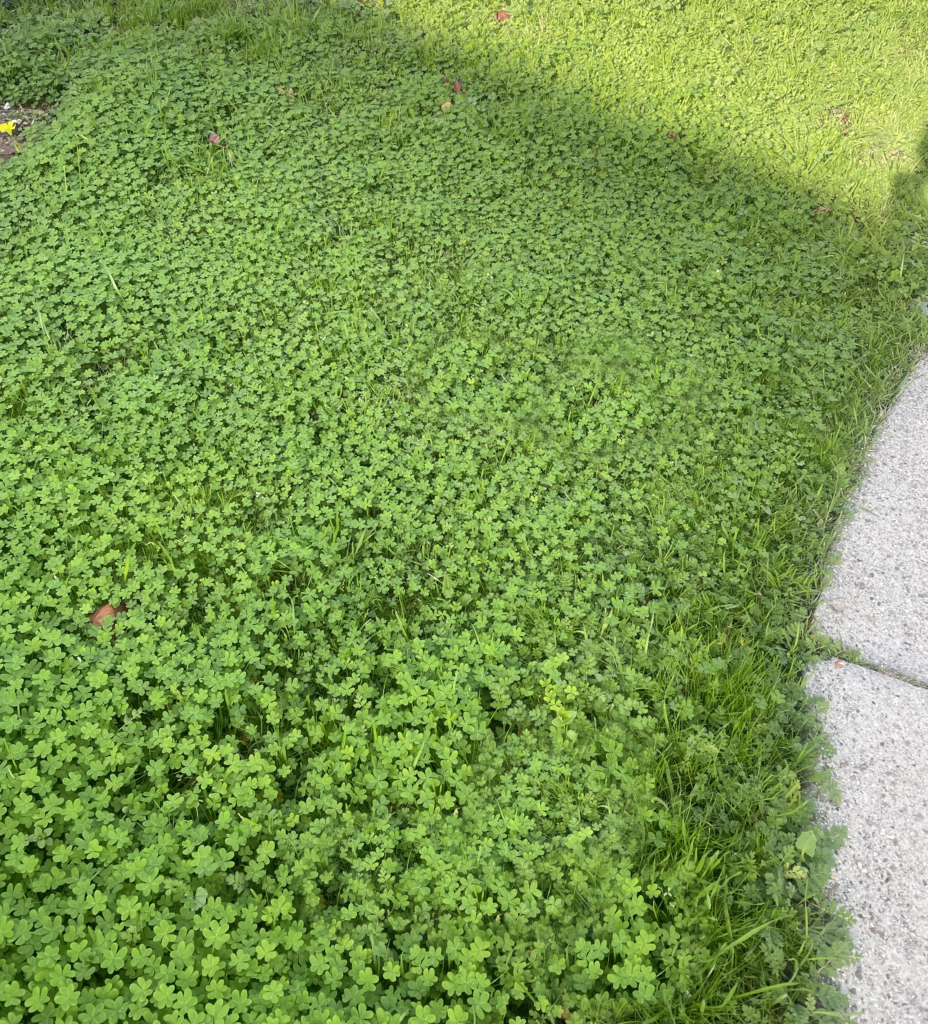
One-Year Update – May 2023
Let me share an update on the clover lawn today.
Over the last few months, with the help of an unusual amount of rain here in California, the clover lawn really took off. I love the full, natural look, so I haven’t mowed the lawn and let the clover grow and flower.