A few months since last buying any plants for the home, I started to get the itch to add a couple to the family. It was a little rocky when we first got a handful of plants for the apartment, we over watered, then let then dry out a little too much – all within the first month! But a few months later, we’ve got the hang of it, so what better time to add a few new plant babies to the equation!
The day after a long hike in Point Reyes to Alamere Falls ( amazing, I highly recommend) we were relaxing and thought: perfect lazy Sunday activity!
This was also the perfect time to do a little maintenance on our existing plants. Along with the new plants, we also got a couple larger pots so we could repot a few growing plants.
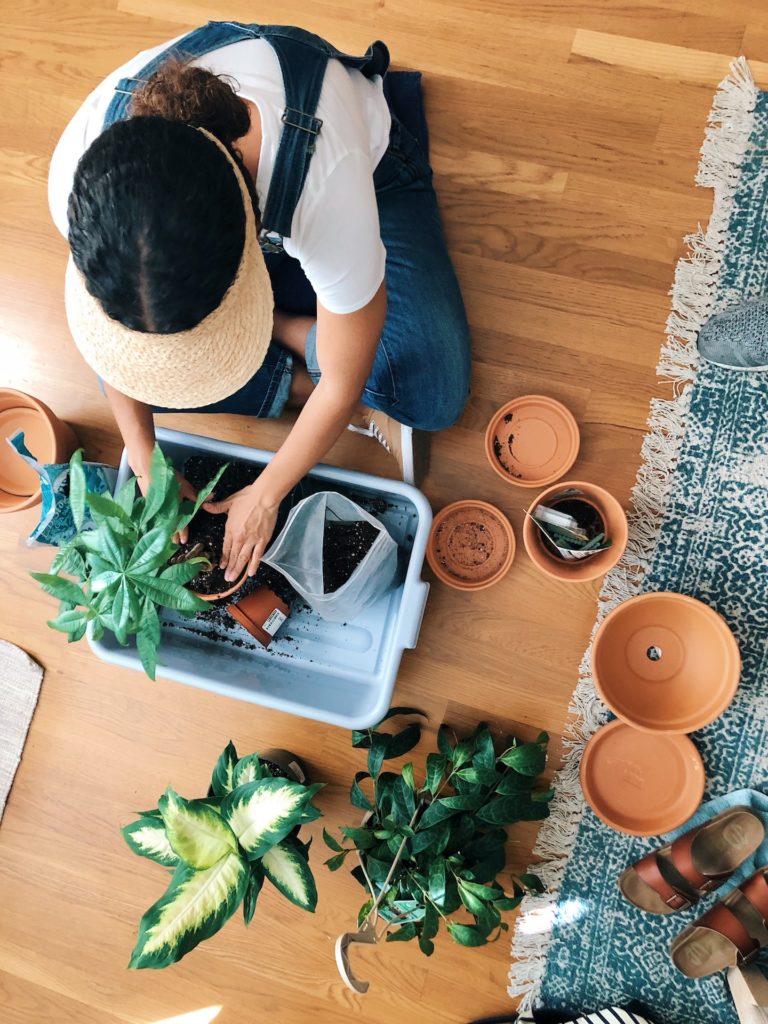
when to repot plants
For us, we purchased some new plants and wanted to transfer them over to terra cotta pots. But you’ll also want to repot your plants if:
- The plant looks like it has grown too big for its pot
- The roots are growing out of the bottom through the drainage hole or pushing above soil
- The soil is dried out or looks like it is disintegrating
- Or, it’s been years since you repotted it (or you’ve never repotted your plant)
Whether repotting to give your plant more space or you just want to change your decor up, take a look at these steps to ensure a successful repot!
what you’ll need
- Fresh soil
- A slightly larger pot – I love terra cotta pots like these, they’re reasonably priced, look great, and are made with your plants’ health in mind
- Drainage materials – pebbles or activated charcoal are my go-to’s
- a bin or newspaper to work on
repotting tips
When repotting plants, I’m sure to do a few things to make sure my plant survives the transfer.
step 1
Water your plant a day or two before you plan to repot your plant.
step 2
Choose a pot that is slightly bigger than your previous pot. While you want to give your plant a little room to grow, you don’t go too large.
step 3
Turn your plant sideways and gently pull.
When removing the plant from the plastic pot or previous home, it’s important to gently loosen up the roots a bit. To do this, I use a larger bin as a soil catch and gently shake my fingers through the roots. This is important because your plant has been living in its home for some time, to make sure it uses up the space in your pot, you want the roots to loosen up a bit.
step 4
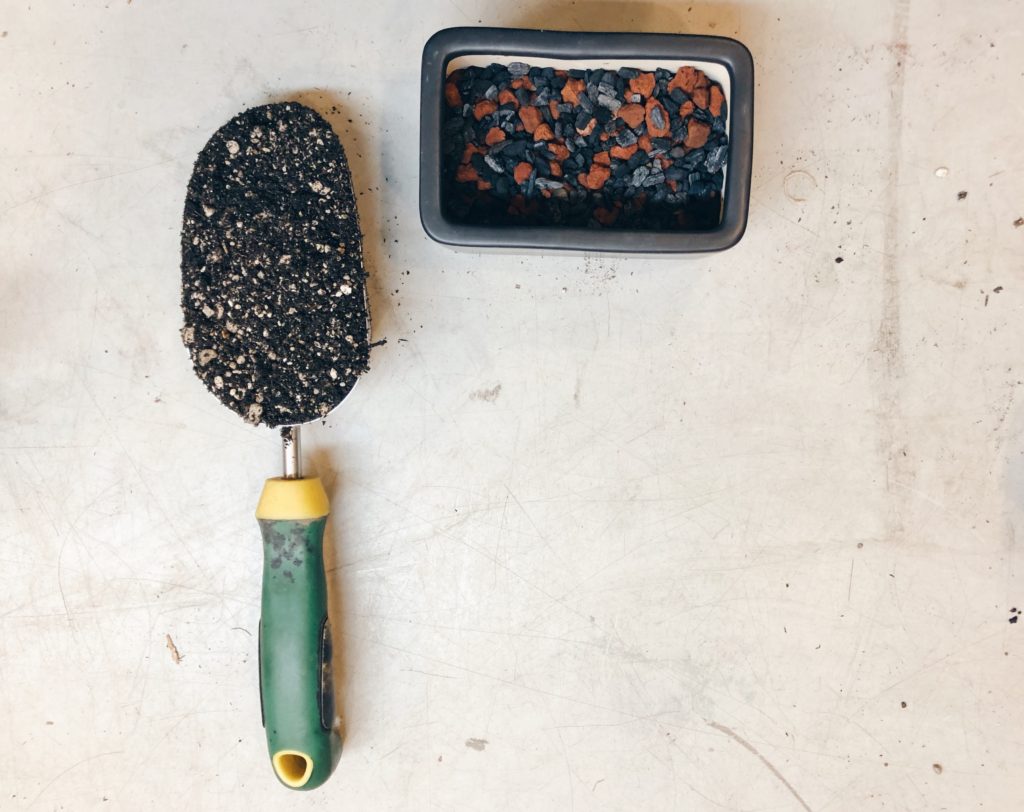
Next, I add a layer of charcoal or pebbles to my pots for better drainage. I do this in both pots with a drainage hole at the bottom and especially for pots that do not have a hole for drainage.
Another option for pots that have a drainage hole is to use a coffee filter or other porous material at the bottom of the pot.
step 5
Once the drainage pebbles or filter are in, add a layer of fresh soil and then pot the plant. Pack in the soil around the plant so that it’s nice and secure.
step 6
Typically, I’ll give a few days before watering after transferring so that it can settle first. Since you watered your plant ahead of repotting, it should already be nice and hydrated 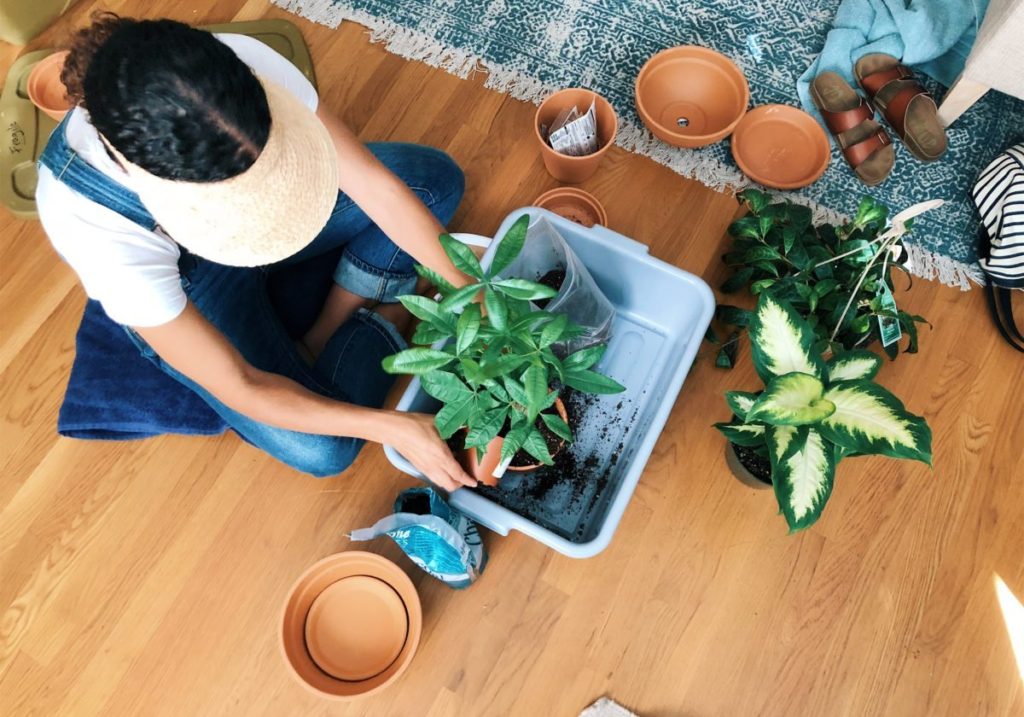
3 New Plant Babies
We followed the steps above when moving our 3 newest plants into new pots. Here they are:
Black Pagoda or Lipstick Plant
We’d been wanting to add a viney plant to the living room, and I’m excited to watch this plant grow. It has a pretty dark green color with dark purple undertones. I placed it on a high shelf, I’m hoping it’ll wind down the side of the shelving unit.
Dieffenbachia or Dumb Canes
This leafy plant adds some cool color and texture to the shelf we placed it on. I love how the deep greens combine with bright whites in each leaf.
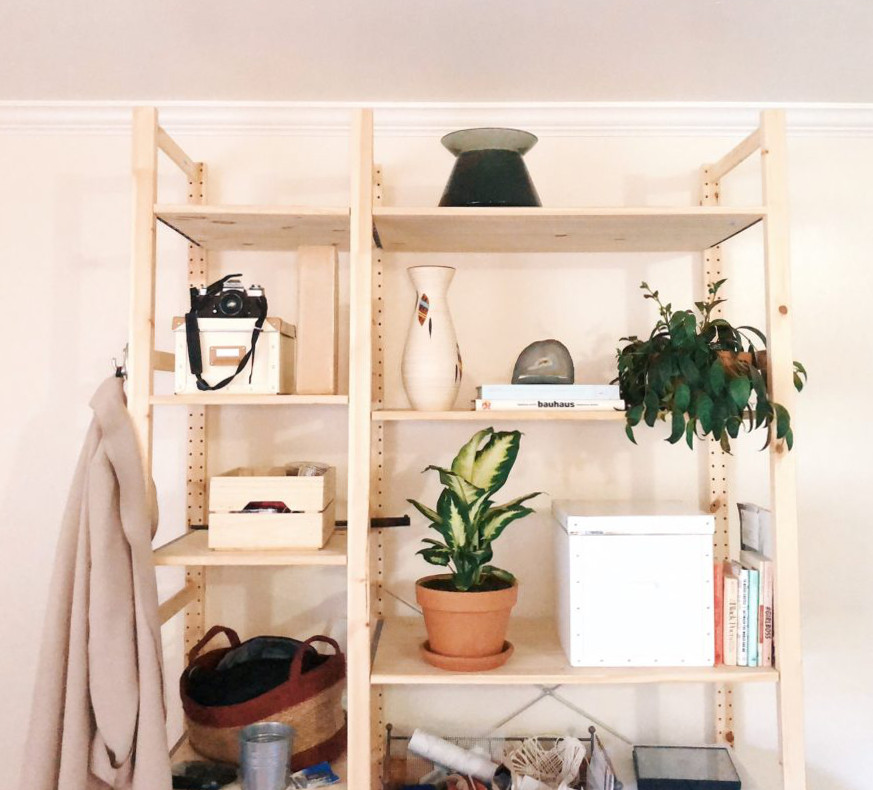
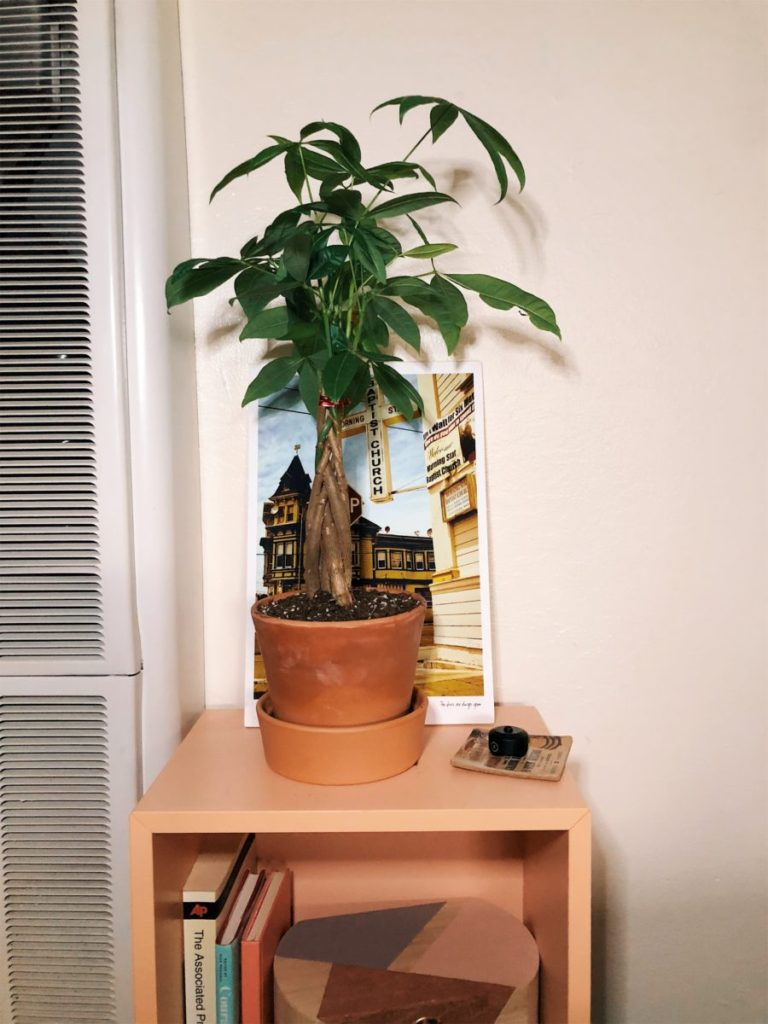
Braided Money Tree
This guy is pretty cool, it’s a great addition to the side table next to our sofa. Since it doesn’t need much light, we thought it would work well for the darker corner.
+ regular maintenance
In addition to repotting plants, we gave a little love and care to the rest of the plants in the apartment. Following the steps above, we moved a few plants into new pots to give a little more space to the ones that are starting to outgrow their pots. A few plants had growth spurts over the summer, so we wanted to make sure they’d still continue growing.
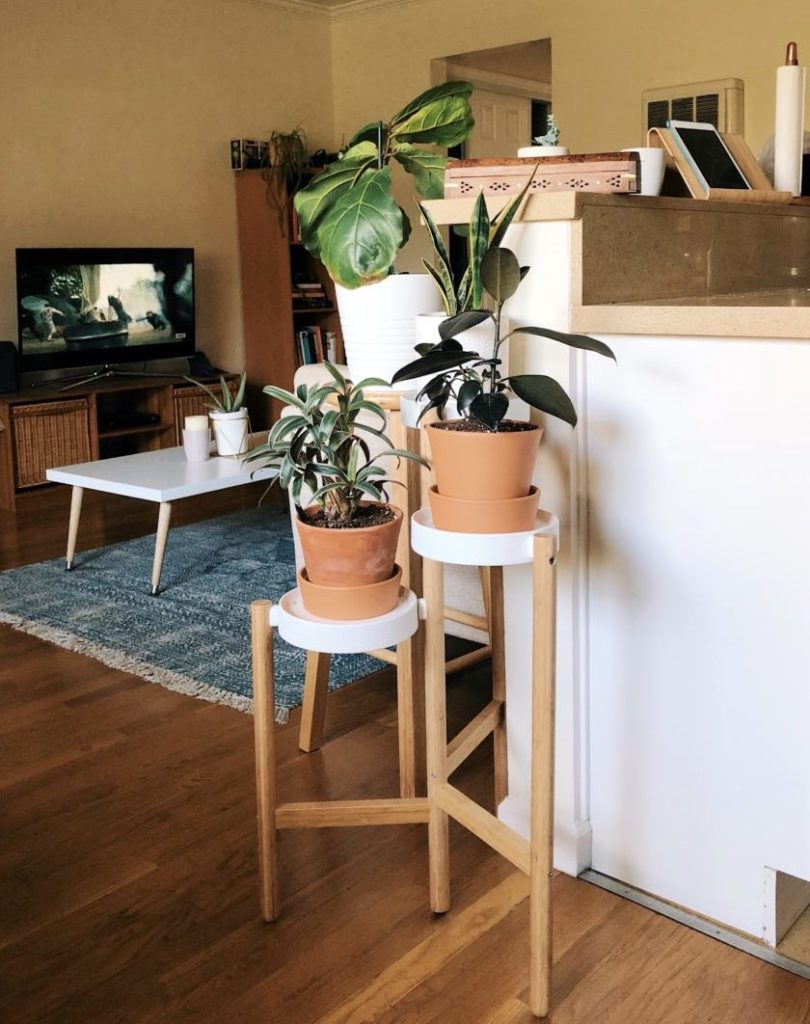
Also, we’re using a couple of planters that we got at CB2. While the white pots are so chic, they don’t have holes at the bottom, annoying! While I added pebbles initially, I went back and added a layer of charcoal, too, for better drainage and to prevent any fungus from growing.
don’t forget fertilizer
We also took this time to do a round of fertilizer for all of the plants. We typically only use fertilizer in the spring and summer, and since we hadn’t used any this summer yet, it was time.
These Miracle-Gro Fertilizer Spikes are so easy, you just poke a hole in the soil, push the stick in, and let the fertilizer do its thing – no fuss.
Can’t wait to add more! What are your favorite houseplants?
xoxo, jackie