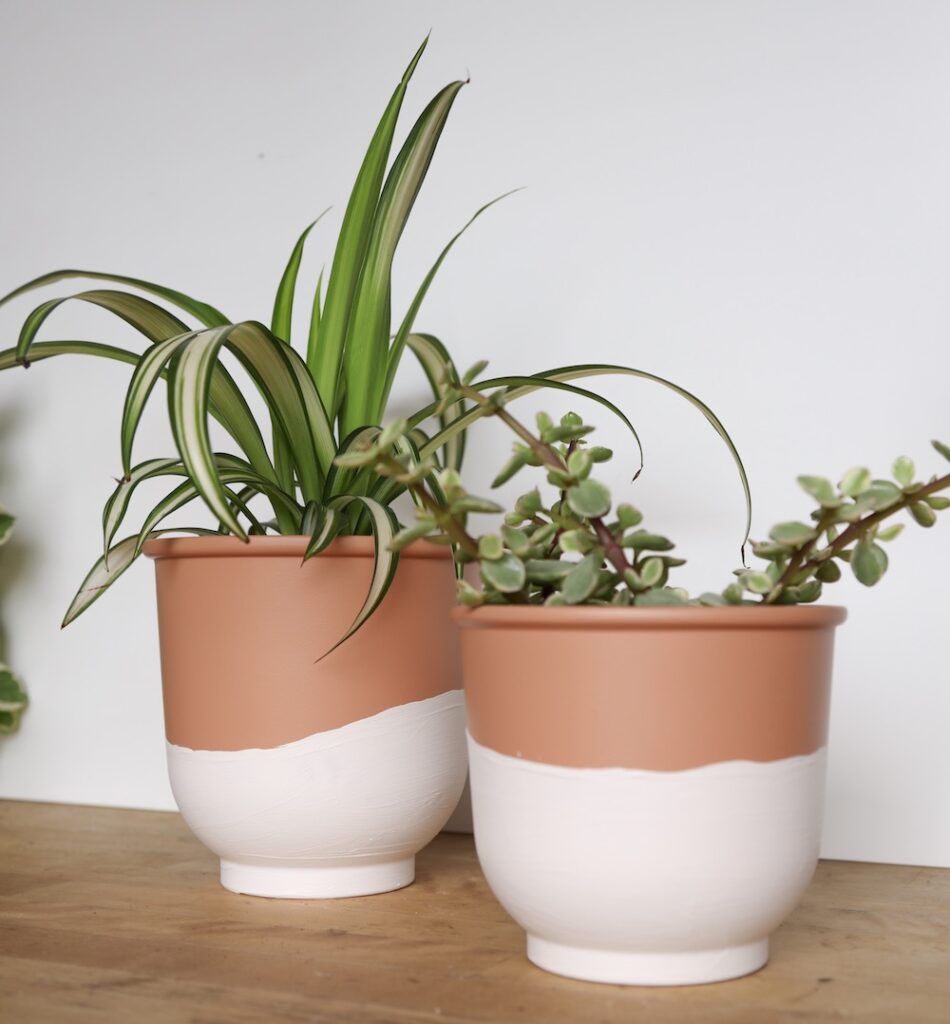
I love terra cotta pots and I love white pots – so in my latest DIY, I aimed to mash these up and create one of a kind two-tone pots. I like to keep it simple with my pots, so when I decided to paint my pots, I knew I wanted to keep it pretty minimal. The end result are one of a kind pots that compliment the rest of our collection.
This is a quick and easy DIY that you can complete in a couple of hours. It would even be fun to get little kids in on the action so they can create their very own pots – might try this activity with my niece and nephew next time I’m visiting.
The pots
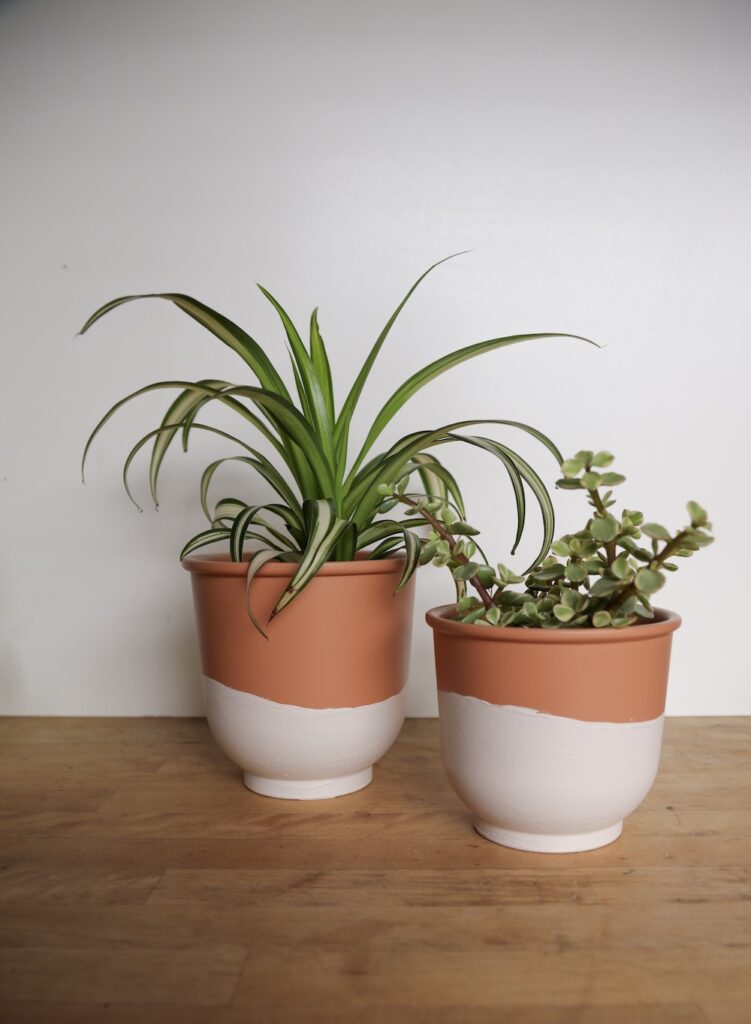
I picked up these pots from Ikea – they are an interesting take on a standard terra cotta. The pots aren’t technically terra cotta as the material is more of a ceramic that has that burnt orange color.
I got the smallest size and the middle size, Ikea also has a larger one if you want to go big with your project.
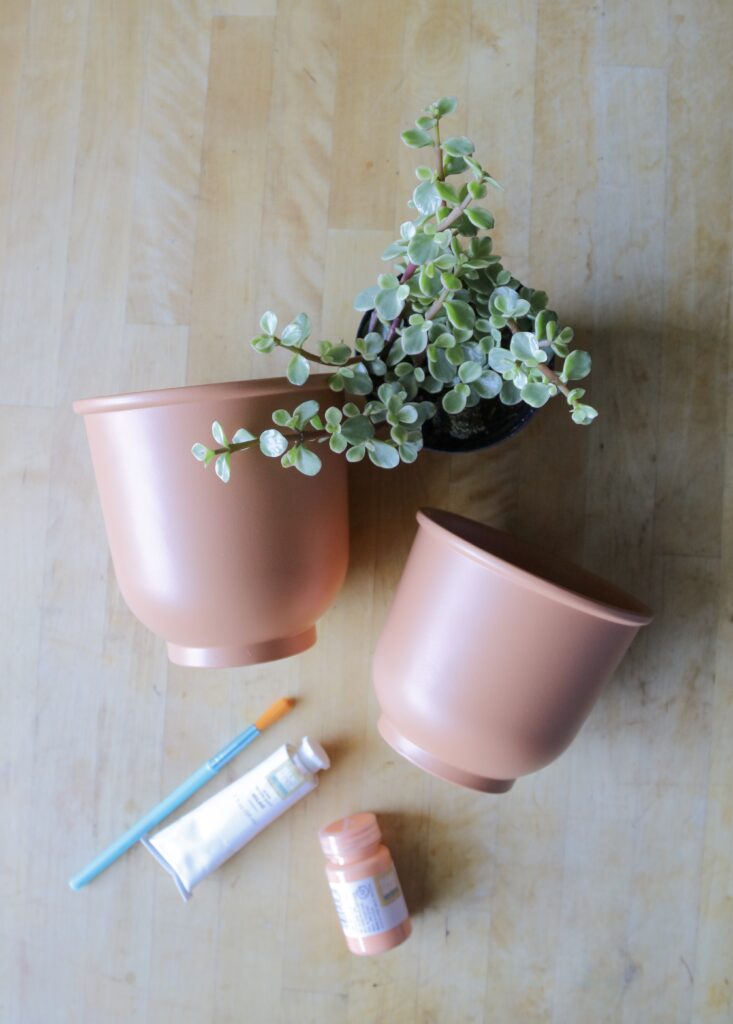
The paint
For these pots, I wanted to create an organic look that would compliment the shape and I didn’t want a blindingly bright white, so I mixed three colors to get this slightly off-white color. I used white and a tiny amount of salmon and gray acrylic paints to achieve the color. I picked up all three of these paints at target.
When painting terra cotta, you should also cover over your paint with a sealant so that it doesn’t leach into the soil – but since these are faux terra cotta, you’ll be fine without a sealant.
Steps
- Create the perfect color. I mixed my paints until I had the perfect creamy off-white paint.
- Next, I started freehand painting the pots, painting horizontally round the pot with long strokes.
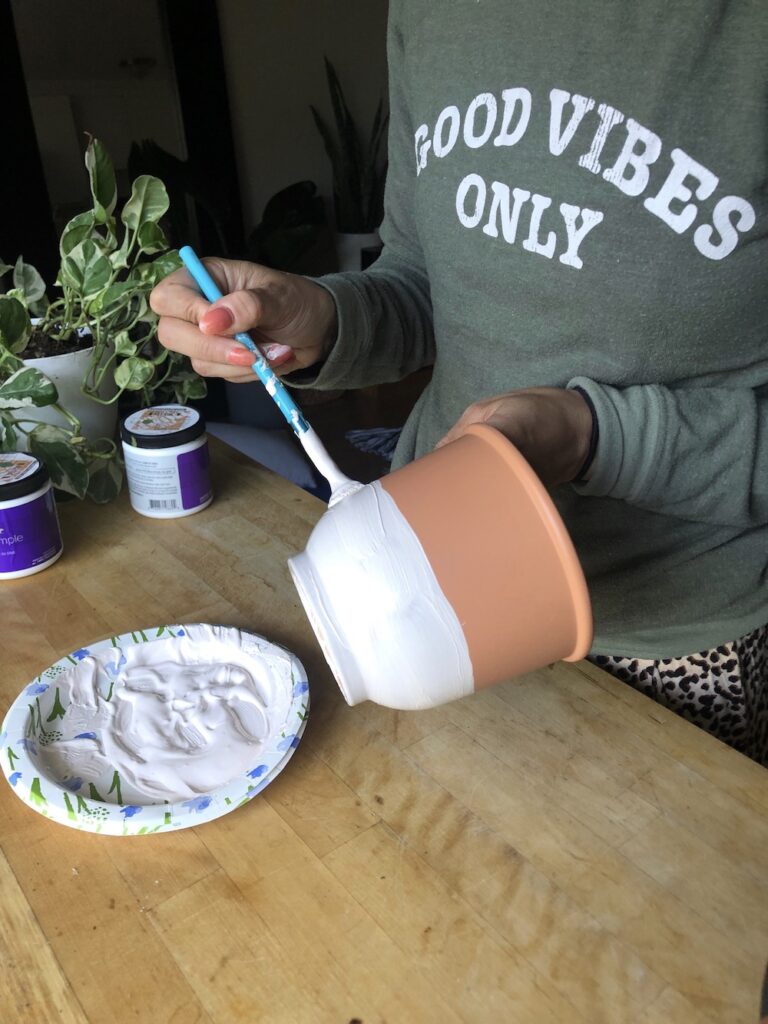
- Let your pots dry for about 20 minutes.
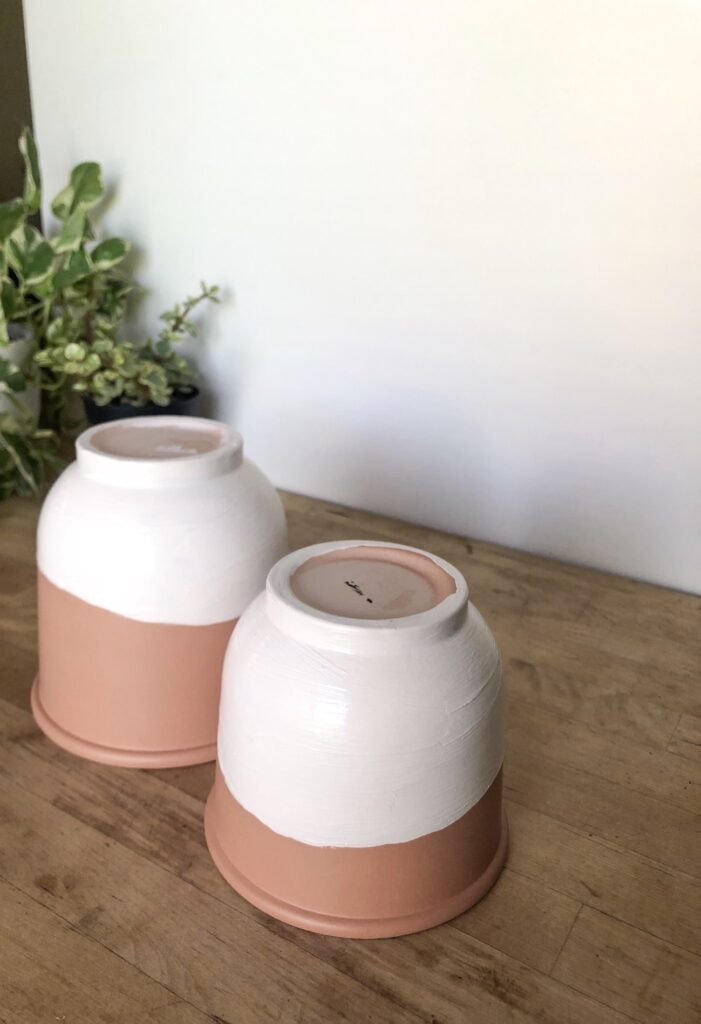
- I applied a second coat of paint and placed the pots upside down to dry for a few hours.
Once completed, these pots are so cute! I placed one in my bathroom with a cute little succulent inside of it. And for the larger pot, I made it home to one of my spider plant.
xoxo, jackie
Fantastic look, your ideas give an expensive look to the pots. Keep creating your a genius….xoxo
These are very appealing. And the green plants really *pop*!!