After caring for plants for some time, the next step is – propagation. I reached a certain point, a few months ago, when I started to slow down on my plant purchases – not because I don’t want more plants, but because I had gotten most of the plants I’d had our eyes on. As such, I decided it was time to start multiplying my current favorites with propagation.
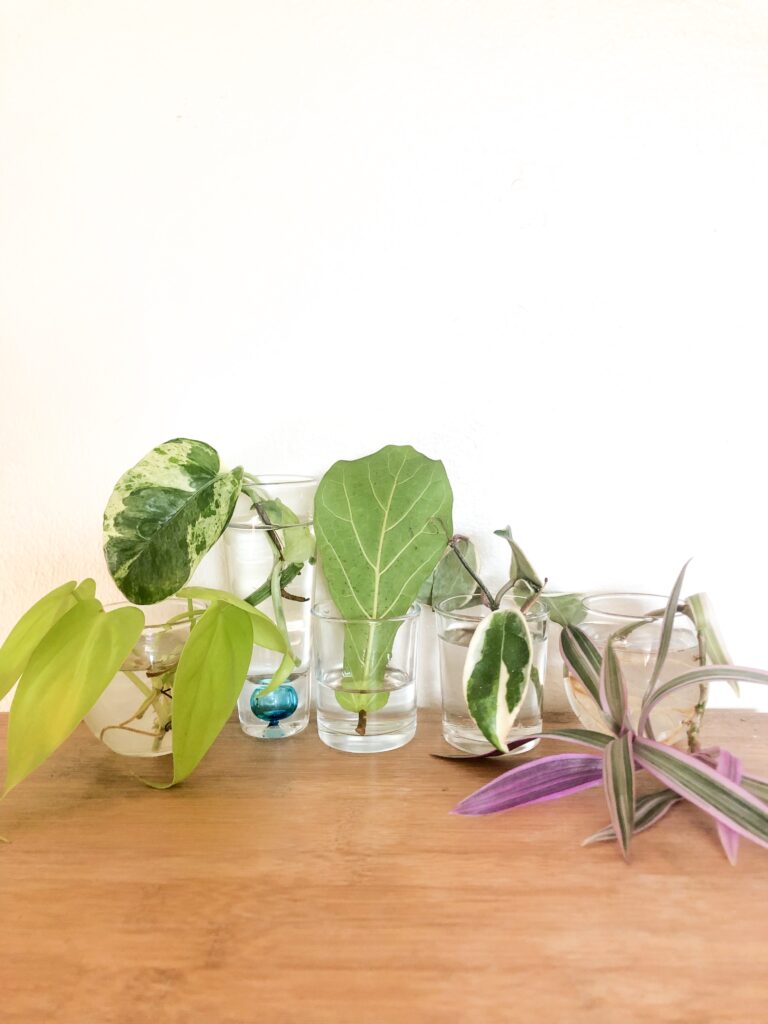
Also, As the resident crazy plant lady amongst my friends, I’ve started gifting plants to friends in an attempt to bring my gals into my obsession. It can get a little costly, so I’m excited to begin sharing my cuttings with my gals – a total win-win as I’ll get to share pieces of my favorites!
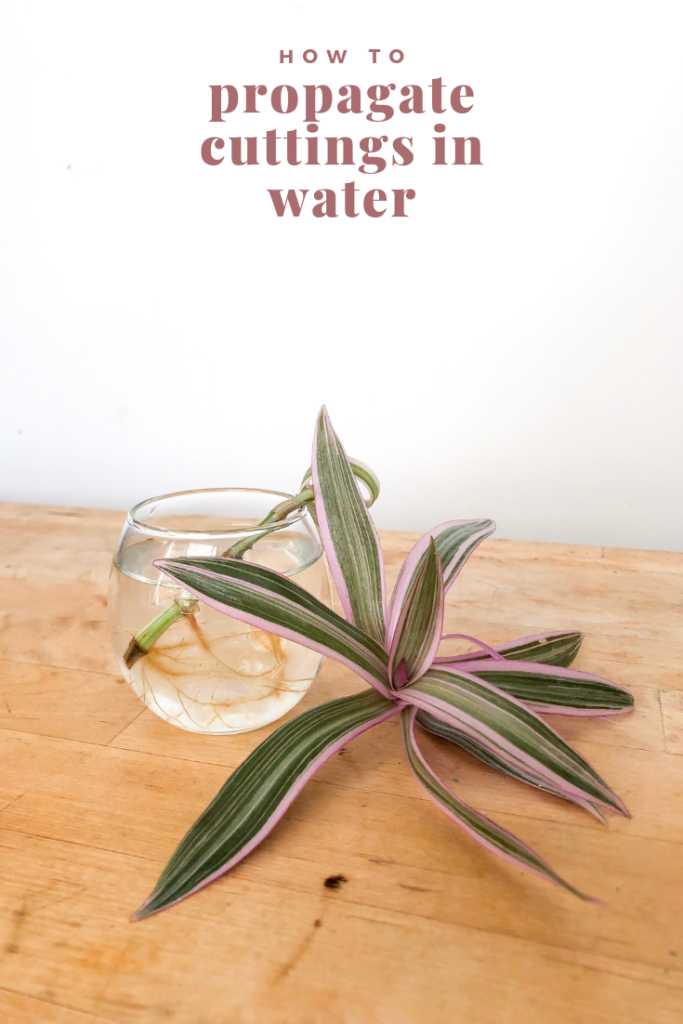
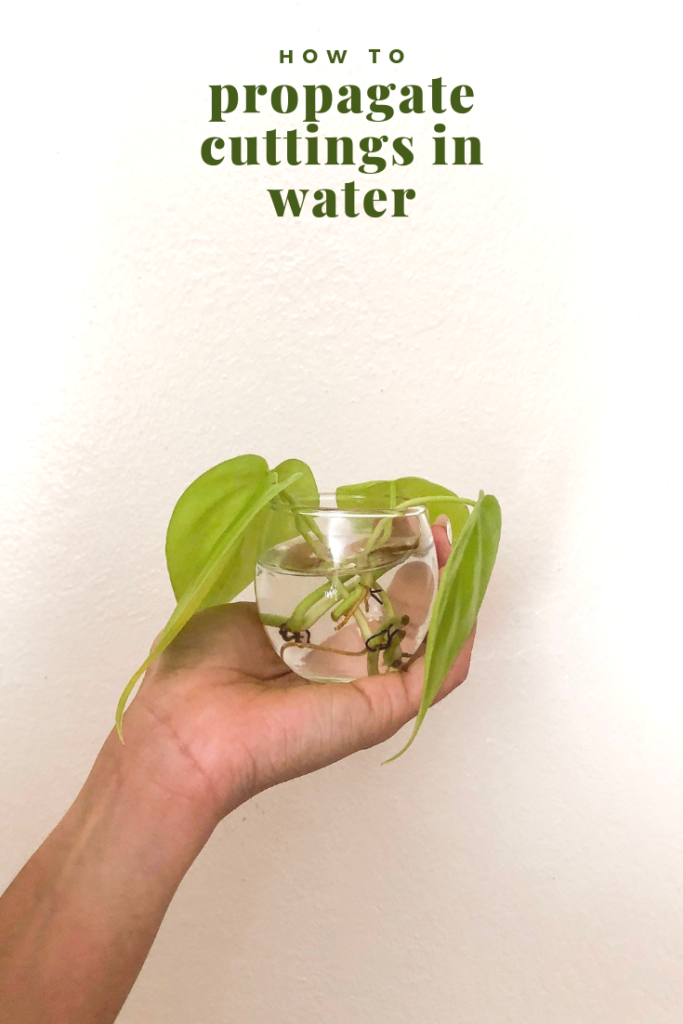
While there are a few different ways to propagate, I’ve had the most success propagating my plant cuttings in water. I also love to watch the roots grow – only possible with water propagation.
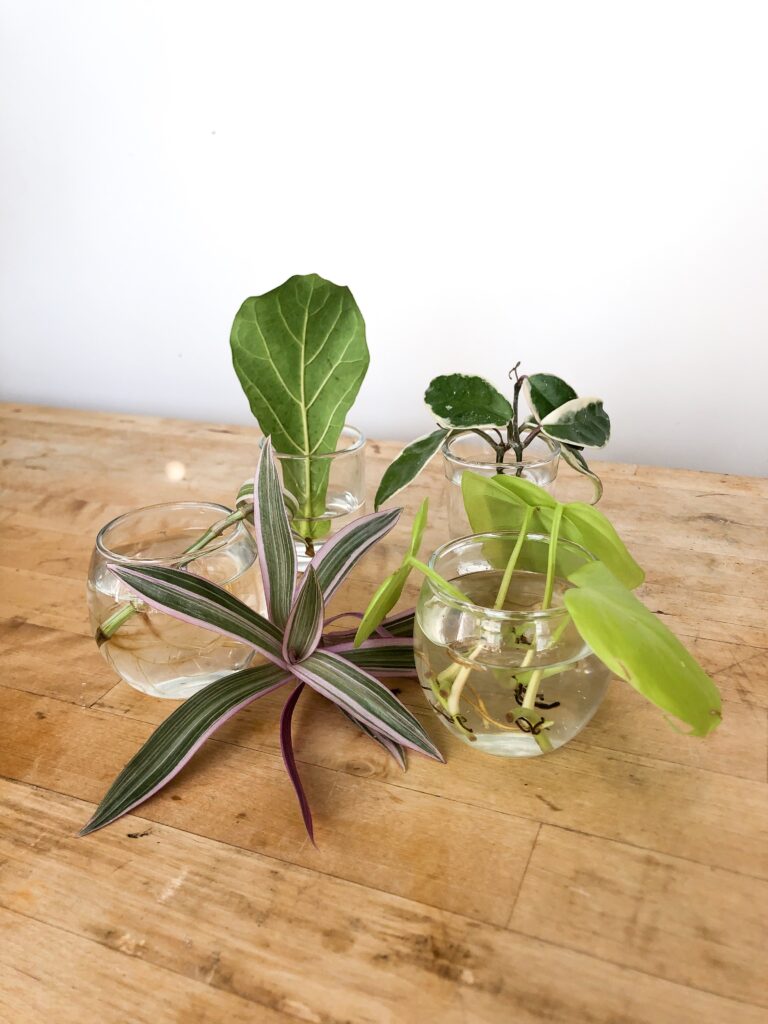
Keep in mind that water propagation, like any propagation, takes time and patience. While a few of our cuttings started growing after a week, the majority of our cuttings seem to take 2-3 weeks just to get going. Just remember, it’s a long game and it takes time to grow new life 🙂
What is water propagation?
With water propagation, you’re using water to grow new plants from small clippings of a larger plant. In a few days to a few weeks, your propagating plants will grow new roots, which you can then pot in soil. There are many plants that do well with propagation, here are a few:
Plants that do well with water propagation
- Pothos (all types)
- Ivy (all types)
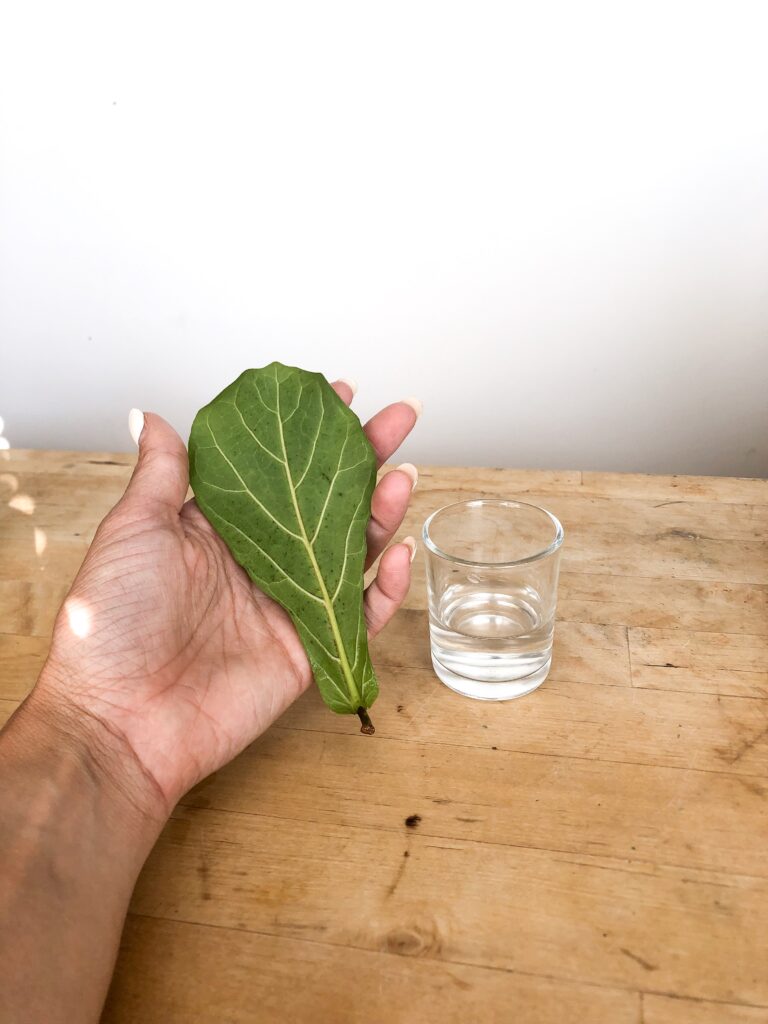
- Fiddle leaf fig
- Most succulents
- Monstera
- ZZ plant
Propagation steps
Of course, propagation varies from plant to plant, here are a few best practices you can follow.
1. Identify the location where you will clip your cutting from the main plant. Both plants with visible nodes and those without can root in water.
- If your plant does have visible nodes, cut about 1/2 “ below the node with a clean sharp knife or scissors.
- If the plant doesn’t have nodes, make a clean cut at the base of a branch.
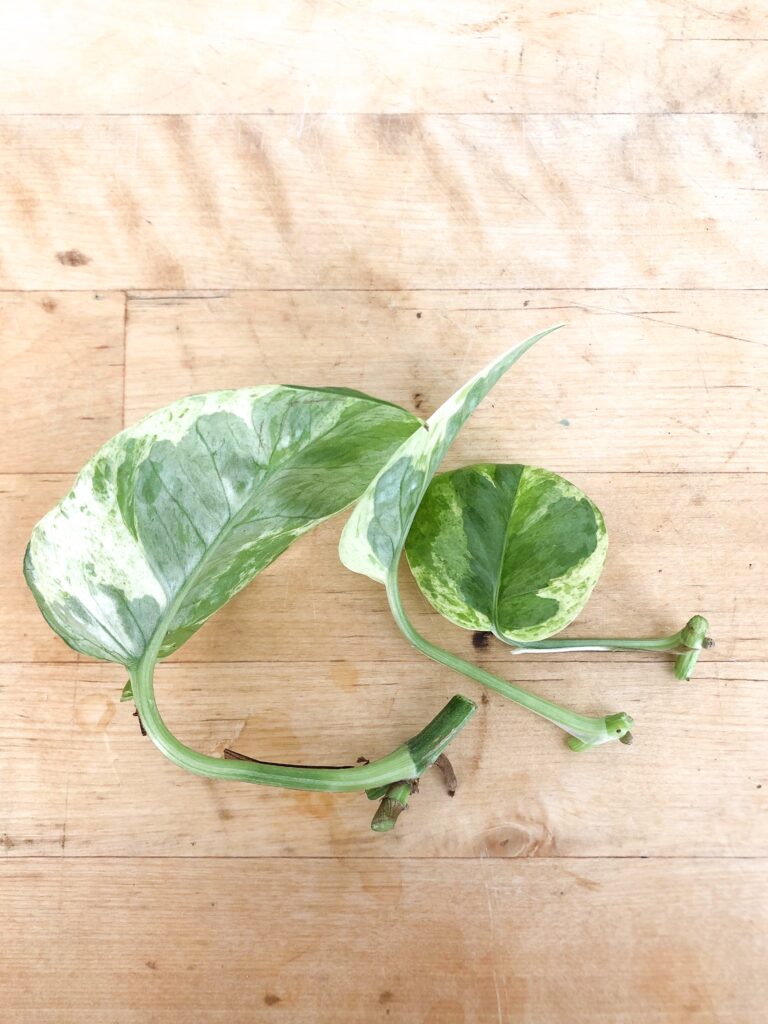
2. *Optional* If you want to jumpstart the rooting process, dip your cutting into a rooting hormone. I use this brand.
3. Place your cutting in a clean glass, then pour enough room temperature water to completely cover the nodes of the cutting.
4. Put your cutting in bright indirect light. A window sill is great to provide plenty of sunlight.
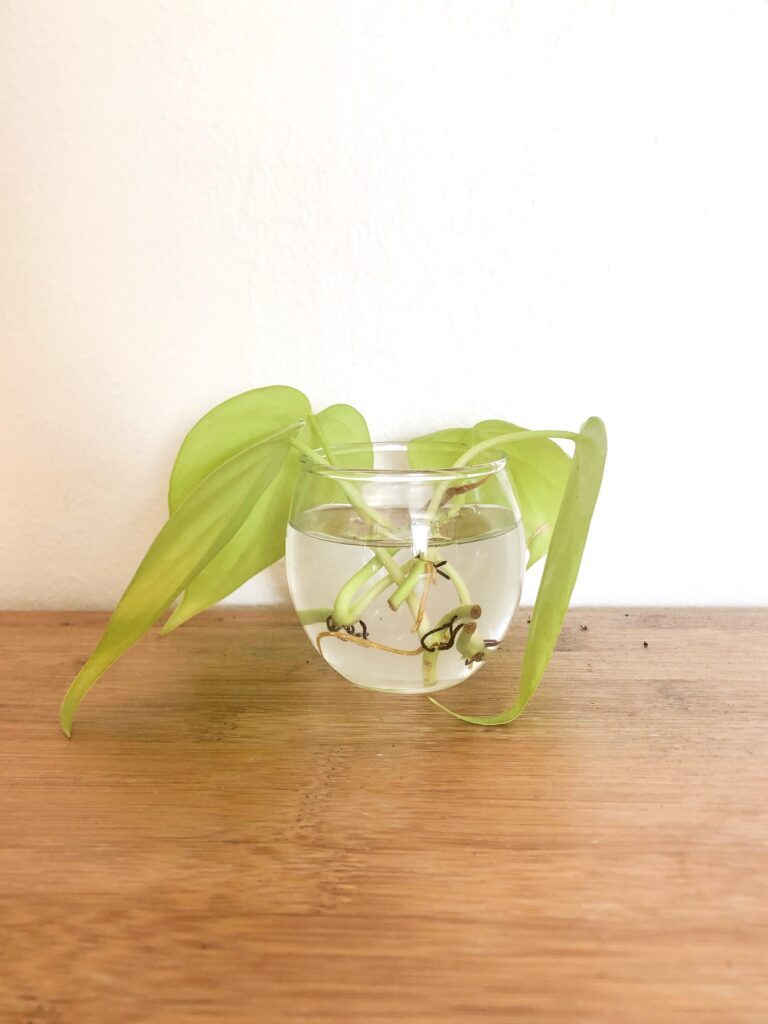
5. Dump out and replace your water every 3-5 days with fresh room temperature water.
Wait and watch as your roots grow! This can take weeks to months depending on the plant.
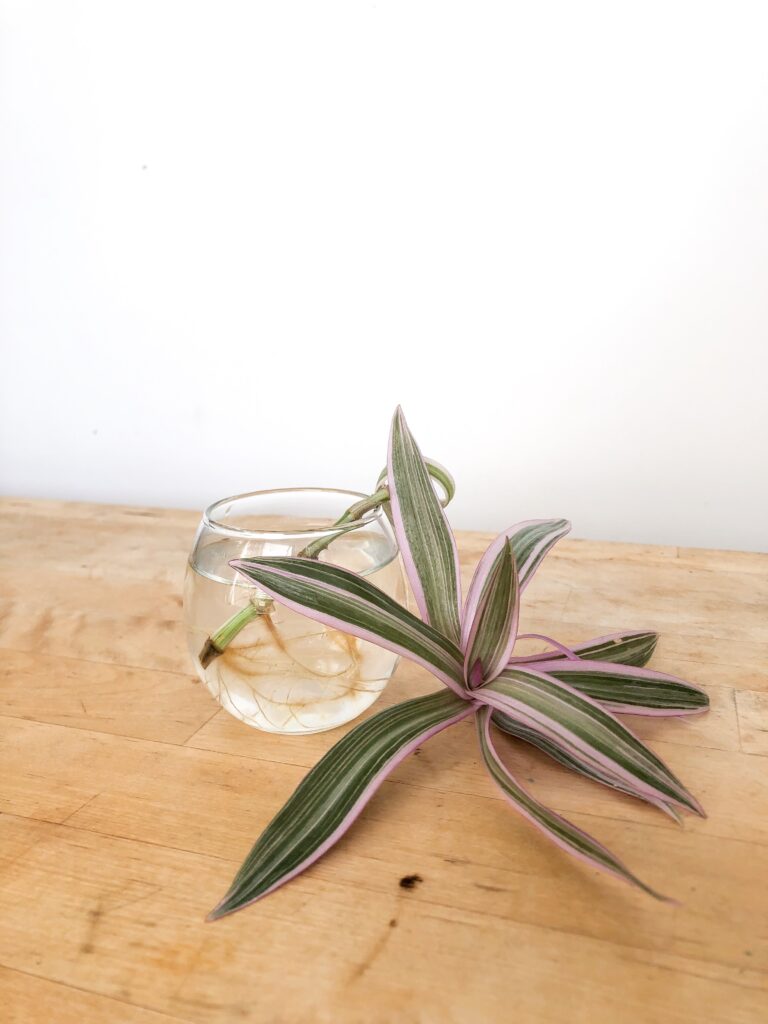
You may need to transfer your cutting into a larger glass to allow it to continue growing. Once your roots grow to 3”-5”, your plants are ready for soil!
Potting Plant Cuttings
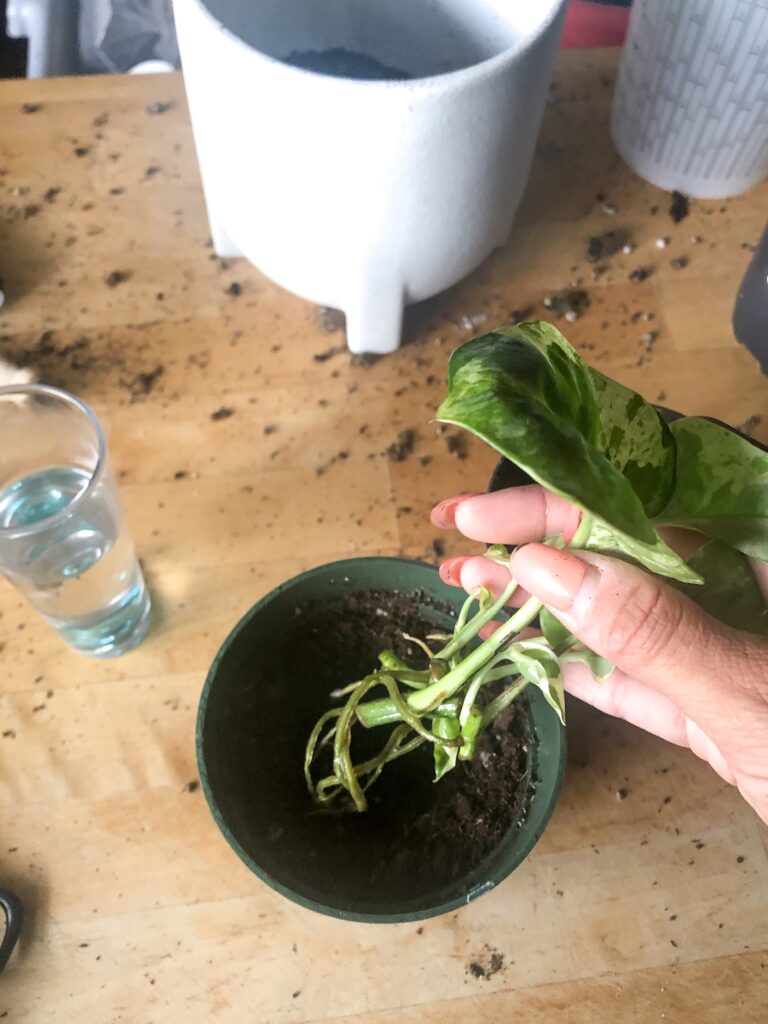
1. Pick a pot for your plant. Your pot should be an appropriate size for your cutting, then add soil.
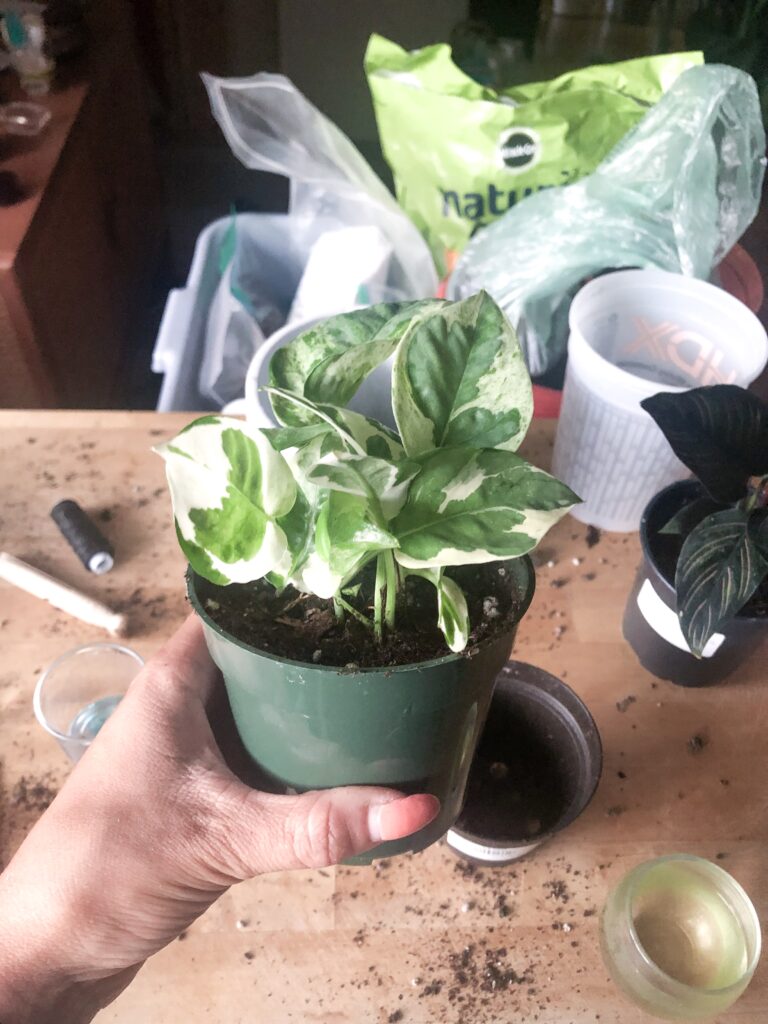
2. Create a ditch in the soil and place your roots in the hole. Gently add more soil around the plant and pat down until the plant is stable.
3. After potting your cuttings, you’ll want to water your plant frequently as it becomes accustomed to soil.
Want more plant care tips?
Take a look at my tips for propagating a monstera deliciosa and my plant care routine!
That’s it! The whole propagation process is very simple. With a little patience, you can multiply your plant collection!
xoxo, jackie
save these tips for later
Thank you for the informative article. I tried the recommended rooting hormone but placed the cutting in perlite as recommended in the product instructions. Do you think this will work or should I transfer in water?
I personally haven’t done propagation in perlite, but I hear it works similarly! I say give it try, let me know how it works.