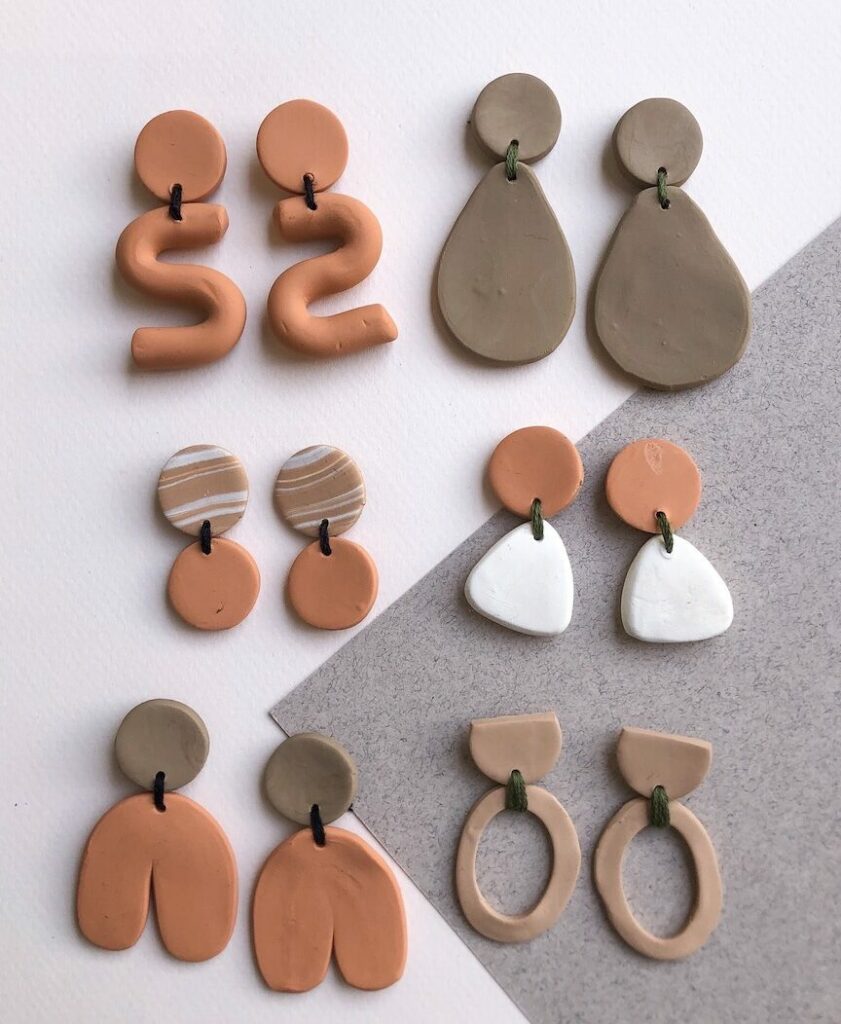
I’m not afraid to admit that I’m pretty much obsessed with polymer clay earrings. After trying my hand at making earrings a few months ago, I’ve been wearing them frequently! So much so, that I figured I should make a few more to mix things up a bit. With that, I made a small collection with my favorite colors of spring.
Piggybacking off of my first earring collection, I set out to make earrings that are neutral colors and organic shapes. My spring wardrobe consists of greys, tans and a lot of white, so I wanted to have some light colors to compliment my looks.
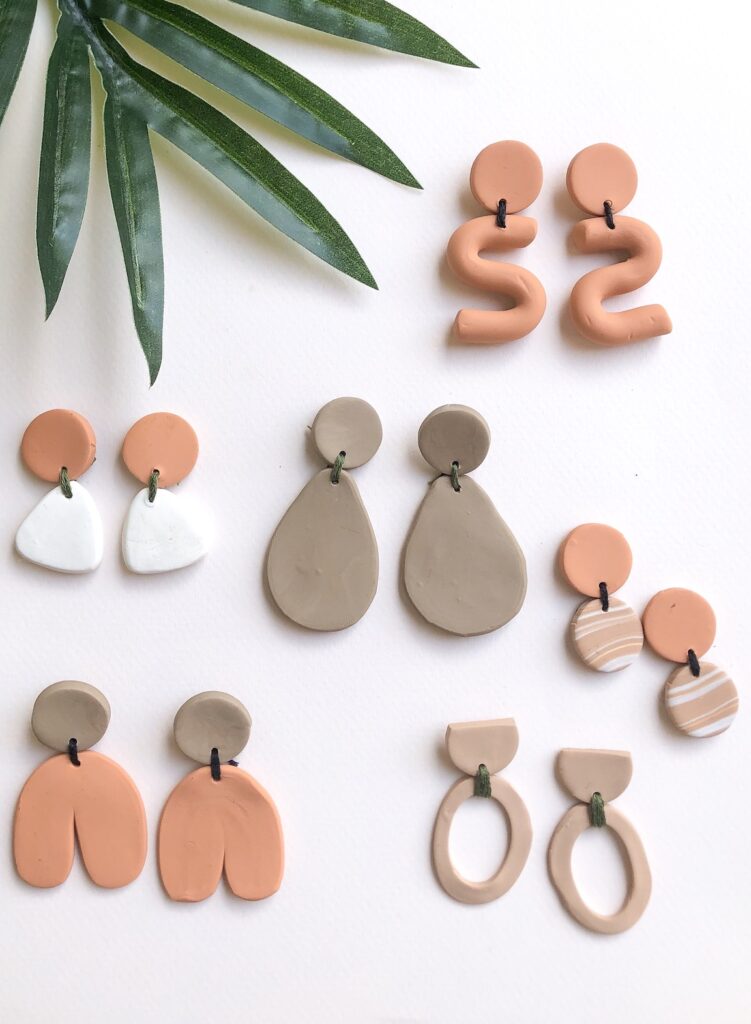
I love how these turned out – the colors are so me and the shapes will be great to incorporate into my everyday looks. Literally love. They’re very much my style and I can’t wait to wear them all. Not to mention, since I had all of my tools already, I was able to create 8 pairs of earrings for just a couple of dollars.
Of course, if neutrals aren’t your thing, you can easily recreate these looks in any color or combination of colors. While I’m not very adventurous with prints, bright marble or terrazzo would be super cute!
Keep reading to see how I made this collection.
Materials and tools
This post contains affiliate links. I make a small commission if you make a purchase using my link. I only link to products I think will be useful to you, thanks for your support!
- Sculpey Polymer Clay – I used 3 colors: orange, brown, & white
- Sculpey Polymer Clay Mat
- Embroidery thread & needle
- Acrylic rolling pin
- Circle clay cutter
- Superglue or E6000 glue
- Earring posts & backs
Steps
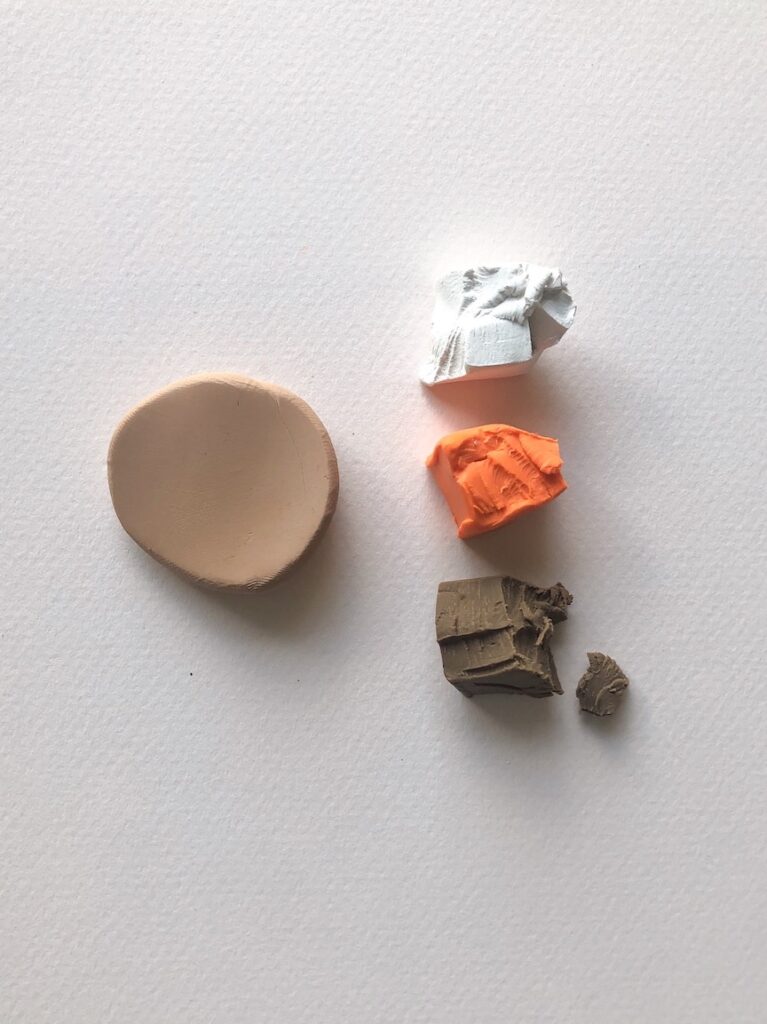
– The first and most important step was to create the right colors. To do this, I worked with my clay, adding bits of color, working it, adding more color, and so on and so on, until I came up with the colors I had in mind
– Next, I rolled out both colors until about the thickness of a quarter. Taking a small circle cutter, I cut pairs of circles
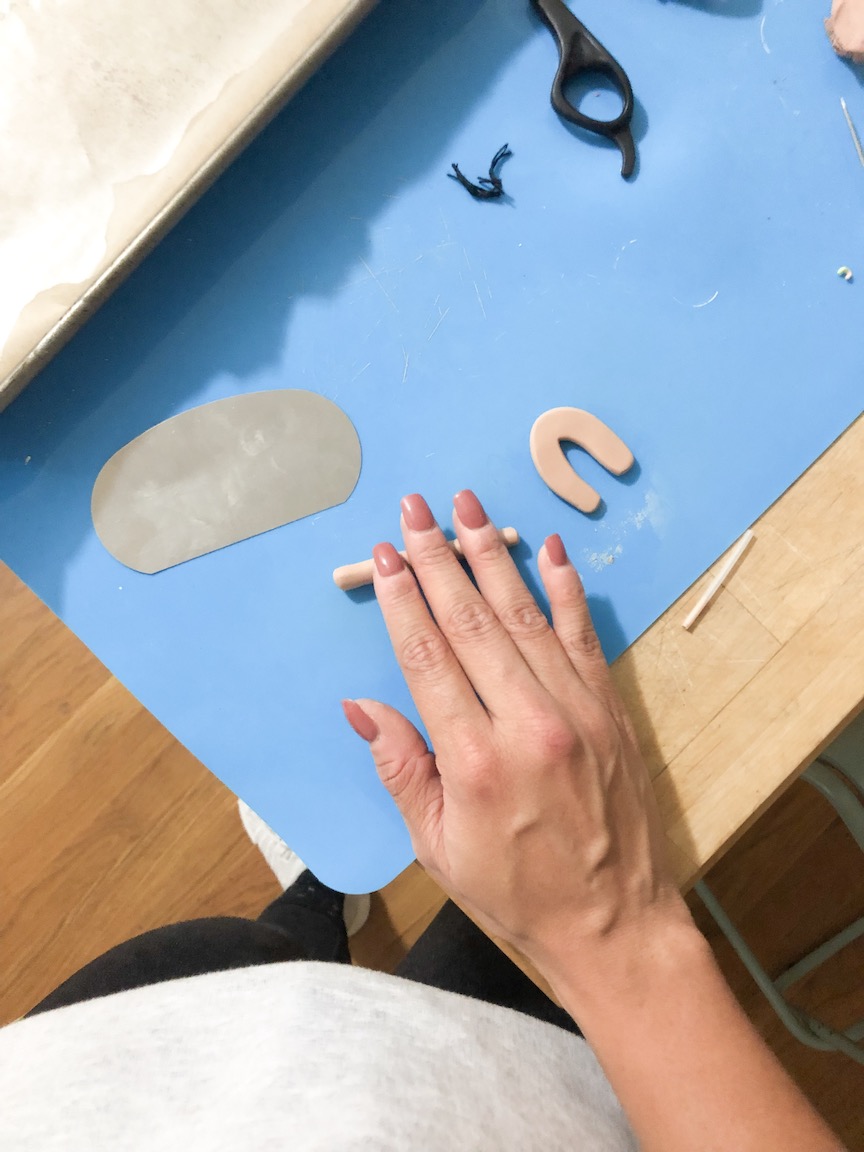
– For the bottoms, I hand-rolled and smashed each shape. For the horseshoes, I’d roll a cylinder, bend it into a U, and then flatten it. (This takes a good amount of trial and error until you find the smushed shapes you like)
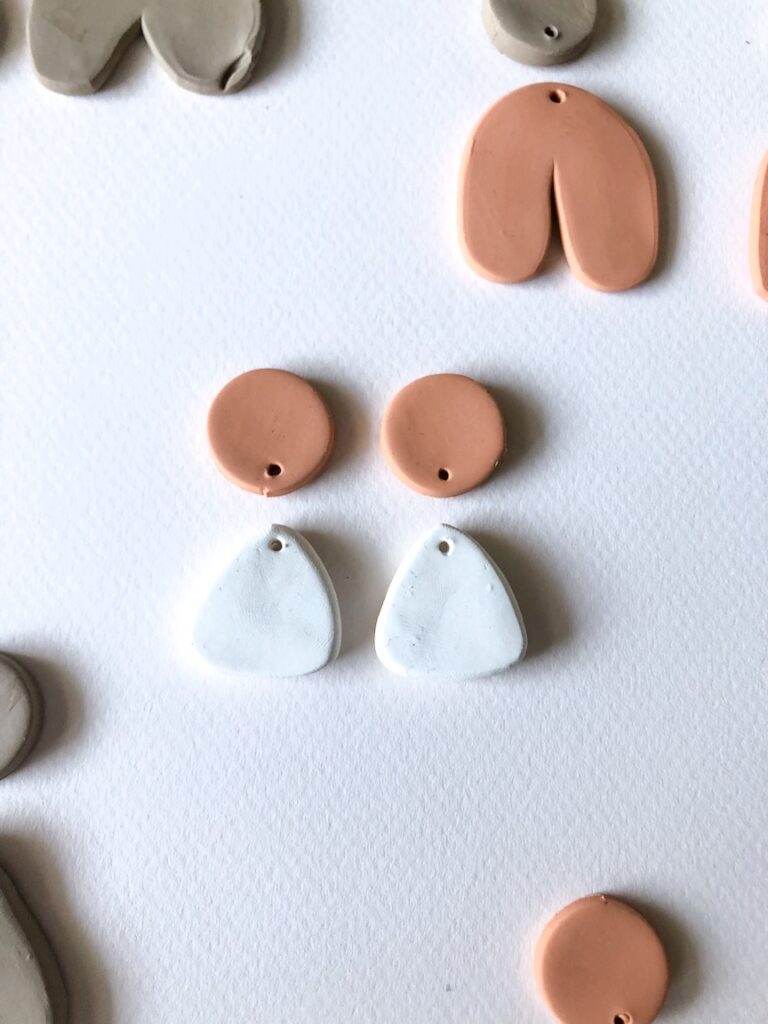
– Poke a hole in each shape with a paper clip so you can thread your string or jump hoop through it. I like to work the paperclip in a small circular motion to make the hole slightly larger
– Bake the earrings according to the provided directions. I baked mine for around 15 minutes.
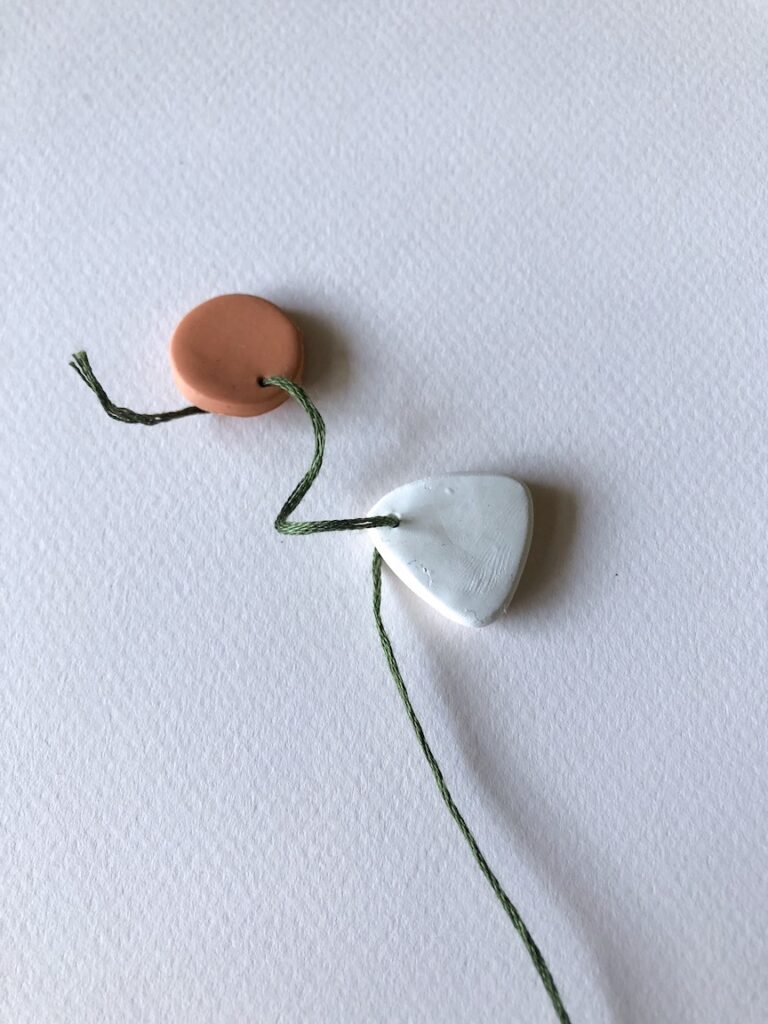
– Assemble earrings. I laid out all of my combinations before jumping right in. Once I found the right combos, I thread the earrings and looped it through 2 times, securely tying it on the back.
– Last, I glued the earring posts to the back with super glue.
These earrings are the perfect addition to my spring wardrobe!
xoxo, jackie
Hello do you have more your accessories included earrings and necklace for he selection?