If you’ve been following along with my kitchen renovation, you’ve seen some big changes in my tiny space! From the counters and sink to a new cutout, it’s been a blast transforming my quirky kitchen. The final and biggest eyesore has been the strange open cabinet situation that connects my living room and kitchen. I’m thrilled to partner Zoro.com and Dewalt to wrap up this project!
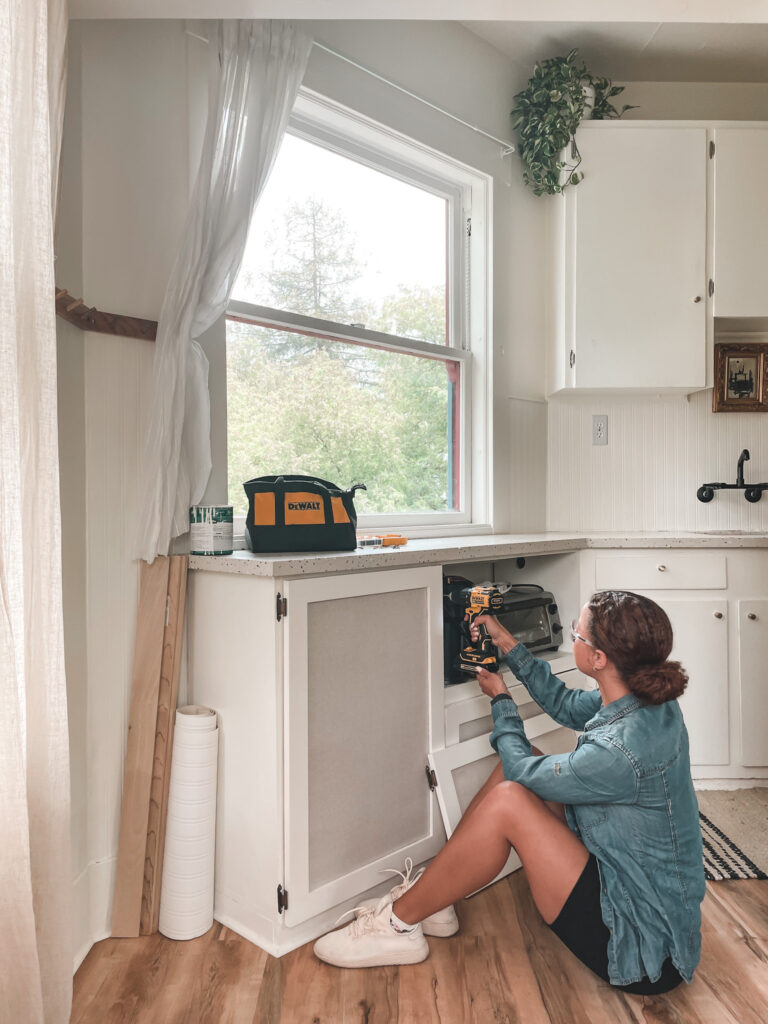
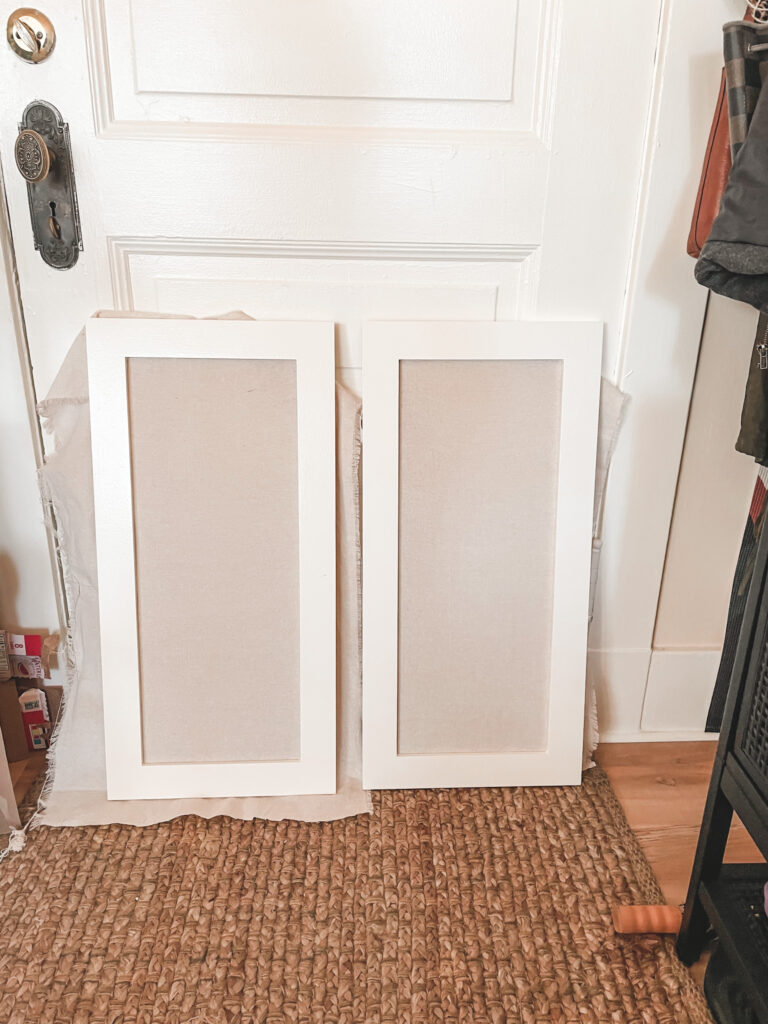
I previously shared how I created these linen cabinet doors. Check out that post here – DIY linen cabinet project!
I’m thrilled to partner with Zoro.com and DeWalt to complete this project and install these cabinet doors in the kitchen. The DeWalt Atomic Drill made it super easy and fun to wrap up this project! Check out how I added hardware and installed my new, DIY doors.
This post is sponsored by Zoro.com, all opinions are my own. Thanks for your support!
This post contains affiliate links. I make a small commission if you make a purchase using my link. I only link to products I think will be useful to you, thanks for your support!
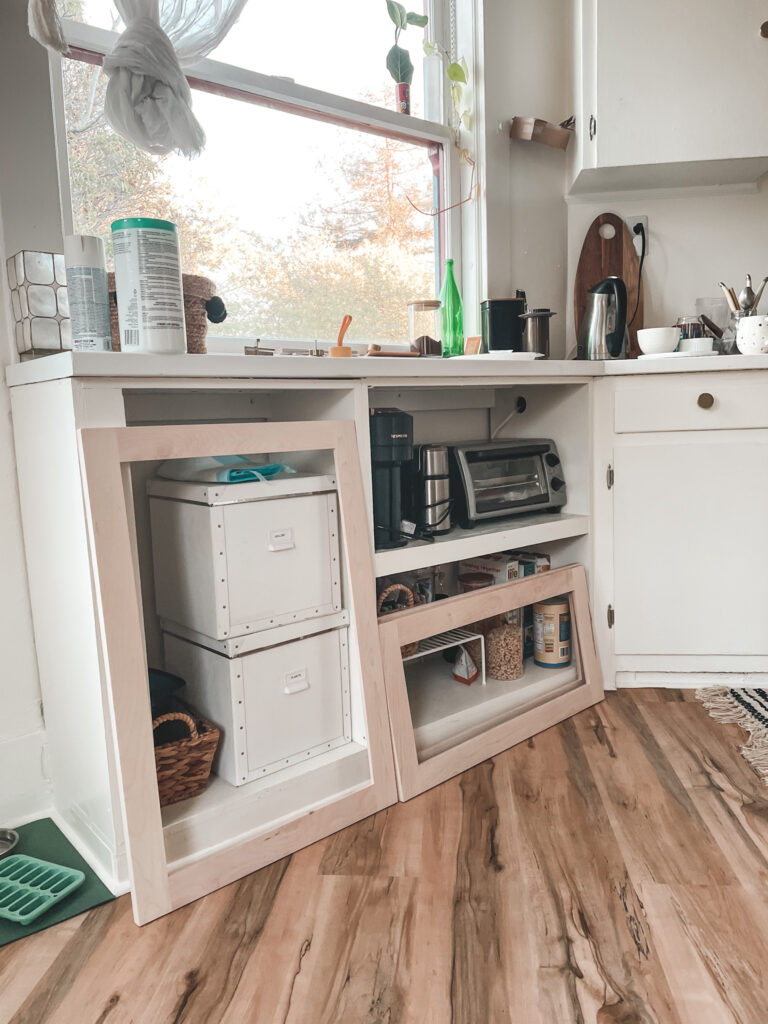
Hardware and Hinge Install
The final and most important step in this update is installing my cabinetry hardware and doors to the cabinets. This was super simple with my drill. Installing cabinet doors seems like a big project, however, it’s a DIY project anybody can do!
I measured door placement, hinge placement, and pull placement multiple times to ensure the cabinets lined up correctly. I’ve made measurement mistakes in the past – multiple measurements are key!
Installing the doors
Once I had my measurements, installing the doors was a breeze.
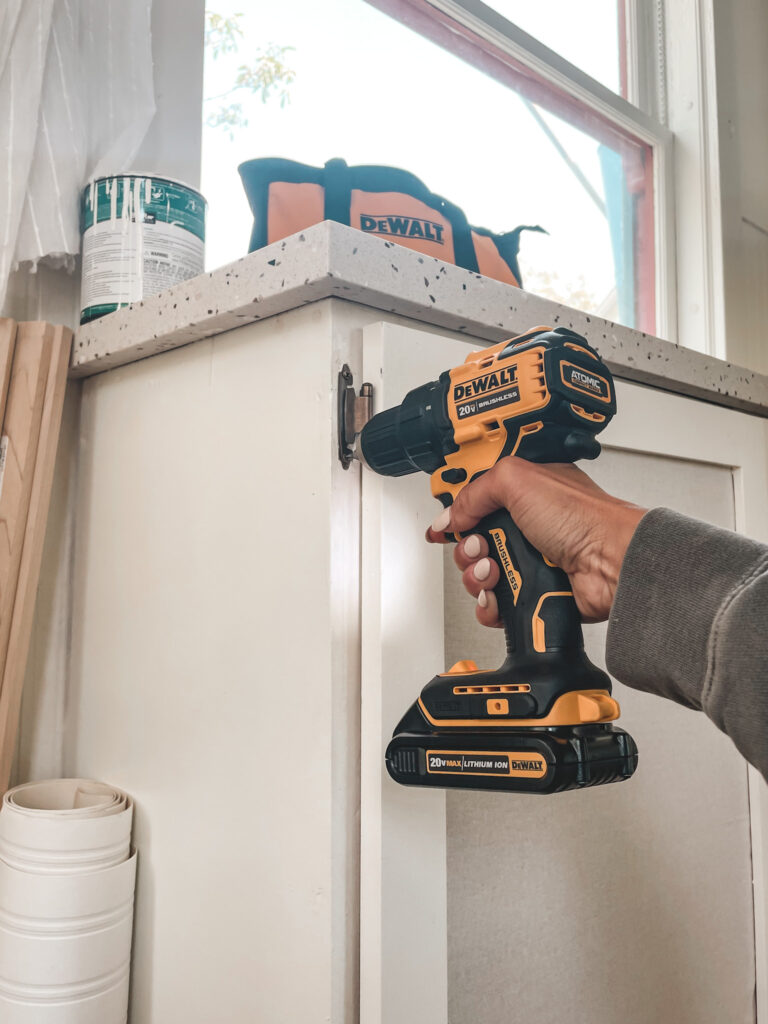
- I pre-drilled holes using a 3/32 drill bit.
- I then used a Phillips head bit to install the hinges to the doors and frame.
Installing the cabinet pulls
I picked up a couple of hardware options to complement the rest of the brass hardware in my kitchen. I decided on a vintage feeling cup pull for the large cabinet door and smaller pulls for the two doors to tie the new cabinets in with the existing ones.
- Using tape, I marked the nail holes and transferred the placement by placing the tape on the wood.
- Using a 3/32 drill bit then a 1/8 drill bit, I drilled holes and attached the pulls.
For this project, I used my new DeWalt Atomic Brushless Drill. Upgrading my drill really made a difference in this project. The drill is part of the Atomic compact series, which provides so much power while also being perfect for working in small and awkward spaces like mine.
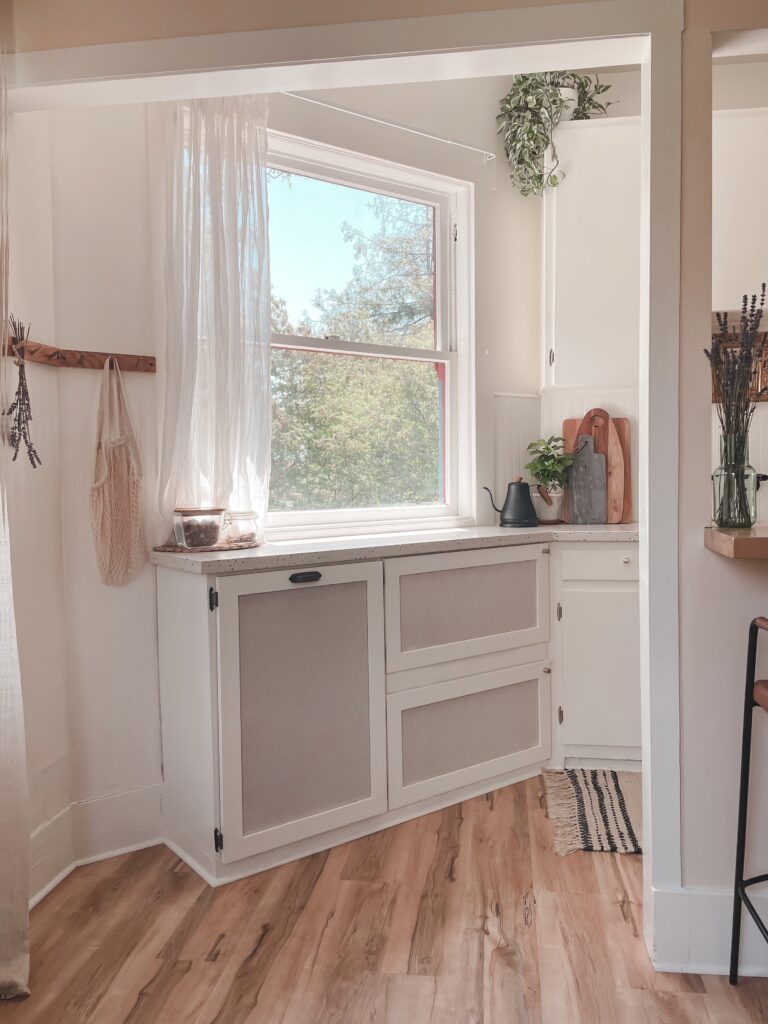
I’m thrilled with how my cabinets turned out! Covering up this open-storage eyesore makes a world of difference in my small apartment. I’m a huge fan of natural panels, and the linen is perfect for my space.
I was excited to discover and partner with Zoro.com because of their amazing seemingly endless aisle of products including millions of everyday items like drills, plus hard-to-find ones, too. Perfect for home DIYers and professionals alike. Looking forward to my next DIY improvement project!
xoxo jackie


love the linen look! i really want to try this diy project somewhere.