You can’t have too many little bags and pouches. I seem to pick a cute one up before every trip to hold my makeup or jewelry. But of course, when I needed one to help organize my things, I couldn’t find one – pretty much how it always goes. After hunting around my apartment looking for a bag to hold all the odds and ends that float around my backpack, without luck, I decided to make one myself.
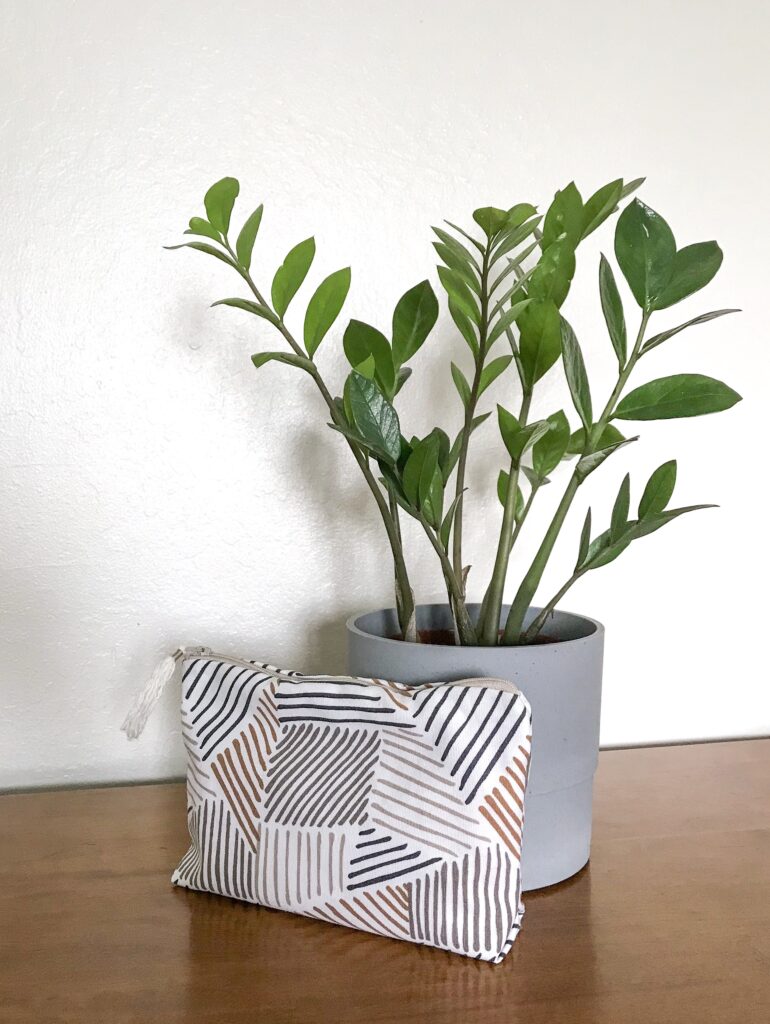
I happened to be on a cleaning spree and felt the need to create one so I could continue to organize. Using some scrap material that I had leftover from a DIY throw pillow project, I created a super useful pen bag/catch-all bag.
Probably not the best use of my time to stop midway through a cleanup session to hand sew a pouch, but hey, I was determined.
This project took me about an hour to make from start to finish. It’s is a great project for beginners and those without a sewing machine – all of your stitches will be hidden away on the inside of the bag. Of course, if you have a sewing machine, this could be done in 5-10 minutes!
Heres what you’ll need:
- Fabric. I used nice upholstery fabric, and you’ll want to use something with a little weight so that it isn’t flimsy. here and here are a couple of fun prints.
- Zipper. I had spare zippers that I trimmed down for this project, length depends on the size you desire. You can get a ton of zippers pretty reasonably.
- Needle and thread. I chose an upholstery thread so that it can hold up to wear and tear.
- Pushpins.
- Iron.
Here’s how to make your own…
Sewing a pouch:
- Cut your fabric into a single panel that will be folded over to the desired size. For example, I wanted a 6″x5″ pouch so I cut my fabric with the measurements of 11″x6.5″ – giving myself two sides that are 6×5 plus a half an inch around.
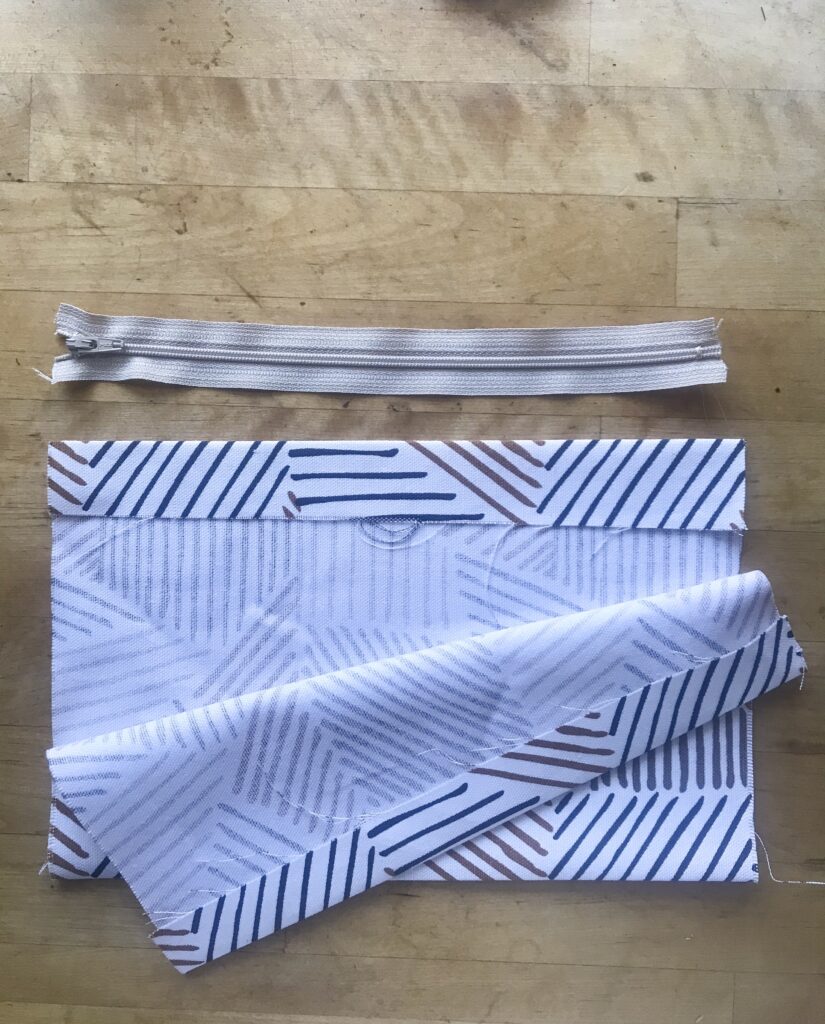
- Fold the fabric over then measure a half-inch border on every raw edge. Fold the edge inward and iron the border to create a crease along the border.
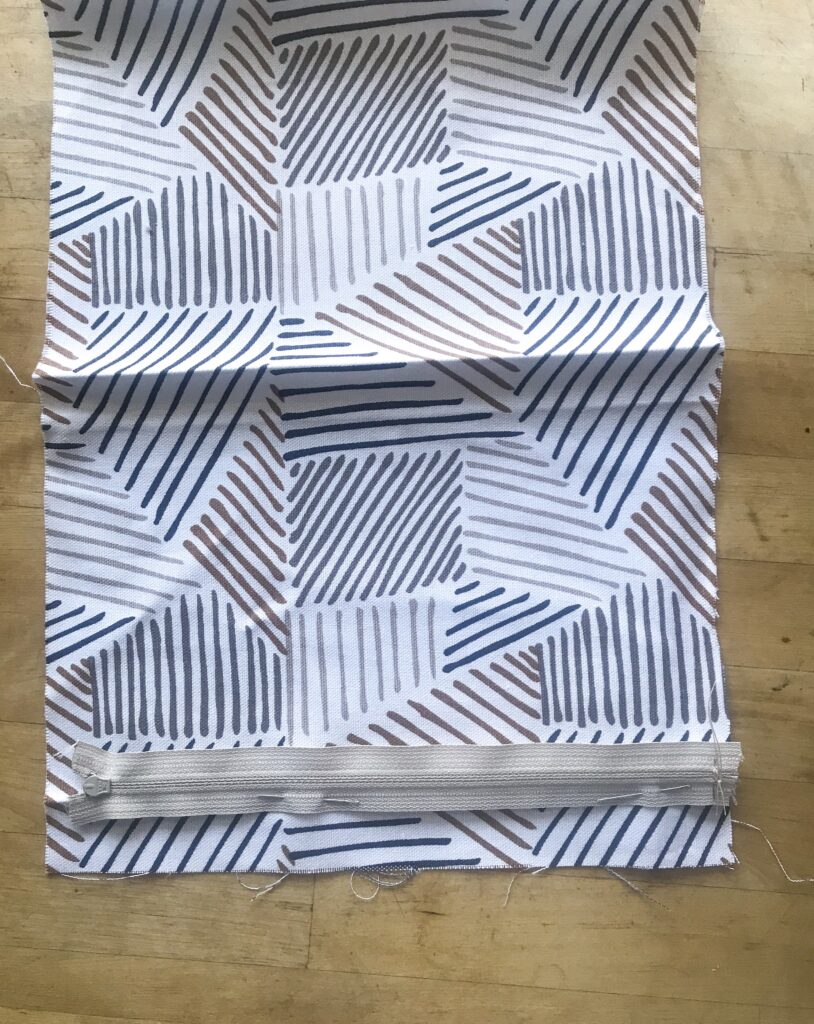
- Sew one side of the zipper to the crease, then repeat with the other side of the zipper. You’ll have the unzip the zipper to do this.
- Next, sew along each of the two sides, leaving 1 inch open
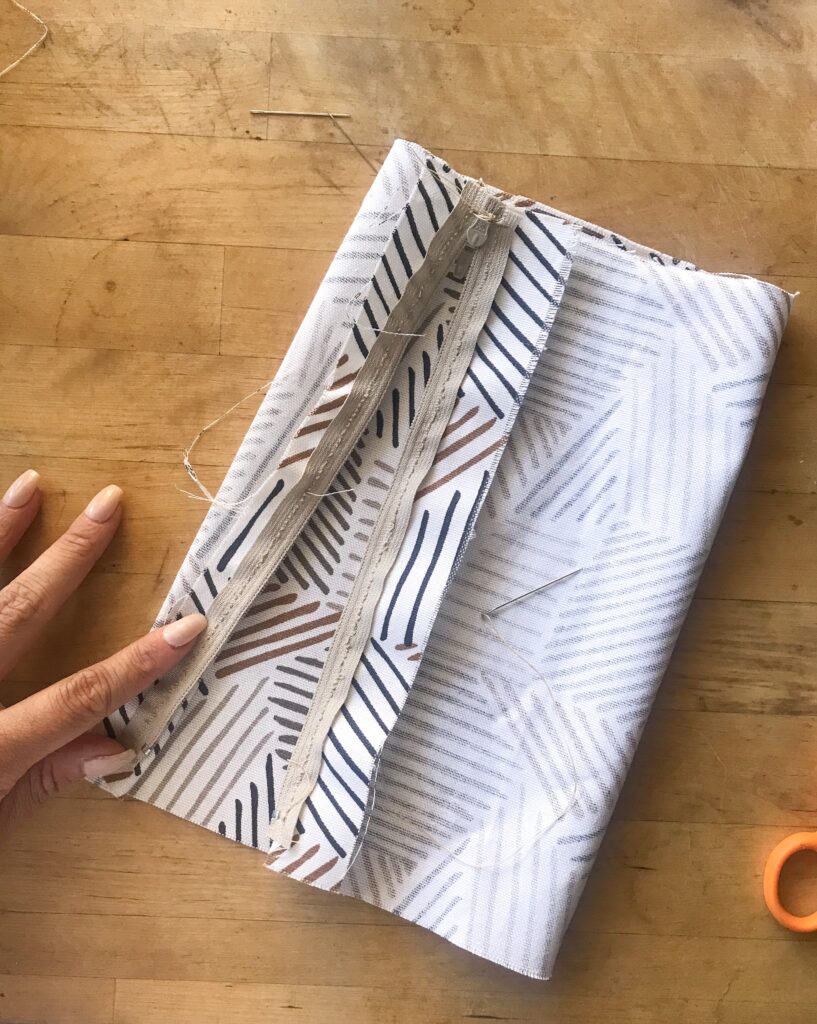
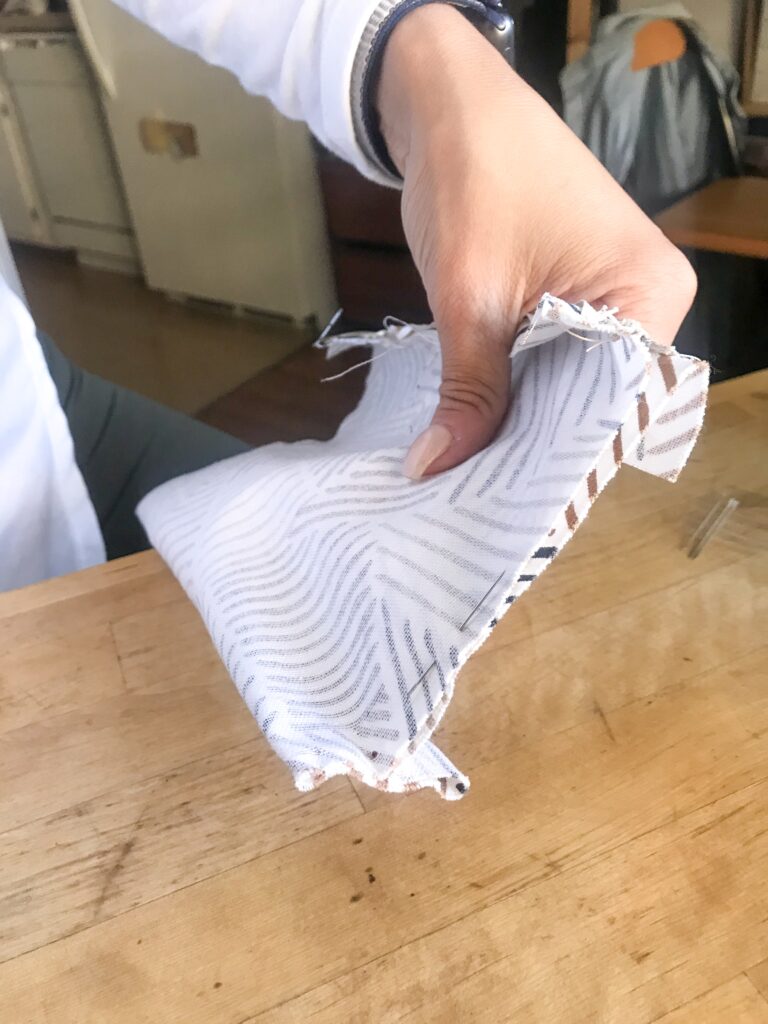
- Create a flat base to your pouch by folding the open inch upwards, as illustrated in the photo. Rather than continuing vertically, you’ll sew the last inch horizontally – giving you a base.
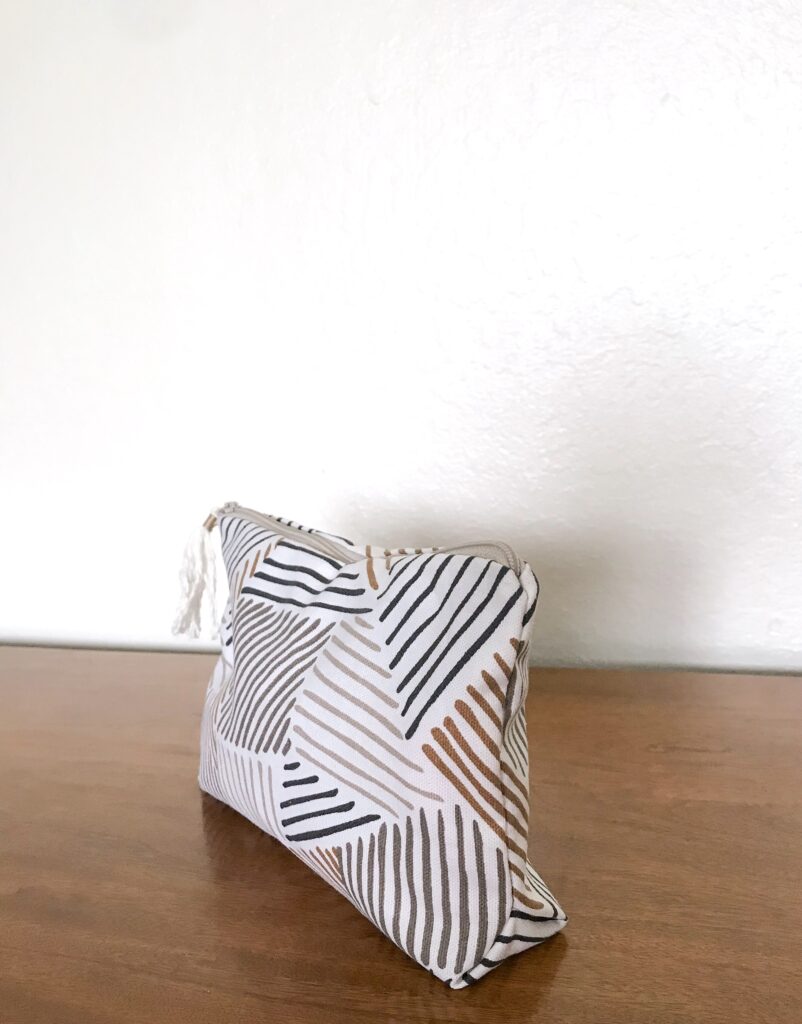
- Flip the pouch right ways and add a tassel to your zipper
Want to make your own tassel? Check out my tutorial, here!
Cutting down a zipper:
If you’re like me, and don’t have the right size zipper for your project, you can easily cut it down to your desired length. This is easiest with plastic zippers. To do this:
- Measure out the desired length for your zipper, then mark the spot.
- Sew through the fabric, close to the outside of the zipper teeth, and repeat around and around 6 or 7 times.
- Knot and tie off the thread on the underside.
- Then, trim the zipper about an inch past the new end of your zipper.
xoxo, jackie