Sometimes you want a no-frills plant hanger. If you have 5 minutes, you can make this one! I have quite a few plants hanging up around my apartment, and as with most of the rest of my style, I like my plant hangers pretty minimal. Enter knot macrame.
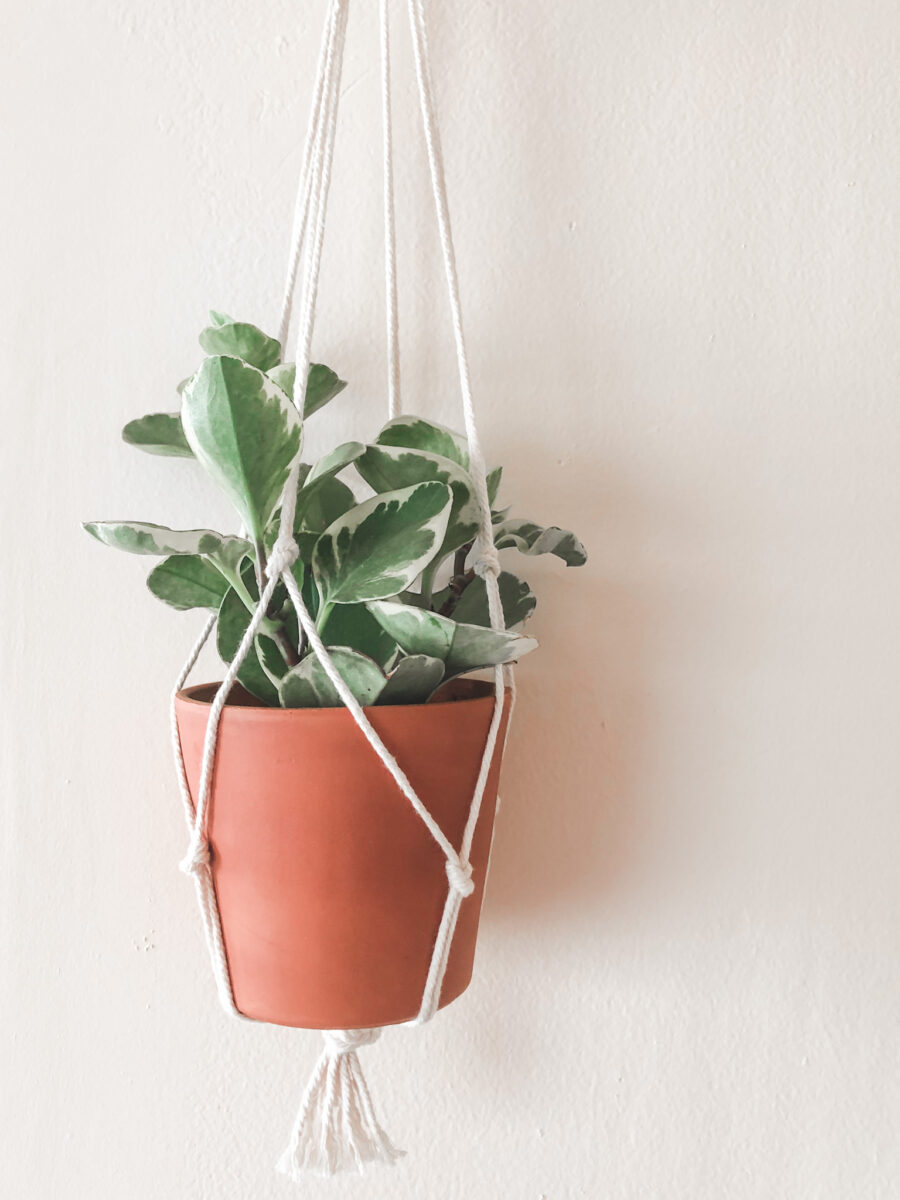
I love to let my plants be the star of the show, and this tie method has been my go-to for creating a cohesive, simple plant hanger look. With just 10 knots, you can turn four pieces of macrame cord into a plant hanger.
This knot method is perfect for anybody who has struggled to get the hang of macrame but wants to make their own. Rather than making macrame knots, this method lets you tie an everyday knot. Let’s create a macrame hanger!
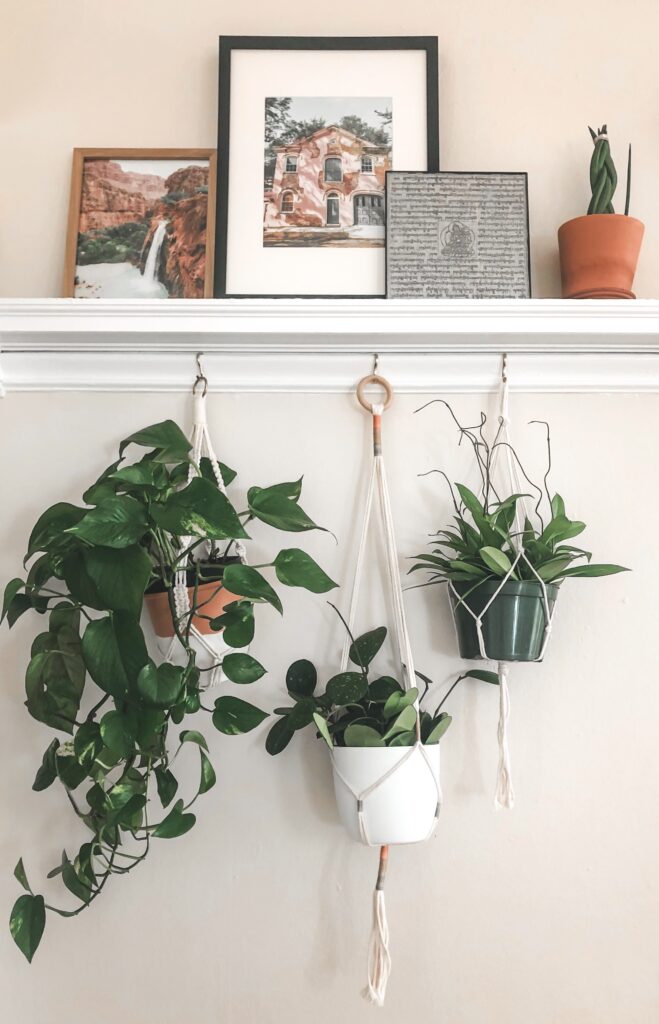
How to make the planter hanger
MATERIALS
I use a 3mm cord. Here’s the one I use.
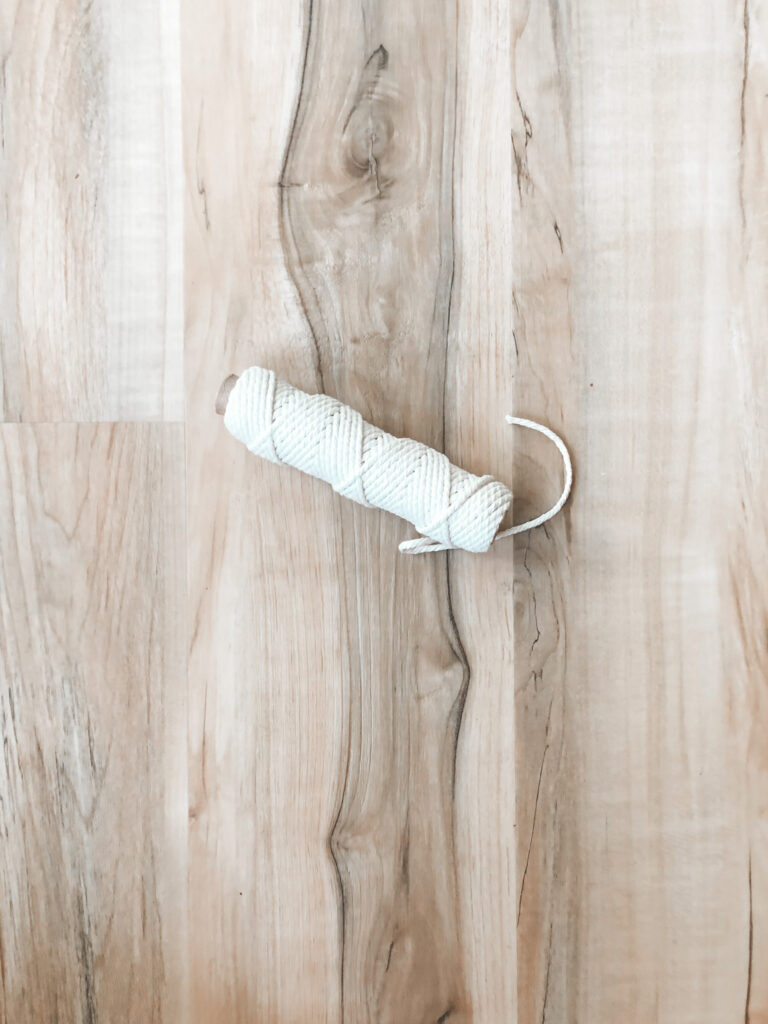
Step one.
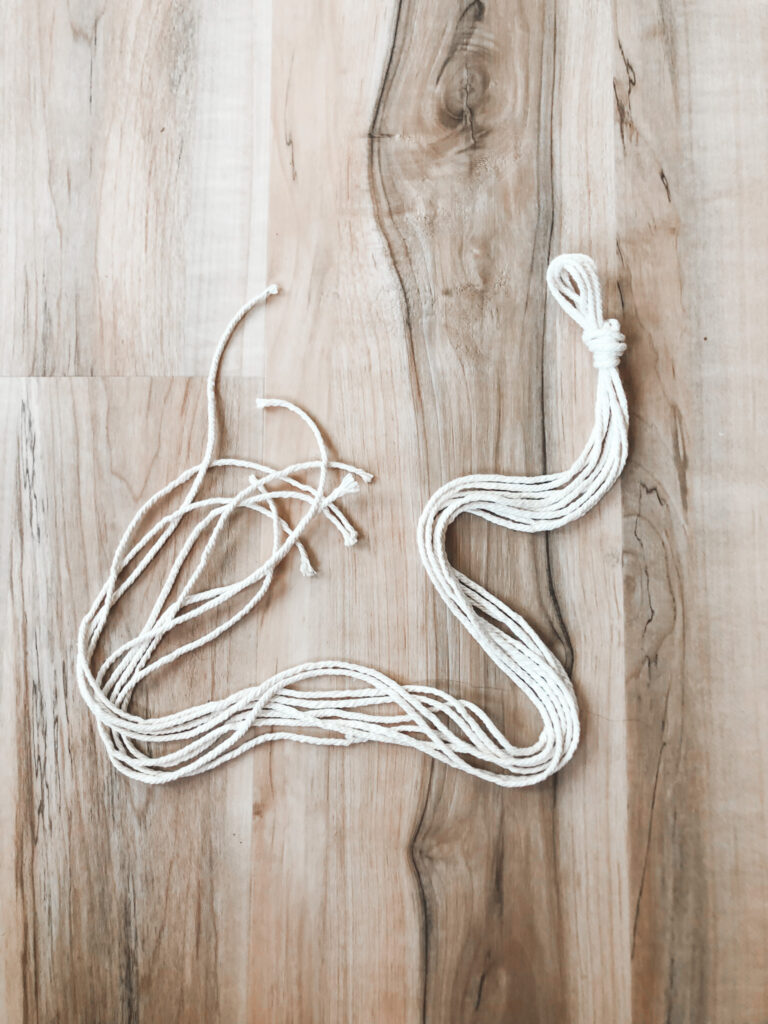
Measure 4 equal lengths of macrame cord. Remember, the cord will be folded in half, so you should account for the length doubled. My cord was 50” with the plan to make a 24″ long planter.
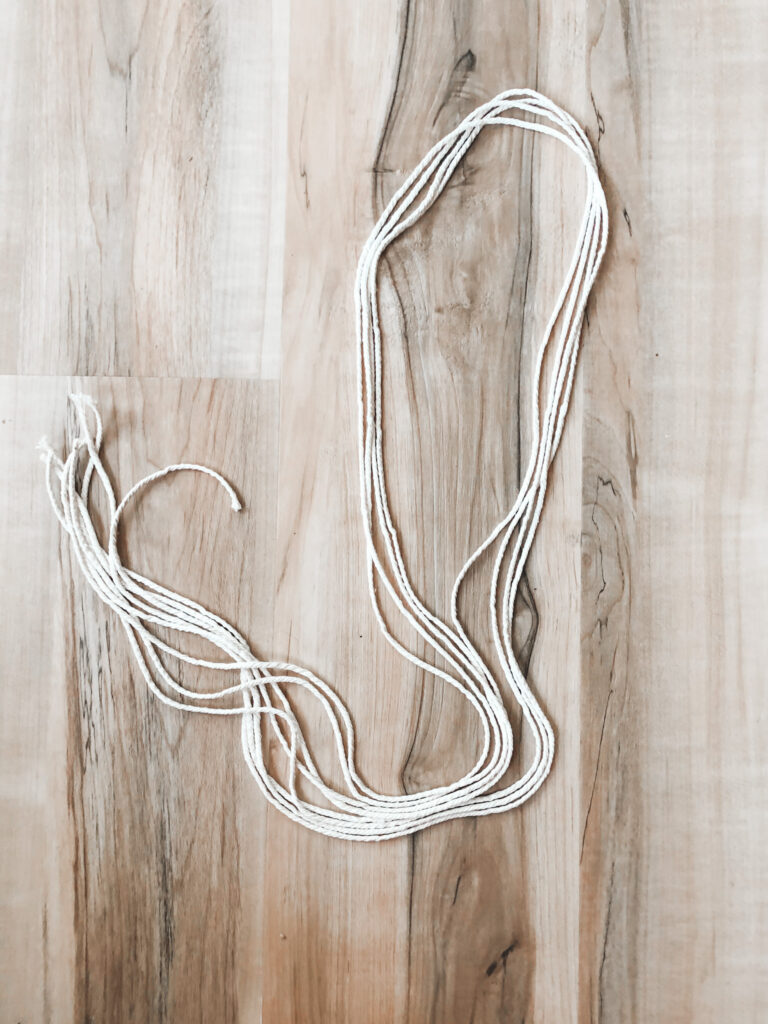
Step two.
Fold cord in half and tie a knot at the middle, leaving a 1” loop free.
Step three.
Part your rope into 4 pairs of two, then tie a knot with each pair, about 12” down from the top knot.
Step four.
Split the cords in each knot, then tie knots with neighboring cord a few inches below. You should tie four more knots, creating a cradle for your pot to sit in.
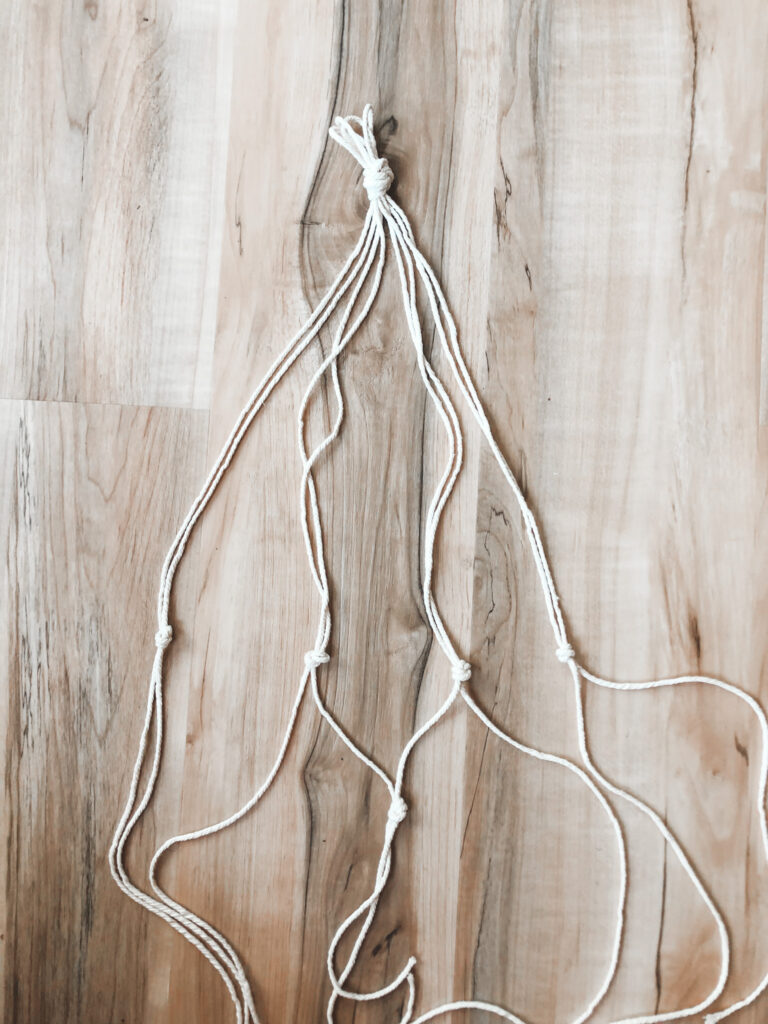
Your knot placement should vary based on the size plant you plan to hold in the hanger. The closer together your knots the smaller and more structured your cradle will be. Give more space for a looser cradle.
Step five.
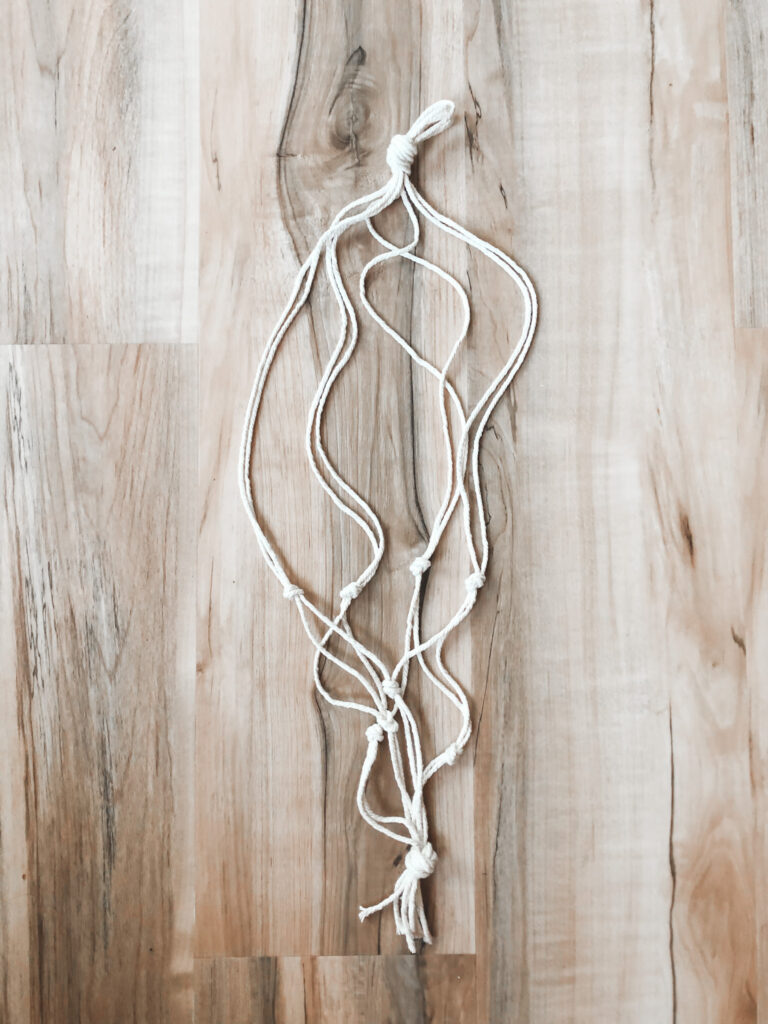
Gather all strands and tie a knot a bit further down from the individual knots. Trim your loose ends to create a polished look.
Step six.
Place a plant in your planter, hang, and enjoy!
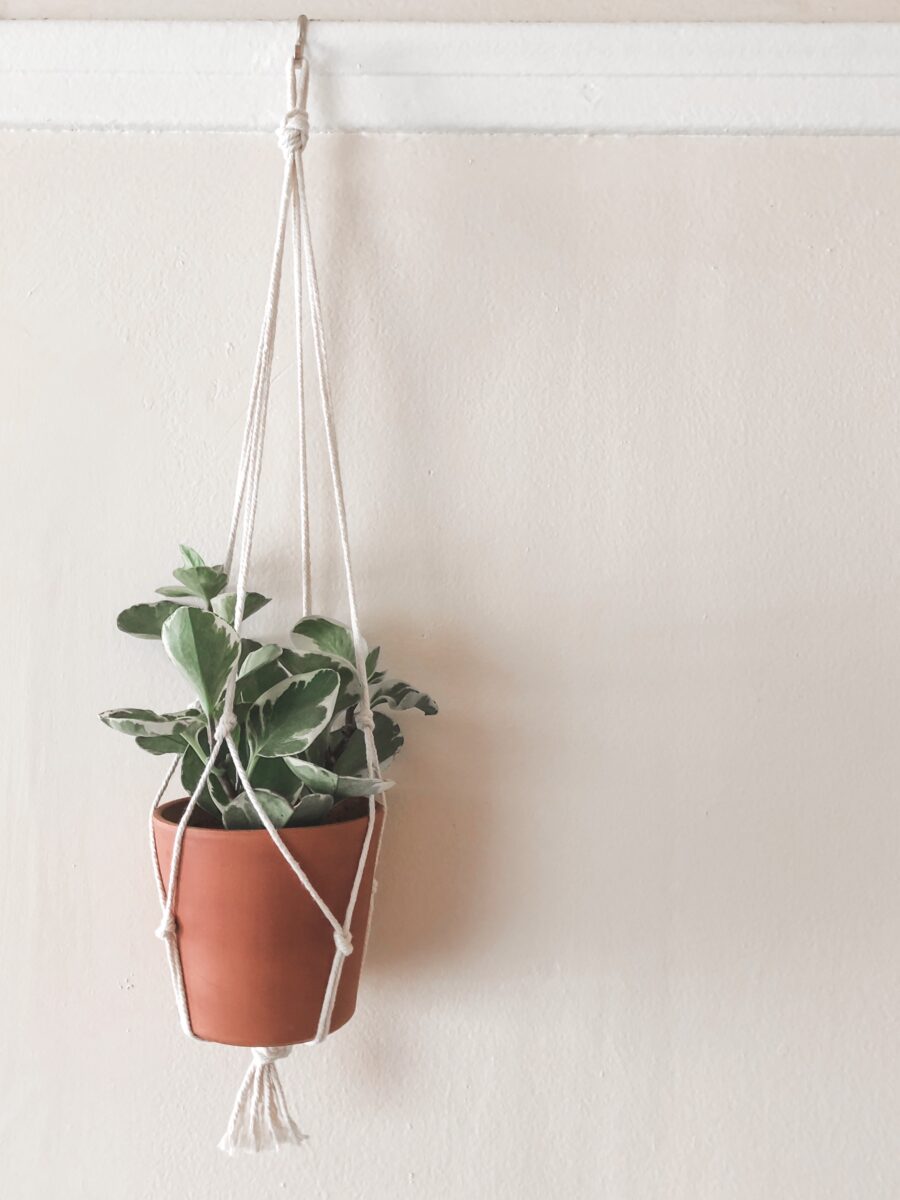
With this easy method, you’ll have your new plants up and hanging in no time!
And of course, you can always customize this project with beads, additional colors, extra knots, etc. Let me know what you do with your new plant hanger!
xoxo, jackie

Thanks..you made it seem simple with your steps.
Excellent explanation, you made it sound really easy, Im going to try this, fingers crossed I can find u again to let u know how I did x
Thank you for this! It was super easy to follow and I love the minimalistic look! 🙂